The 2024 Glam Beauty Awards
From perfumes to press-on nails and concealers (and more), we tested 100 beauty products to narrow down the best of the best for the 2024 Glam Beauty Awards.
Read MoreFrom perfumes to press-on nails and concealers (and more), we tested 100 beauty products to narrow down the best of the best for the 2024 Glam Beauty Awards.
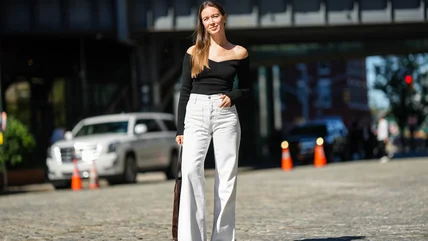
Read MoreContrary to popular belief, white jeans can be a year-round staple in a capsule wardrobe - as long as you know what 'fits to wear them with!
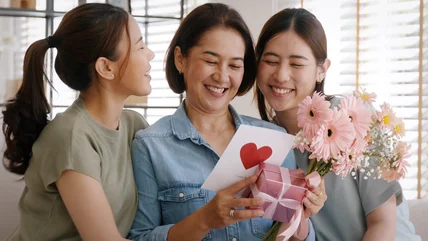
Read MoreIf you're looking for a little Mother's Day gift-buying inspo, we have you covered with these six beauty and fashion-focused finds that reviewers are loving.
Read MoreContrary to popular belief, white jeans can be a year-round staple in a capsule wardrobe - as long as you know what 'fits to wear them with!
Read MoreIf you're looking for a little Mother's Day gift-buying inspo, we have you covered with these six beauty and fashion-focused finds that reviewers are loving.
Read MoreDyed hair is hard to maintain, but many people may not consider how working out can affect their tresses' new hue. However, these tips can save your hair.
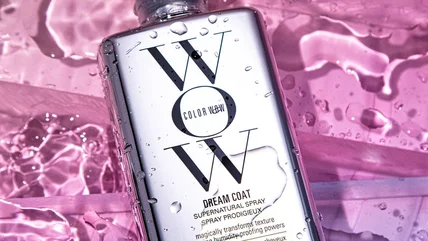
Read MoreColor Wow's Dream Coat spray has enraptured celebrities like Hailey Bieber and Kylie Jenner, so we spoke to a cosmetic chemist to learn exactly how it works.
Read MoreGlam spoke exclusively with Beverly Hills-based board-certified plastic surgeon Dr. Daniel Yamini about the ins and outs of the dimpleplasty procedure.
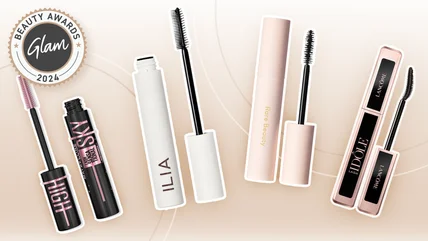
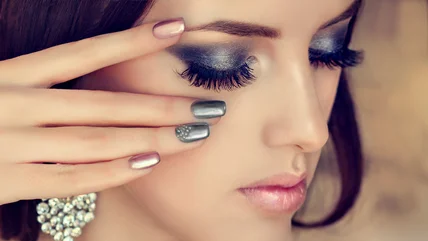
Read MoreMascaras need to give long-lasting definition without clumps, so we tested 10 tubes at different prices to determine which mascaras are worth your moolah.
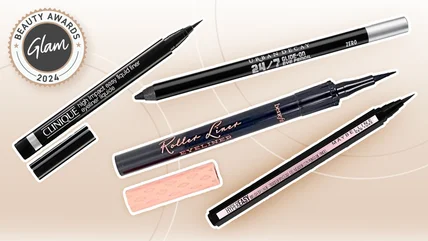
Read MoreFinding the perfect eyeliner is paramount since they're notoriously difficult to apply, so we tested 10 to determine the best liner of 2024.
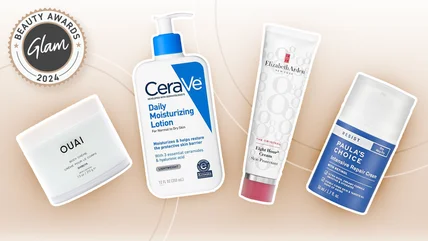
Read MoreThe best moisturizers of 2024 include daily lotions, dreamy whipped consistencies, and products infused with retinol for brighter, tighter skin.
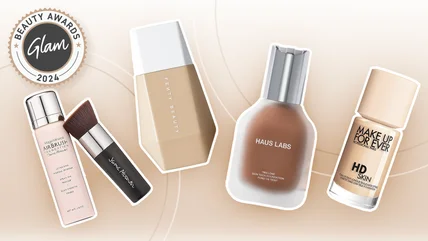
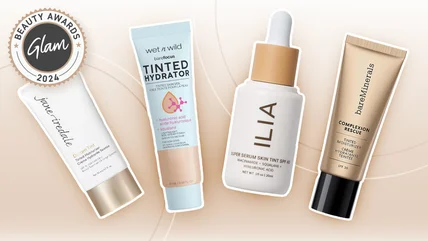
Read MoreGlam's 2024 Beauty Awards found the best foundations of the year, including sheer, full-coverage, and novelty items at several price points.
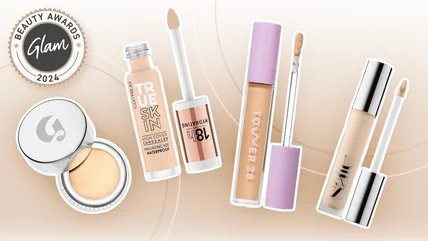
Read MoreWe set out to find the best concealer on the market, and our testing left us with five outstanding products that we deem the best concealers of 2024.
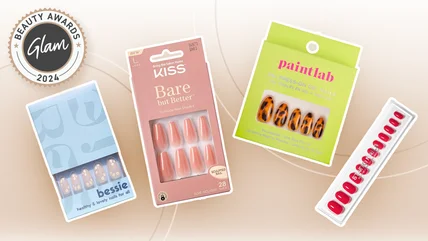
Read MoreFrom cruelty-free brands to durable drugstore options, here are our picks for the 2024 Glam Beauty Awards Best Press-On Nails to help you rock a DIY manicure!
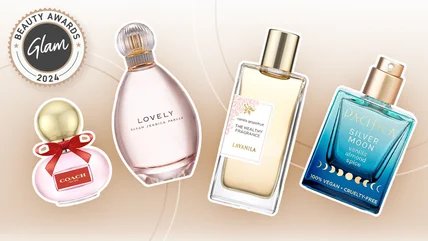
Read MoreOur top perfume picks for the 2024 Glam Beauty Awards are in, and they include lavish vanilla options, flowery favorites, and instantly recognizable fragrances.
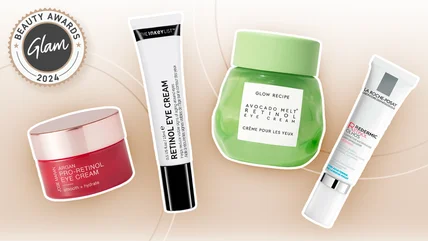
Read MoreFrom ultra-rich and buttery formulas to natural ingredients with super-charged moisturizing properties, these are the best retinol eye creams of 2024.
Read MoreFor our 2024 Glam Beauty Awards, we found the best tinted moisturizers on the market, from clever dropper-based versions to those with matte coverage and SPF.
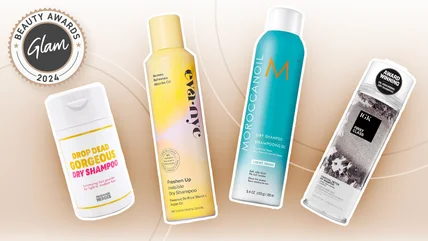
Read MoreFrom invisible aerosol varieties for light and dark hair to mattifying powders, here are the 2024 Glam Beauty Awards' picks for the best dry shampoos out there.
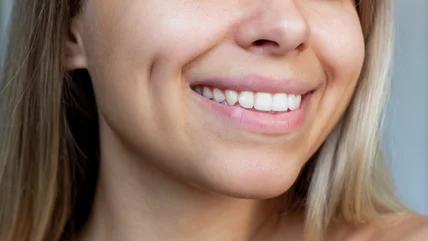
Read MoreA smile is a universal symbol of contentment - or is it? In truth there are many ways to smile, and they all indicate different things for your relationship.
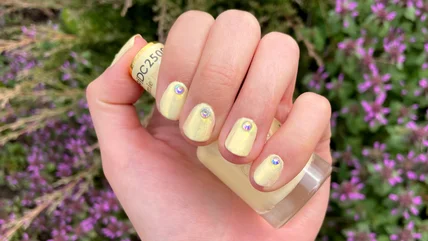
Read MoreButter-yellow nails have infatuated manicure enthusiasts all spring 2024 so far, so we've created a detailed guide to help you try these trendy claws.
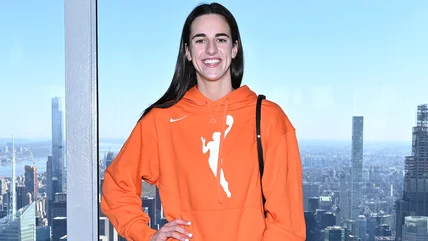
Read MoreWhile we love to see her sporting her jersey, basketball sensation Caitlin Clark's off-court style playbook is scoring some serious fashion points.
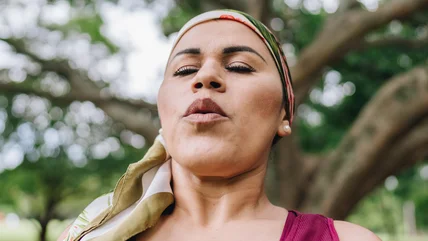
Read MoreWhen you use pursed lip breathing, it doesn't matter when (or where) anxiety comes calling. Breathe easy with these tips from our psychotherapist.
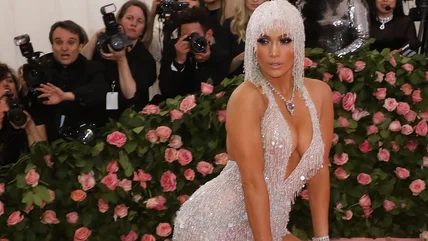
Read MoreJennifer Lopez is a Met Gala legend. Let's take a look at her most memorable Met ensembles, from her 2021 westerncore 'fit to that Michael Kors leopard dress.
Read MoreThe silent treatment isn't just unhelpful - this behavior can actually have serious negative effects on both the relationship and the person receiving it.
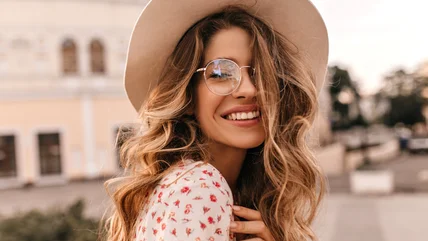
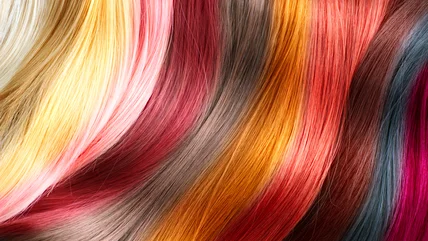
Read MoreYou might think that blond is a one-note hair color, but 2024's top color trends prove that dimension isn't hard to achieve in blond hair after all.
Read MoreFrom mixing punk with a classic preppy look to doubling down on sparkles, pop star Olivia Rodrigo's sartorial choices make the singer a fashion inspiration.
Read MoreFiber mascara is the hottest product on the makeup market, and it can give you longer, fuller lashes in the same amount of time you'd apply regular mascara.
Read MoreGlam spoke exclusively to hairstylists Luna Viola and Sandra Petrut to find out which hairstyles women should consider as they age, and which to avoid.
Read MoreMove over blond: Psychology and color theory say that if you're up for a new shade that will transform your locks and your life – this is it.
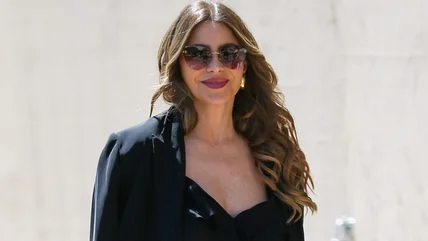
Read MoreSofia Vergara is known for her stunning makeup looks, but the "Modern Family" star is also a stunner without the help of any makeup products whatsoever.
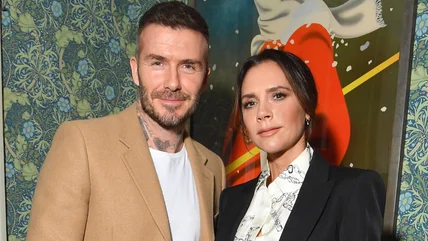
Read MoreEven power couples have their struggles – and while the Beckhams have been together for 25 years, these red flags say the marriage isn't all glitz and glam.
Read MorePearl skin is TikTok's latest take on glossy makeup, and it might be our favorite high-gloss trend yet since it can be achieved with items we already own.
Read More