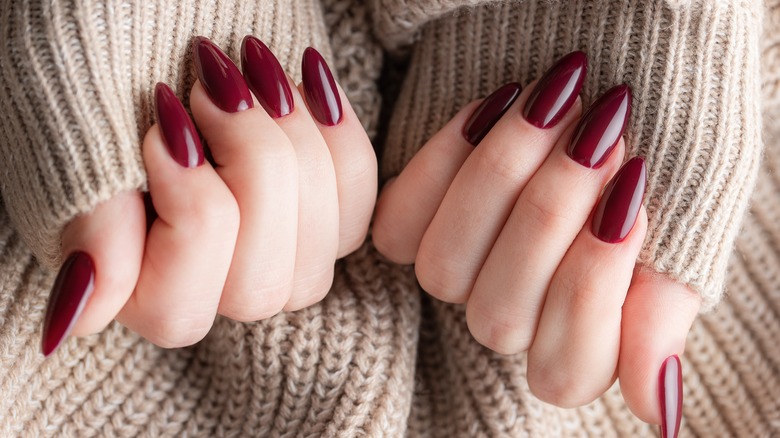
A Nail Expert Details Best Prep Work Practices To Make Your Manicure Go The Distance
There's something oddly cathartic and pampering about manicure, whether you get it done at a salon or at home. The only difference is doing your own manicure saves you big bucks while offering you the flexibility of time and space, the freedom of creativity, and the healthiest options for your nails. Although DIY mani is no mission impossible given the vast availability of manicure products and useful hacks, there's ample room for errors. Performing a beauty ritual on your own hands when you're not a manicurist is like seeing Murphy's Law in action — anything that can go wrong will go wrong. You forget the base coat. You apply a coat of color over your base coat before it dries. Wet gel polish spills on your clothing. When it comes to manicures, one tiny tumble can turn into a tragedy.
Having said that, don't let those challenges scare you. Heightening your nail sense requires a steep learning curve, but once you've mastered it — the results won't disappoint. To help you master the basics of nail artistry to minimize faux pas and maximize the look of your at-home manicure, we spoke to Mariz "Reece" Gutierrez, the founder of the Richmond, Virginia-based modern spa and social club Skin by HC and eco-friendly nail salon Holy Chic + Co. Check out Gutierrez's tips for making your DIY manicure go the distance.
Clean your nails
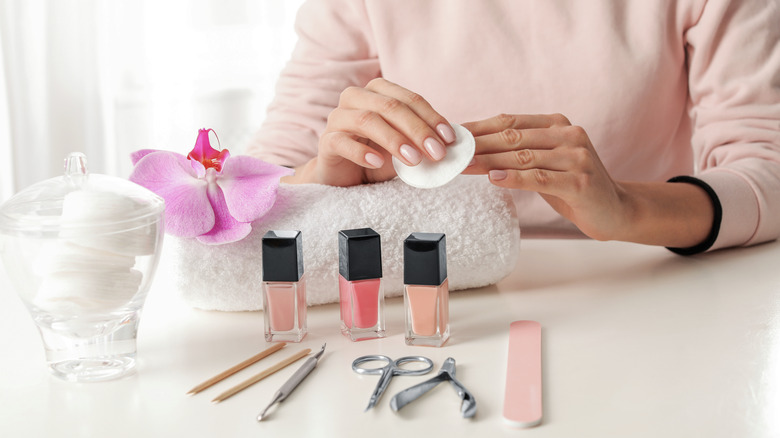
To prime your nails for color, give them a spring cleaning first. "Make sure your nails are clean, dry, and free of any oils before putting any polish on," Gutierrez tells Glam. A nail polish remover is a great way to remove all the leftover polish coating or glitter from your nail plate. The sound of nail polish removers may conjure images of harsh chemicals and ashy brittle nails, but that's usually the case with acetone-based formulations. If you have dry or sensitive nails, you should opt for acetone-free nail polish removers. Not only are they less drying, but many acetone-free formulations also contain vitamins that strengthen your nails. Swiping your nails with rubbing alcohol and a lint-free pad will also do. After that, rinse your nails in warm, soapy water for 20 seconds to wash off the polish remover and pat them dry.
You may wonder why we're not recommending a traditional pre-mani soak as the first step of the nail-reading process. Truth be told, it's not a good idea to treat your nails to a relaxing 10-minute soak before polish application. Soaked nails expand and might still be semi-enlarged from water by the time you start applying nail polish. For every full minute underwater, the nails might need up to one hour of drying time before they completely dry. When they are dry, they will contract but your polish won't, which might lead to cracking or chipping, explains Gutierrez. Therefore, skip the soak.
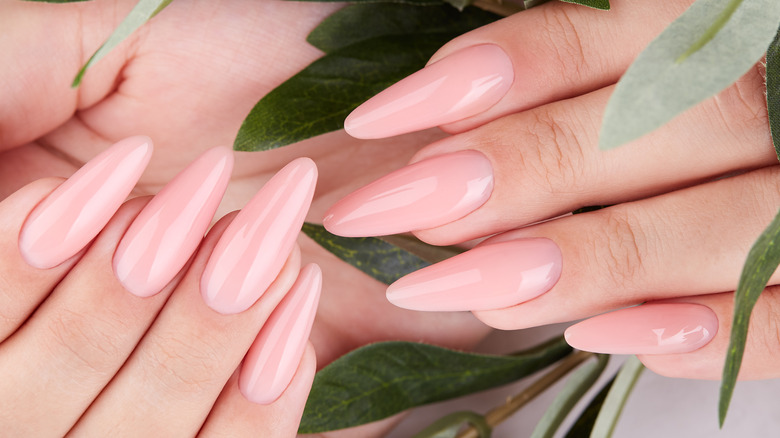
Reshape your nails
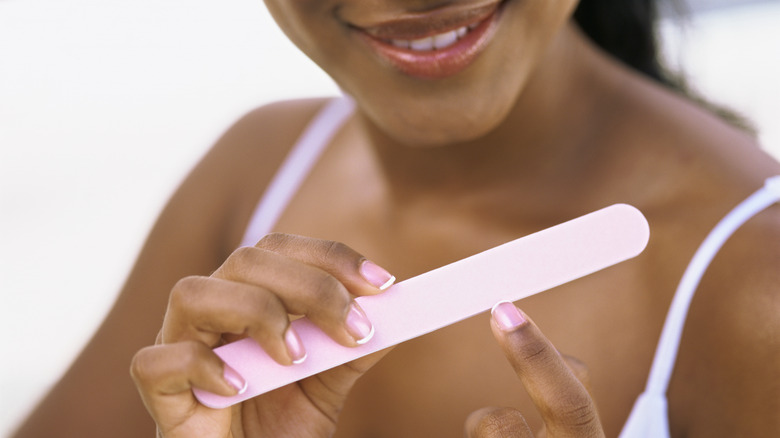
As far as nail shaping goes, there are plenty of options for those who want a change from the usual go-to. Round nails are low-maintenance and less likely to catch on grime and germs. Almond nails flatter every hand type and will always be in vogue. Sharp square or stiletto nails are eye-catching but get snagged and tear on things more easily. If you don't have a steady hand with manicure tools or your nails are too short to venture with dramatic shapes, it's wise to stick with classic, easy-to-nail shapes that require little maintenance. Once you've picked the shape that works for you, flip open your manicure set and gather your tools.
To trim your nails, you can use a nail clipper or a nail scissor. The good rule of thumb is to cut your nails straight across and leave the nail corners intact. Then, use a nail file or an emery board to file the tip of your nails and lightly shape the corners until they turn into your desired shape. Remember to slide your nail file in one direction instead of sliding it back and forth to avoid damaging your nail tip, and use a nail buffer to grind down bumpy edges and smooth out fine ridges. If there are any hangnails, just clip them off.
Push back your cuticle
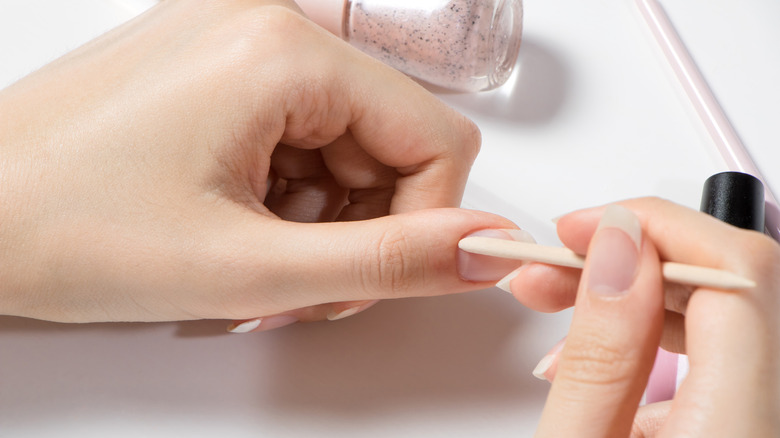
You can cut your nails however you want, but leave your cuticles alone. Cuticles — a layer of delicate dead skin growing at the bottom edge of your nails — are there to protect newly grown nails from bacteria. Snipping at them or removing them is like inviting germs and irritation into your nail bed. To make your fingers look more refined, you can simply push back your cuticles. For a start, apply cuticle oil to your cuticles to loosen them. Make sure you let the formula get fully absorbed into the skin before adding gel polish, otherwise the paint will not be able to adhere to your nails properly. Then, use an orangewood cuticle pusher or a cotton swab to push back the cuticles that grow along your nail. You can also get a wet stone or a damp cotton swab to do the job.
Once your nails are ready to go, start applying a base coat to help the gel polish go on smoothly and last longer. Instead of one thick coat of color, apply two thin polish coatings and wait for two to three minutes of drying time in between each coat and cure them. In the final step, swipe a coat of translucent top coat over the tips of your nails to add shine and seal in the color. "If you're dealing with a small chip, just take a clear top coat polish and swipe over it — it'll look just about good as new," Gutierrez advises.
Moisturize your nails daily
If you want your manicure to last, take moisturizing aftercare seriously. "A hydrated nail remains flexible; a dry nail is brittle and can easily chip and break," says Gutierrez. When it comes to hydrating your nails and cuticles, daily application of nourishing cuticle oil is a good shout. Containing vegetable oils and vitamins, cuticle oil is helpful in restoring moisture to your nails and cuticles, protecting them from excessive dryness, and minimizing chipping. To boost the lastingness of your manicure, Gutierrez recommends applying cuticle oil to your nails at least once per day. If you care enough to triple the application — even better. Massaging your hands with a moisturizing hand cream daily also helps keep the nails moist and extends the lifespan of your manicure.
Lifestyle-wise, you might want to start wearing gloves when going about household chores such as doing laundry, gardening, or doing the dishes to avoid chipping your nail polish. Also, avoid soaking your hands or taking a bath for too long in hot water, as overexposure to moisture can cause your nail paint to peel off.