Common Lash Lift Mistakes And How To Fix Them
Eyelashes are a subtle yet powerful facial feature. A little boost in the form of mascara or a lash curler has the ability to brighten your eyes and transform your face. It's little wonder why we are so invested in prepping and primping them up. Individual lash extensions can be a hassle to get done and they tend to be uncomfortable for the first couple of weeks. Strip lashes can also be frustrating to put on, and messy too, with all the glue involved.
More people are choosing to do lash lifts instead. A lash lift is essentially an eyelash perm that curls out straight lashes from the root, making them uniform and elongated. This procedure is semi-permanent and gives gorgeous results, but that doesn't make it foolproof — especially if you use the at-home lash kit. If you're thinking of getting one of these home kits, then you should know about the potential mishaps that may arise and how to fix them, easy-peasy.
How to give yourself a lash lift
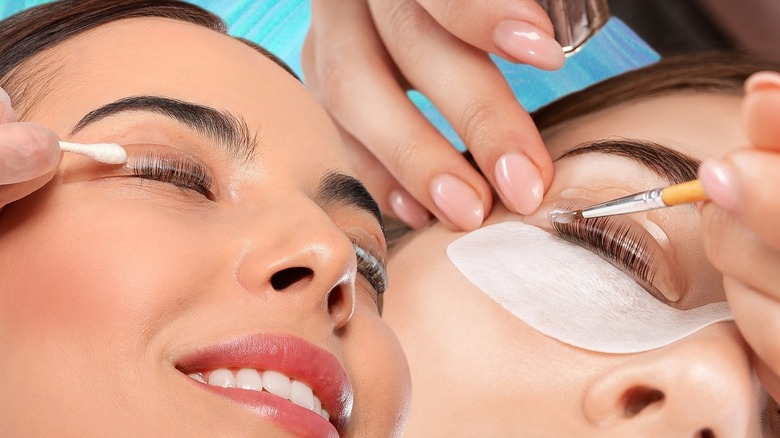
A lash lift is essentially a perm you give your lashes to make them long and curled. You can perform a lash lift by yourself with a home kit by doing one eye at a time. Per Nicky Lashes, the first step is to clean your lashes and eyelids thoroughly to be free of dirt and oil. Then, glue a lift pad that matches your eye size onto your eyelid. Make sure you put it as close to your lash line as it can go and hold it there for about 30 seconds so that it can stick firmly.
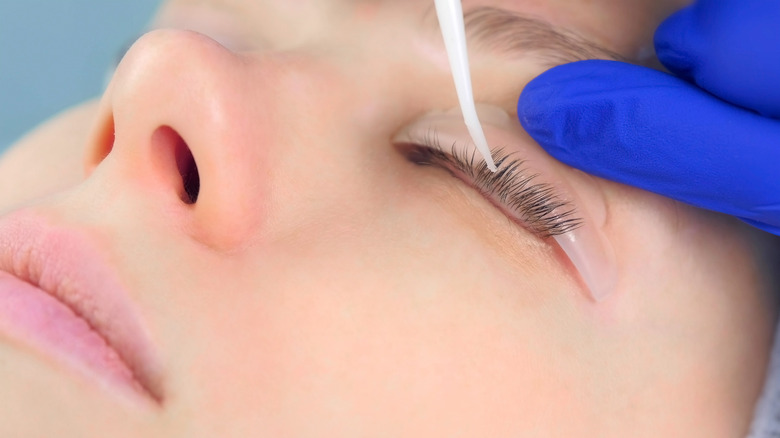
Now, glue your lashes up onto the pad. Make sure each lash is coated with the adhesive and comb them to ensure that they are uniformly spread. Once dry, use a Q-tip to apply the perming lotion to the lash roots to straighten them. Cover them with cling film and wait 15 minutes before cleaning them off. Finally, apply the fix solution to the roots and leave it on for eight minutes before cleaning all your lashes with the cleanser. Make sure to do this well so that all the adhesive is gone. Remove the pads from your eyelids when you're done.
Although the results will be phenomenal, just know that mistakes are bound to happen, especially if it's your first time.
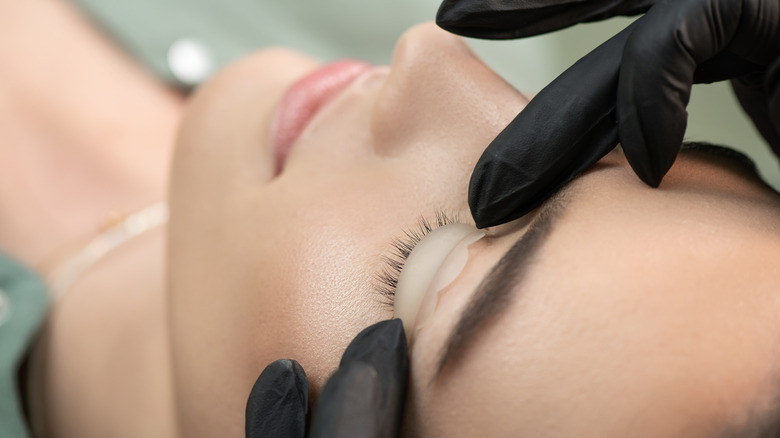
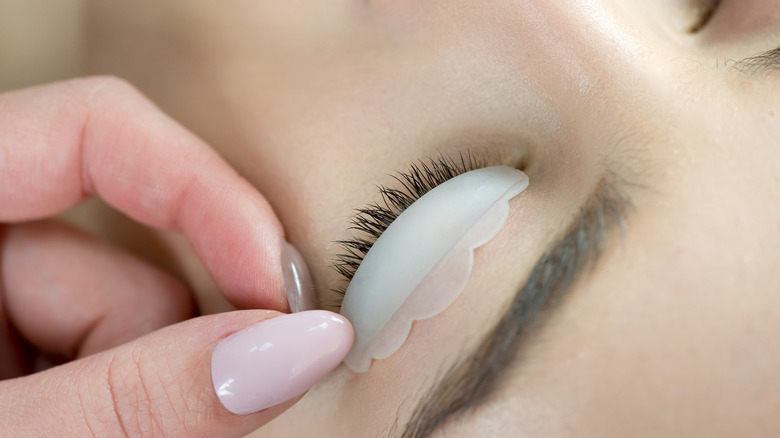
Make sure your eyes are clean and the silicone pad is properly in place
Lash lifts are a great way to give your lashes a boost without having to sacrifice their natural appearance by using false ones. If you are giving yourself a lash lift at home, then they may not turn out the way you hoped. There are potential errors you should be wary of and Nicky Lashes also gives some insight on how to fix them.
One common mishap occurs when your lashes are only curled from the tips. This happens when the silicone lift pad isn't placed directly on the lash line before applying the adhesive to your lashes, so this is something to take note of before you start the process.
Some people may complain that the silicone pads used to hold the lashes in place during the lash lift kept shifting. This means that your eyelids were oily and probably not cleaned as well as they should've been. Next time, make sure you wipe them thoroughly before putting on the pads. You can also hold the pads into place with strong adhesive tape.
The adhesive can make or break the lash lift procedure
When performing a lash lift, one of the main things you need to be careful with is the adhesive that you spread on your lashes. You will encounter steps where you must clean off the glue and thoroughly. Not cleaning off the glue before applying the fix solution will make your efforts futile. When mishandled, it can cause your lashes to come out crinkled and even stuck together.
If your lashes come out looking crinkled, then what you need to do is divide your lashes into three sections as you are adding on the glue. Make sure that you don't leave any bit of glue behind after cleaning them because if you do, your lashes will get crumpled after drying. Remember to wash out the adhesive completely after the procedure.
If your lashes are stuck together after the procedure, then you may have reached a dead end. It may be best to wait a few weeks before you can redo the lash lift.
How to deal with over-curled and under-curled lash issues

Do you have over-curled lashes? Not a problem. Apply more perm solution to the lashes as you brush the lashes down. They should straighten out after a few minutes. Once they do, gently dab off the excess solution and brush some nourishing oil on the lashes.
If your lashes aren't curled enough? You have to wait at least one week to try the process again. The whole point of getting a lash lift down is for your lashes to come out straightened from the root and given a nice curl. If your lashes didn't lift, then the problem stems from the processing of the chemical solutions. After a week, take your time to allow your lashes to process the perm solution and adhesive. The key is to be patient and not clean off either one of these before the full processing time.
You can never be too cautious when using an at-home lash kit
Some people believe that a procedure like this that involves the use of chemicals is best left to a professional and that at-home lash lifts should be skipped. Because of the strength of the perming solution involved, more intense mishaps may occur such as irritation, bacterial infection, and at worst, even blindness.
Before undertaking a lash lift at home, carefully go through the label instructions and maybe watch a few tutorials from a trusted source. Never leave the perming solution on for more than the required time. You can also do some research to acquaint yourself with the things you should and shouldn't do after getting a lash lift. There are rules involved, such as not washing your eyelashes for 24 to 48 hours after the process.
Using an at-home lash lift kit is good practice, and so is screwing it up the first time. And if you do bomb the procedure and don't end up with the result you wanted, there's no reason to panic. Just make sure you take extra precautions and never any risks.