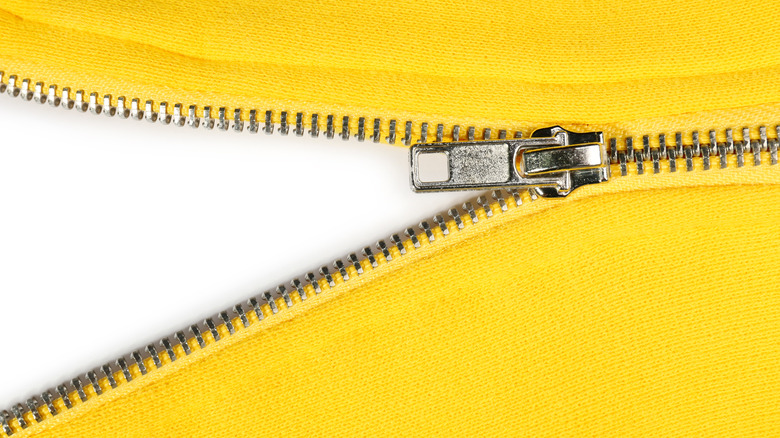
Broken Zipper? Don't Write Off Your Favorite Jeans Just Yet
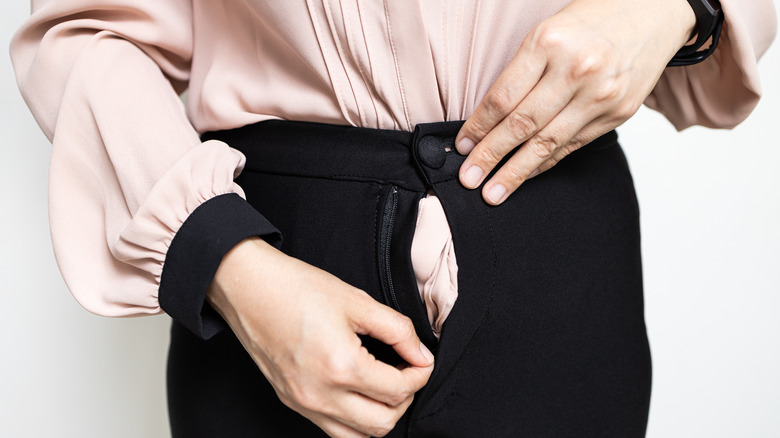
A broken zipper can seem like an insurmountable problem where garments are concerned, but you don't have to be a professional seamstress to troubleshoot and fix the issue. In fact, sometimes all it takes is a discerning eye and nimble fingers to get those jeans or jackets back into working order. First, it's important to understand a bit of zipper terminology. The "teeth" are the two sides of the zipper that come together to close the garment, the "slider" is the part that pulls the teeth together, and the "pull" (or "tab") is the piece that the user tugs on to make that happen.
It's important to practice a little bit of prevention to avoid zipper breakage. Most zipper problems involve wayward fabric that has gotten folded over or otherwise stuck in the teeth. So, the next time a zipper just won't budge, resist the urge to yank harder on the slider mechanism until it does. Another way to prevent zipper damage is by handling it just so in the washer and dryer. Prior to running a zipper garment through these machines, zip it up and make sure the slider is fully in place. Turn the garment inside out and, if desired, place it in a garment bag for an extra layer of protection. These steps will prevent the zipper from banging around the machines unnecessarily. That said, sometimes a zipper still manages to get messed up. Here are some pro tips for troubleshooting and solving the problem.
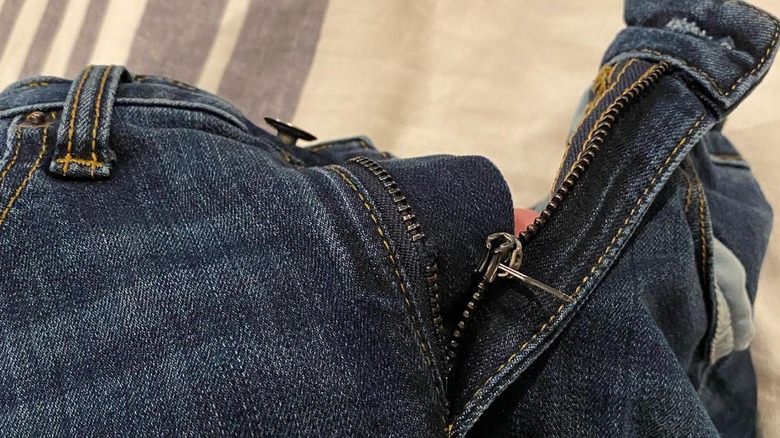
Fix the slider
We've all had the experience where a zipper glides closed perfectly and then, inexplicably, the teeth open back up again. The problem causing this issue is actually with the slider rather than the teeth. The mechanism has loosened, which stops it from being able to effectively close and lock the teeth in place. Who knew, right?
The slider can be easily fixed with only a pair of pliers. The puller is composed of two plates — the top and the bottom plates. Using the pliers, pinch the two closer together. This should make it more effective at closing the teeth tightly. Pinch, then retry the zipper as many times as needed until the teeth are firmly joined, post-zip.
If all the pinching in the world just isn't cutting it, however, it is probably time to replace the slider portion of the zipper. Each slider has its own size, so look for that number somewhere on the piece. There are a number of zipper repair kits on the market that come with all of the materials and directions on how to do this simple task.
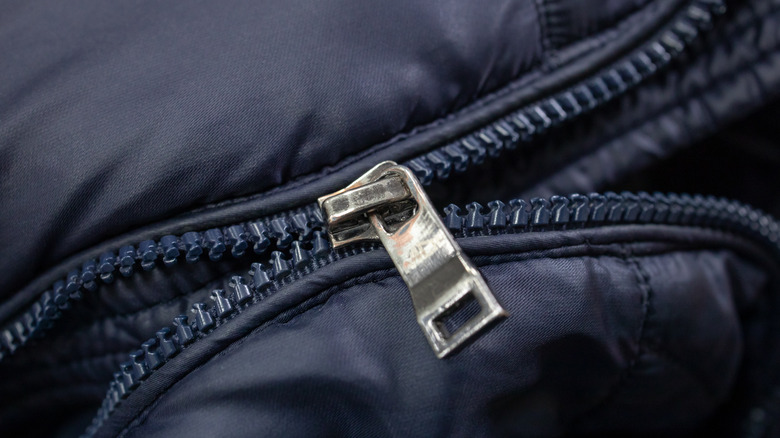
Free any stuck material

Perhaps the zipper made it partway up before it got snagged on some type of material. This is especially common with lined garments, like jackets or coats. Anyway, this is almost always fixable by gently tugging the affected fabric away from the zipper. If the zipper stubbornly clings to the fabric in question, however, turn to a lubricant to facilitate the process.
There's no need to run out and buy zipper-specific lubricant, however. A number of household items will do the trick nicely, including clear lip balm, the point of a pencil, a bar of soap, a wax candle, WD-40, or something similar. To free the fabric, apply a bit of lubricant to the affected area, then use one hand to hold the slider and the other hand to tug at the fabric. The lubricant should make everything much more pliable so that hopefully the fabric slips right out.
Realign the teeth
Sometimes, the zipper teeth are causing the logjam. This is usually because one or more have been broken or bent. The first thing to try is straightening out the zipper teeth so they look the same as the rest. This can be done pretty easily with a pair of needle nose pliers. Locate the bent zipper tooth or teeth, then use the pliers to gently bend them back the way they're supposed to go. Once they look lined up, give the zipper a try. Adjust and re-try as needed until it's smooth like butter.
It's also worth it to give the teeth a little bit of TLC, as some of the problems might be caused by dirt and grime (most common in zippers that aren't washed a lot, like coats, jackets, bags, etc). So, once the teeth are bent back to where they should be, dip a cotton swab in soapy water. Then, clean around the teeth to release any problematic materials.
Replace the zipper pull
The zipper puller takes a lot of abuse, as it's unceremoniously yanked up and down over and over again. Sometimes, this causes the pull to break in half or come completely off. Fortunately, it's easy enough to replace the pull in a variety of ways. Some people opt to use non-traditional materials when replacing the pull, such as a key ring, paper clip, or other small, metallic item. Obviously, this isn't the best for pants or shirts with zippers but can do the trick nicely on jackets and coats.
If you prefer not to go the custom pull route, it is easy enough to replace the puller with legit material, although it might not look quite the same as before. Zipper pulls to fit sliders of all sizes can be bought online, often in multipacks and only for a few bucks. This option definitely beats replacing the entire garment, bag, or whatever else needs a new pull.
Replace the whole zipper
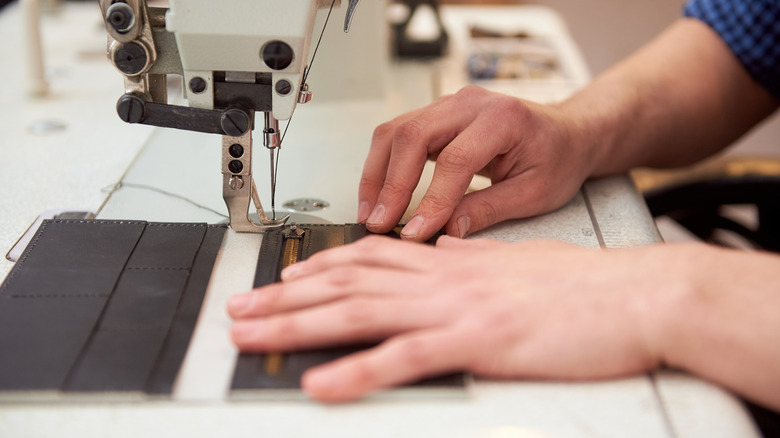
Occasionally, it becomes obvious that the entire zipper needs to be replaced, either with another zipper or something else altogether. Fortunately, it's a lot easier than you're probably making it out to be in your head. The most important thing is to buy a zipper in the right length and color for your needs. So, take precise measurements and either order one online or pick one up at a local hobby store. Remove the zipper by snipping the stitching where it's sewn into the garment. Then, follow directions (usually enclosed with the zipper) on how to attach it. If this is a very high-dollar item, this task is probably best left to a professional. However, most people can master it pretty easily by watching a YouTube video, or two.
Another alternative is to replace the zipper with a different closure device, such as buttons or velcro. These are inexpensive and relatively easy ways to breathe new life into that old garment or bag.