The Easiest Way To Create Your Own Jelly Nail Polish At Home
We may receive a commission on purchases made from links.
Nail trends are a fun way to express yourself seasonally or just based on your mood or favorite aesthetic. However, depending on whether you prefer to head to a salon or go the DIY manicure route, changing up your mani can get pretty costly. If you're looking for a cute, on-trend nail polish that's super easy to apply and even easier to make yourself, look no further than jelly nail polish.
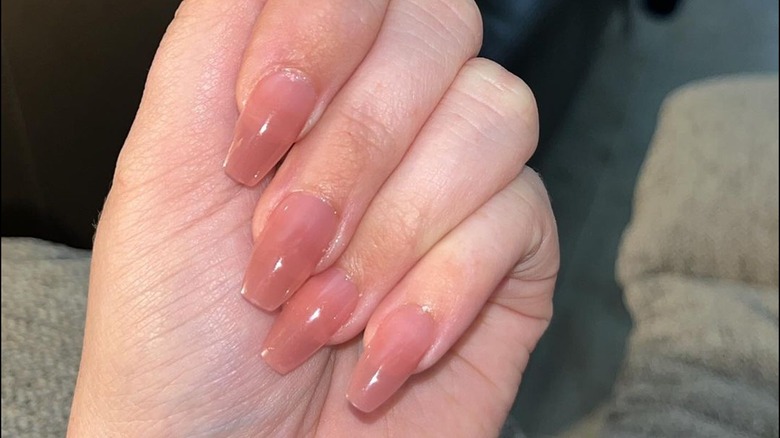
Jelly polish provides an aesthetic reminiscent of jelly, flavored gelatin, or hard candy. It's all about translucent colors with a glossy finish that appears almost liquid. While some jelly polish manicures feature thick layers of gel polish that create a bubbled appearance on the nails, you don't need this effect to achieve a jelly polish mani. If you're looking for an easy customizable option that adds just enough color this summer, this is your guide to making your own jelly nail polish that won't break the bank. All you need is a clear base and top coat and your choice of colored nail polish.
Grab a base coat and a top coat
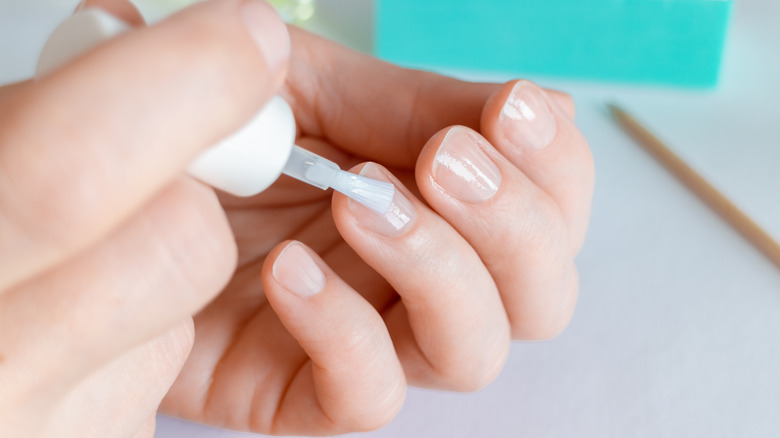
The first step to creating your own customized jelly nail polish is selecting a clear base and top coat. If you'd like an extra-long-lasting manicure, go for a strong-adhesion base and a no-chip top coat from a reputable brand like China Glaze. Regardless of what type of manicure you're applying, you should always paint on a base coat to help grip the polish you plan to paint onto your nails. This step is similar to applying a primer to your face before adding makeup.
Your top coat should be one with a high-gloss finish. A matte finish will not achieve the shininess associated with jelly nails. Since you're going to be tinting your top coat to create a jelly polish, you may wish to purchase a backup bottle so that you still have a clear top coat available the next time you decide to paint your nails.
Add your tint

Once your base coat has been applied, allow it to dry for a minute or two. Then, select an opaque color from your nail polish collection. Any color will work, but brighter hues will stand out more when thinned out to the point of transparency. When you have your color chosen, remove the brush cap from your top coat and carefully set it aside on a disposable surface.
Next, open the colored nail polish you chose and use the brush to drip one or two drops into the bottle of clear top coat. Close the bottles and shake the top coat thoroughly. Assess the new color by either examining the bottle or applying some of the tinted top coat to a test nail. If the color is too transparent, add one drop of the opaque polish and shake again. Repeat until you reach your desired level of pigment, and then enjoy your new jelly nail polish.