How To Remove Acrylic Nails Without Causing Damage
If you're new to acrylic nails, you might be excited at the idea of having long, beautiful nails that can stand the test of time. However, it's important to understand what goes into acrylics — literally — and how they are properly removed before you head off to the salon. Having this information beforehand can potentially prevent any unpleasant surprises when it comes time for removal.
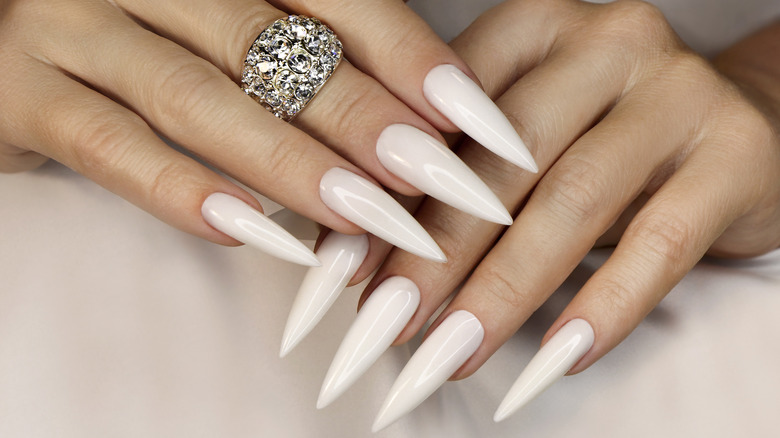
As nail artist Nell Smith explained to Ipsy, acrylic nails come together when a polymer powder and liquid monomers are combined. This creates a putty that is then molded onto the nail, resulting in a thick coating over the nail and its extension. The nail technician then shapes the acrylic nails to match the shape of your nail bed.
Many people choose to go with acrylic nails because of their durability and long lifespan. With the right amount of care, they can last months. That being said, you might already be wondering how this is possible without the use of heavy-duty ingredients. Do the chemicals used to create and apply acrylic nails cause long-term damage to your natural nails?
As Smith explains to Ipsy, getting acrylic nails doesn't necessarily mean you'll be doing extensive damage to your natural ones. With professional application and removal, you can wear acrylic nails and not have to worry about any lasting impact, but how are they removed without causing damage?
How to prevent damage while removing acrylic nails
To properly remove your acrylic nails without causing damage to your natural ones, it's best to visit your nail salon, per Ipsy. This is because nail technicians typically have tools to simplify the removal process, such as a nail drill.
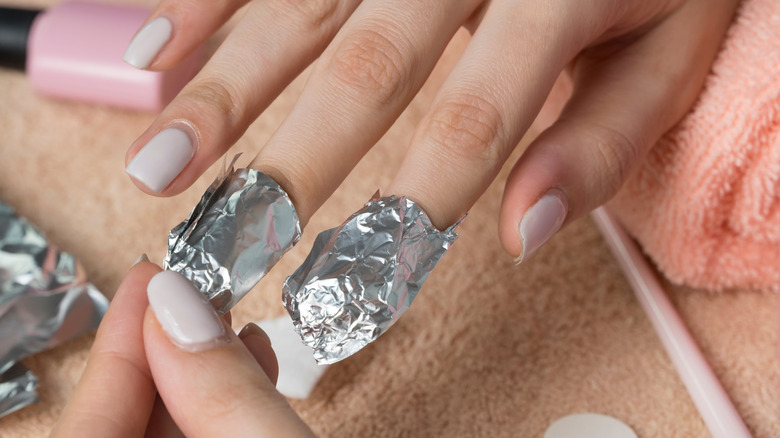
"Removing a nail enhancement typically consists of filing off the top layers of product and soaking in pure acetone for 10 minutes or so," nail artist Nell Smith tells Ipsy. "Adding heat can help accelerate the product breaking down in the acetone. You can use a heating pad around foil wraps or a bowl of warm water."
However, it's not impossible to remove acrylic nails at home. L'Oréal Paris says that to do so safely, you need nail clippers, a nail file, acetone nail polish remover, petroleum jelly, cotton balls, and aluminum foil. Trim your acrylics as short as possible, and then buff and remove any polish on top of the nails. Apply petroleum jelly to the base of your nail beds, as well as your fingers, to prepare them for exposure to acetone. Saturate a cotton ball in the acetone nail polish remover, and place it on your nail. Wrap it with aluminum foil, and repeat the process for each nail. After at least 20 minutes of soaking, your acrylics should easily slide off — no damage done! Keep in mind that if they don't come off easily, you may need to continue the soaking process.
Caring for your nails after removing acrylics
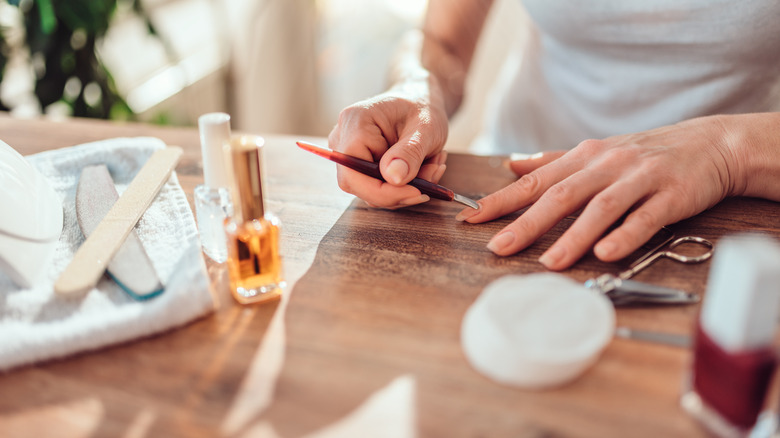
As anyone who has worn acrylic nails will tell you, aftercare is essential once you decide to remove them. Today recommends beginning with nail treatment products, such as those designed for thin or peeling nails, to build strength. Then, you can tend to your cuticles as well, using an oil or butter to restore their moisture. L'Oréal Paris notes that it's just as important to care for your hands. Reach for a hydrating hand lotion or cream to complete the aftercare process, and repeat as often as you would like.
If you notice breakage on your natural nails once the acrylics have been removed, Essence recommends trimming them down and allowing them to regrow. As you allow them to grow, don't hesitate to reach for your nail file. Shaping your nails to cater to their natural shape can help them grow stronger and prevent future breakage. Finally, Good Housekeeping recommends taking at least a week-long break each month if you regularly wear acrylic nails. This can help you maintain your nail health over time.