Dutch Braiding Your Own Hair Is Actually A Breeze
There are about a million reasons to love braids. From the creativity you can unleash with different styles, to the ability to wave your hair without heat tools, to having the perfect strategy to hide dirty hair, braids are great for just about anyone. The only problem with braids is that many people are too scared to even attempt braiding their own hair. Because, in all their complex beauty, braids can seem impossible to pull off.
Many aspiring braid-wearers are surprised to learn that achieving this style is easier than it looks. While some braids are more difficult to execute than others, Dutch braids couldn't be simpler. Ipsy explains that this style is similar to a French braid (which is also super simple to do!), except it works in the opposite way. With a Dutch braid, you cross pieces under each other to build away from the scalp, while French braiding involves crossing pieces over each other to build into the scalp.
Once you have the basic technique of Dutch braiding mastered, creating any type of Dutch braid will be a breeze.
How to Dutch braid
Speaking to Ipsy, hairstylist Angela Boswell defines a Dutch braid as "a three-piece section of hair braided together with the pieces crossing under the middle section, from the crown of the head to the nape of the neck." This may seem complicated until you get the hang of the pattern of hair movement.
Beauty guru Everyday Hair Inspiration posted a video on YouTube detailing the exact method of Dutch braiding, which begins with dividing your hair into three even sections. Start braiding by taking the top strand and crossing it under the middle section. This strand will now be in the middle. Take the bottom strand, which hasn't moved yet, and cross it under the new middle strand in the same way. Holding all three strands in the same hand, take a small section of hair from the scalp and add it to the top strand. Then the process begins again. Take the top strand, which now has more hair in it, and cross it under and into the middle.
Continue adding hair to both the top and bottom strands as you make your way down the braid. Once you have added all your hair and you reach the end of your scalp, continue plaiting the hair by crossing the sections under each other until all your hair is braided.
Tips for the best Dutch braid
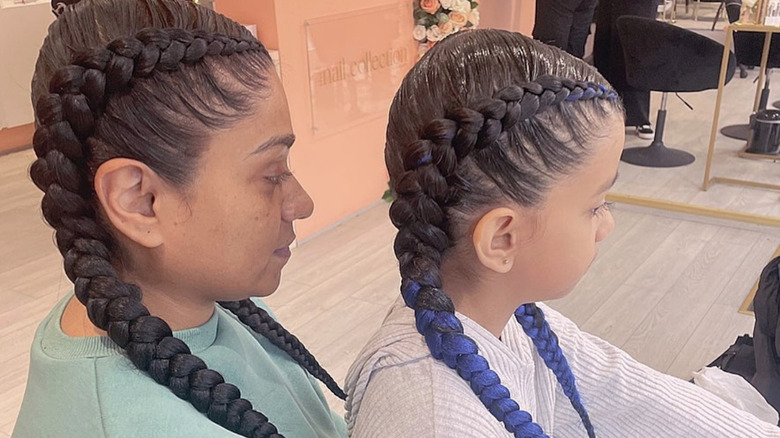
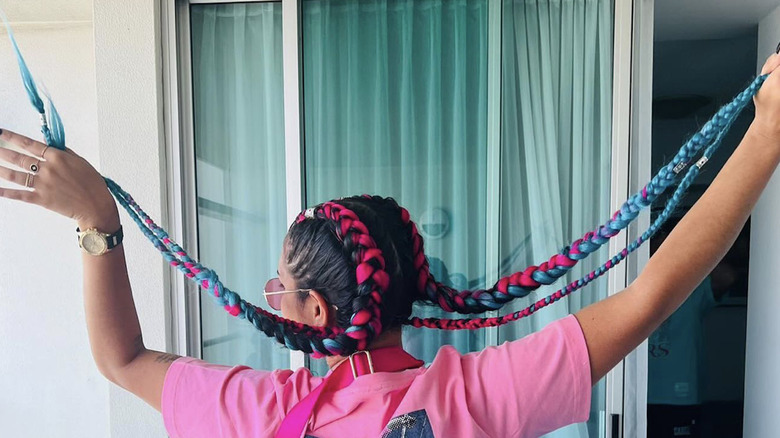
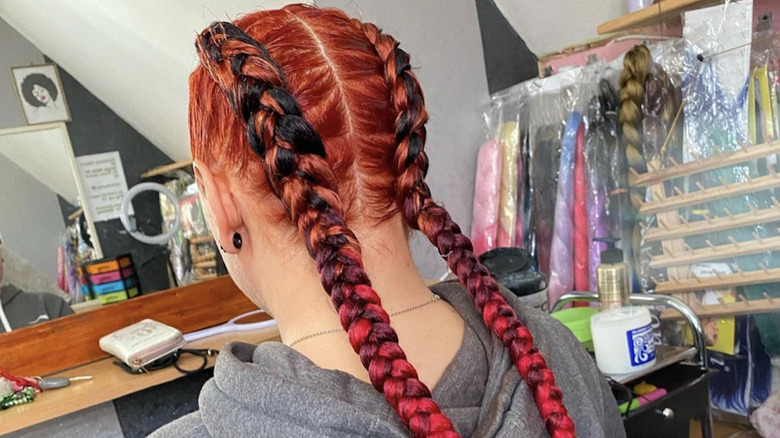
The most important thing you can do when learning how to Dutch braid is practice. It can take a while to get the hang of, but once you know the technique, you're free to create as many looks as you like. Perhaps the most common way to wear Dutch braids is by wearing two, but you can wear one, three, or any other number as well. As you get more confident, you can even braid some sections of your hair and leave the rest loose.
All Things Hair recommends reciting the steps of the braiding process out loud as you go. Though you might feel a little silly, this will help to cement the stages of the technique in your brain so you can learn them more quickly. And as scary as it sounds, it's actually better to braid without a mirror. Sometimes, watching your reflection can be confusing as you try to work out which section is the top and which is the bottom!
Hair experts generally agree that braids work better on dirty hair, so save this style for the day after washing, per Self. If your braid is looking a little thin, try "pancaking" it by gently tugging on the edges of each bunch of hair in the braid. Pull them out like you're tying a bow to make your hair look twice as voluminous. You can help the braid to stay in place by finishing with a spritz of hairspray.