How To Seamlessly Apply Nail Wraps For Your Easiest Mani Ever
Even if you love a fresh manicure, going to the nail salon and getting designs painted can be pricy and take up a lot of time in your day. If you try doing it at home, you'll know those tiny designs are hard to do. Nail technicians make everything look easy and have all the supplies they need to do intricate work. Luckily, there's a product that allows you to easily have a set of nails done at home that look like they were done by a professional.
Nail wraps are stretchy stickers that come in solid colors, glitters, and designs. They're easy to apply and will only take 10 to 15 minutes for a perfect manicure, according to PaintLab. These wraps are better than regular polish because they strengthen your nails like gel without damaging them. Plus, they last about 14 days. They even come in sets that you can mix for a perfect manicure that is unique to you.
Prep your nails
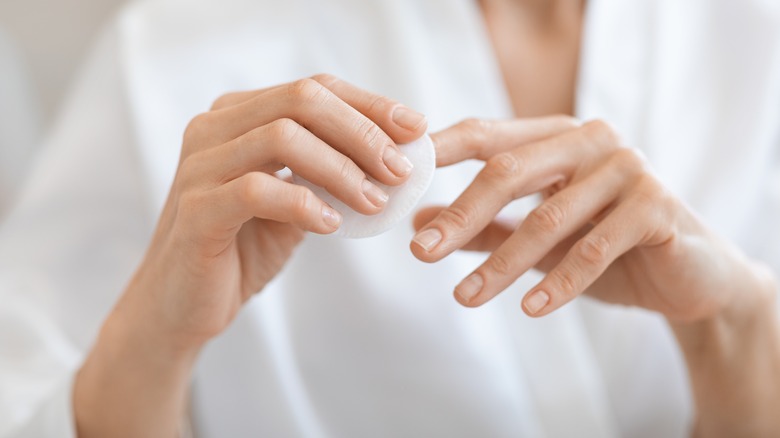
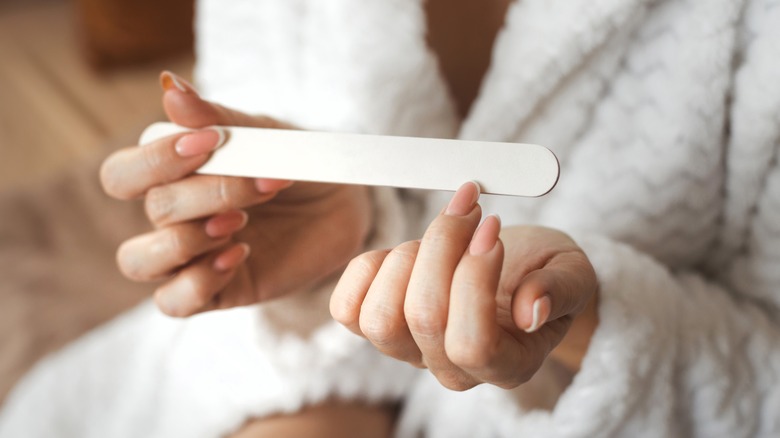
How you prep your nails determines how perfect your nail wrap manicure will look and how long it will last. First, wash your hands with soap and water. Then wipe nail polish remover or rubbing alcohol over your nail beds. This will remove any polish, lotion, or oil that may prevent the nail wraps from sticking correctly. If you don't like the current shape of your nails, now is the time to file them. After filing, you should buff your nail beds. Pretty Fab Nails recommends using a mild nail buffer. You want to lightly smooth the nail bed so the wraps can sit on an even surface.
Not all nail wrap kits add this step to their prep, but Logical Harmony suggests applying a base coat. Doing this gives the wraps something extra to stick to. That way, they won't start peeling off after a few days. A base coat also protects your nails from the polish. Dark colors can potentially stain them.
Apply the wraps
Applying wraps is easier than painting your nails at home. After opening the package, you'll see various sizes to choose from. Look through them and find the right size for each of your nails. The wraps should fit over them with some stretch. To put them on, peel them off their plastic backing. To start, press it slightly above your cuticle. Nails Mailed explains that you want to avoid any skin, because the wrap won't stick well to it — it will lift and peel off.
Once the wrap is tacked down near your cuticle, pull it over your entire nail and smooth out any bubbles. Most kits come with a wood cuticle pusher that you can use for this step, but your thumbnail will work just as well. Folding the extra material of the wrap over the tip of your nail is the trick to making your wraps last a long time. Let them sit for a few minutes to seal properly, and then use scissors to trim off the excess wrap. Filing the edge will give it a clean finish. Finally, you can apply a clear top coat to protect the wrap. To keep the wraps looking fresh, reapply the top coat every couple of days.