Everything You Need To Know About Polygel Nail Extensions
We may receive a commission on purchases made from links.
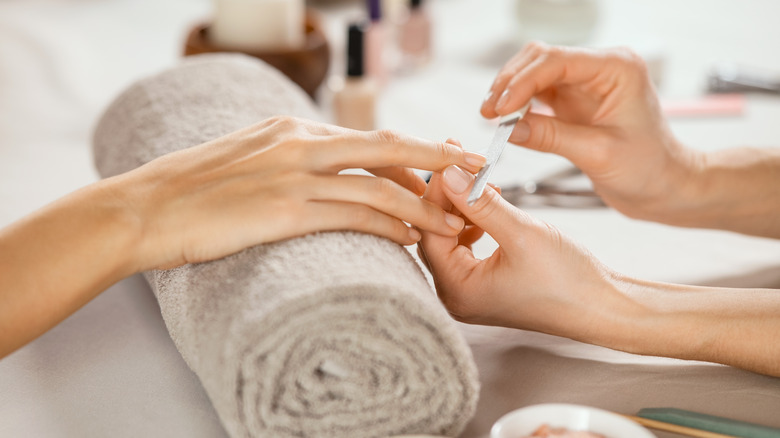
Little feels as good as sitting in a comfy chair and handing your grown-out, chewed-on, or poorly cared-for nails to a professional nail tech so they can work their magic. Bonus points if you stopped at a coffee shop first to have a fun drink to sip on while watching old music videos on the TV behind the nail technicians. As your tech trims, buffs, and applies the gel, acrylics, or something else, you're watching and wondering how they make it look so easy. If you've ever tried to give yourself nail extensions at home before, you know that the process is both tricky and sticky if you don't actually know what you're doing.
The nail products used in salons aren't all that difficult to get your hands on. Several Amazon sellers, and even more nail-specific websites, allow you to buy everything you need to create gel, acrylics, dip powder, and soft gel nail extensions. However, if you are looking to do your own nails at home, polygel nail extensions are a good place to start. Many salons also offer polygel nails at similar prices to acrylic nails if a DIY routine isn't your style. Now, let's go over all of the most important questions people have about polygel nails no matter how they get them done. Just take a look for yourself.
What are polygel nail extensions?
Polygel nail extensions have skyrocketed in popularity among expert nail techs and DIY nail artists. According to Nail Career Education, this new product is essentially a hybrid between gel polish and acrylic, giving you the best of both worlds. In fact, it has most of the strength and durability of acrylic along with the ease of use and forgiveness of gel products. Sounds wonderful, right? Though the application process is quite similar to acrylic, you will notice that the product doesn't demand to be manipulated quickly. The polygel keeps its consistency and stays in place while you form it to the nail bed. After a quick 30 or so seconds under the LED lamp, it hardens in the shape you created, leaving you with flawless nails (as long as you applied it correctly).
This new nail extension technique is quickly being learned by nail techs at salons while also being very accessible to people who enjoy doing their own nails at home. Polygel tubes are affordable, and you need very few supplies to get started. There are also countless tutorial videos available online for free to teach polygel application methods to anyone looking for them. If you're buying the polygel to use yourself, you can likely find a tutorial of the exact brand you're planning to use. This new nail product truly is that loved already, and it's only going to get more popular from here.
What's the difference between polygel nails and other nail techniques?
Even though polygel is called a combination of gel and acrylic, the hybrid stands on its own when compared to the two. Today, there are multiple ways to achieve long, durable, and gorgeous nails of varying shapes and colors including dip powder nails, GelX nails, press-on nails, hard gel nails, and acrylics. According to LeSalon, the biggest difference between acrylic and polygel is that it is lighter than acrylic, also with a lighter smell and lighter damage to your natural nails. Applying and removing the polygel require much less buffing and exposure to harsh chemicals like monomer and acetone, which is favorable for many with sensitive skin or noses.
Likely, the most similar nail enhancement technique to polygel is another newcomer, soft gel nail extensions. For this method, per Nail Pro, nail techs use LED/UV nail glue to attach soft gel nail tips to the prepared nail bed. Then, they paint the nails with gel polish, and voila! Like polygel nails, soft gel nail extensions are an affordable alternative to acrylics that can last just as long. However, polygel is still advantageous because it allows the nail artist to have more freedom in the shape and size of the nail. If you ever wanted endless customization, this is your option!
What are the benefits of polygel nails?
There are many benefits to polygel nails, which contributes to their rise in popularity over the last few years. Of course, they have all the same benefits as any other nail extensions, as well as some exclusive ones. As Vettsy points out, they reduce nail biting, which can be very damaging to the natural nail bed. Additionally, they are quick to apply, beginner-friendly, comparably affordable, and non-toxic, as explained by Mobray Gel.
One serious benefit that any polygel user will tell you is that it's much more flexible and lightweight than other nail enhancement options. Typically, nail extensions are extremely rigid, which is great when you like to make clicky-clacky noises on your keyboard but bad when your hand slips opening the car door and it feels like all your fingernails have been ripped off. Ouch! If you know the pain of a sprained nail bed, polygel could be a great alternative that is more likely to bend in these accidents.
What are the risks of polygel nails?
Unsurprisingly, this new nail method has very few reported risks and disadvantages. Inexperienced nail artists should beware, however, as even though this process is easier than other methods, it can still be difficult to master. Nails Pro Academy explains that there are many mistakes that one can make when trying out polygel the first few times. The site notes that the most common problems polygel users face include using too much slip solution to mold the gel and using too much polygel when creating their base.
On top of problems with the application, YouTuber Thank You Very Blush notes that even with the proper application the nails can be too soft or not durable enough for some wearers. For people who are not very rough on their nails, polygel can be a great option, but if you notice wear and tear on your acrylic nails normally after a few weeks, you will almost definitely see even more damage when you try out polygel. This con to polygel nails certainly lies on the user. Ultimately, depending on your job, daily activities, and how much you use your hands for laborious tasks, they will either be the best nail enhancements for you or the worst.
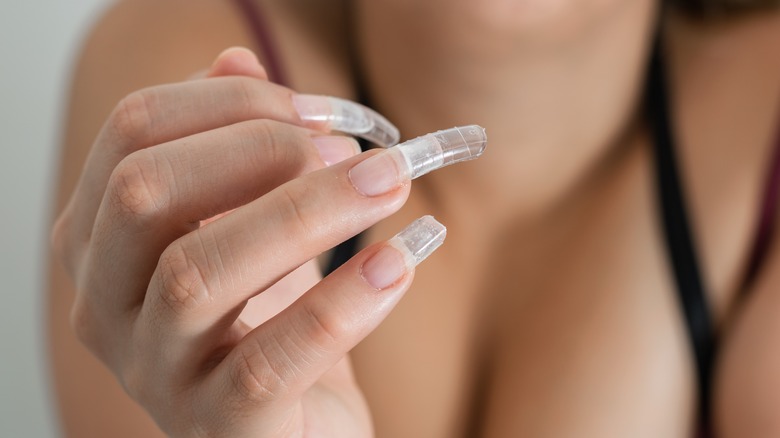
How do I apply polygel nails using dual forms?
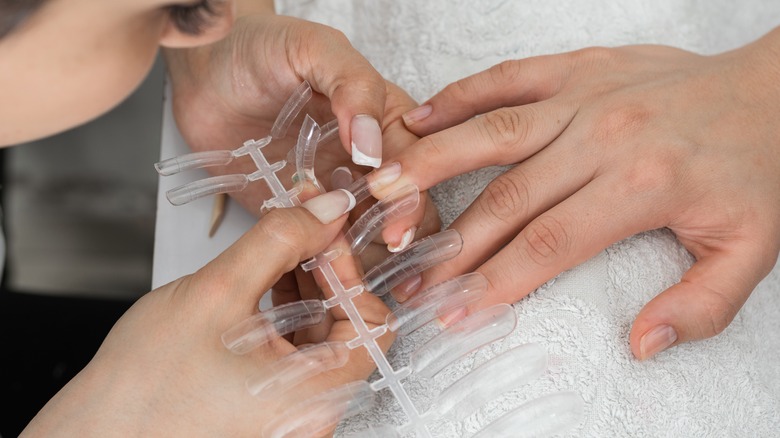
There are three main methods to apply polygel nails: dual forms, paper forms, or nail tips. When polygel was first seeing wide use at home and in salons, most people used dual forms. Even now, most polygel kits come with dual forms because the method is so popular. They ensure quick and smooth nails that come out more or less the same way each time. They are essentially the opposite of normal nail forms that you would use to create acrylic nails. They are made of hard plastic with faint lines etched into them so you can create the same length on all of your nails.
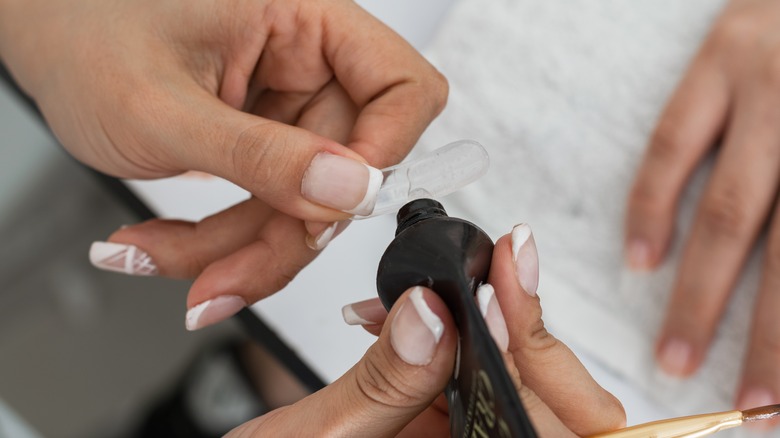
To use dual forms, you squeeze the polygel into it, smooth the product out, and place it onto your finger before curing it under a UV or LED lamp. After curing, you pop the dual form off of your nail and you are left with a smooth and hard nail extension that you simply file to your liking, as taught by Nail Career Education. Before using the dual forms, you should always prep your nails by buffing, applying dehydrator, and primer before getting to the polygel.
How do I apply polygel nails using paper forms?
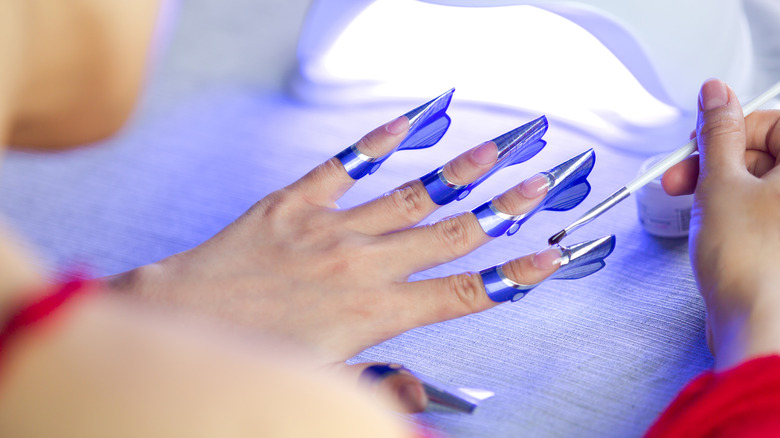
Most nail techs are familiar with paper nail forms. They often come in a roll, as stickers do, and they have a smooth metallic coating on them which makes them mostly waterproof. To use them, you wrap the sticker around your finger and under your nail to create a curved surface as an extension of your natural nail. They can take some practice to get right, but many nail technician YouTubers, like Young Nails INC, have in-depth videos showing how to put them on correctly.
Usually, paper nail forms are used to create acrylic nails. When using polygel, you use the forms the same way. After getting it snug under your nail, you add your poly gel and smooth it out over your natural nail. Because polygel is much stiffer and won't set up until you cure it, you can take your time molding it into the perfect shape across your nail and onto the form. Depending on how long the form is, you can make your polygel nails as long or as short as you desire, which can't always be said about the other methods. Once your nail is exactly how you want it to look, you can cure it under your nail lamp and peel the form off. You may need to do some additional filing to make all the free edges perfectly smooth.
How do I apply polygel nails without any forms?
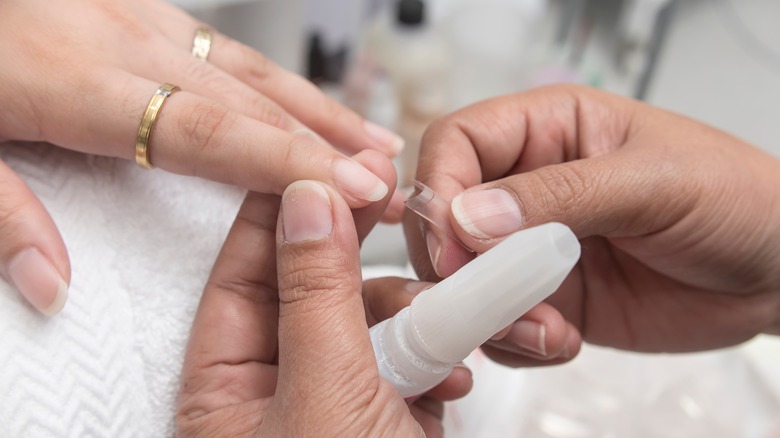
You can also apply polygel without any forms at all. One widely adopted method on YouTube uses full-cover nail tips or partial nail tips depending on the user's preference. For this method, you prep your nails as normal and then use your favorite nail glue to attach the tips. The glue can be normal press-on glue or LED/UV nail glue. Nails by Kamin on YouTube actually uses a gel base coat that acts like curable nail glue before adding the polygel.
Once the nails are prepped, the tips are added, and the final base coat has been applied, you can add your polygel. The polygel should be applied directly onto the nail either from the tube or from a spatula. Then, you will spread it out with a brush across the nail using the slip solution to keep it from sticking to your brush. While doing this you can continue to add more polygel to keep your apex strong and to create the nail length you prefer. Make sure the polygel is fully covering the nail tip before curing. After your nails are cured and hard, you will likely need to file them to make sure all of the nails look the same. Wipe the remaining dust with rubbing alcohol or acetone and finish them with a top coat.
Do polygel nails last longer than other nail extensions?

Like any other nail enhancement and extension method, polygel nails do not last forever. Their longevity relies on several different factors. What the user does for a living, how well the polygel is applied, and how rough the user is on the nails will dictate just how long the nails last. YouTuber Quynh Pham tried their hand at polygel and spoke about her experience on her YouTube channel saying, "I originally did my nails on August 5. It is now August 19, so it's been exactly two weeks since I originally did my nails," the explain in their YouTube video. "And to be honest they are actually holding up pretty well ... I can definitely see polygel nails lasting three to four weeks easily."
How long your polygel nails last is up to you. As with any type of artificial nails, they need to be cared for properly if you don't want them to chip, break, or pop off. If you've ever had false nails before, you have certainly heard the rules of care. In general, they include not using your nails as tools, keeping them as dry as you can, avoiding submerging them in water, choosing the right length for your lifestyle, and keeping your hands healthy with cuticle oil and hand cream.
What do you need to start doing polygel nails at home?
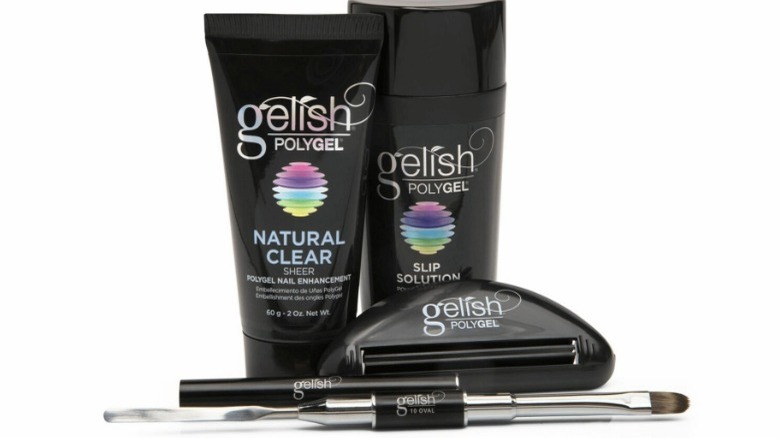
Compared to some other methods, like acrylics, it's much easier to start doing your own polygel nails at home. Plus, if you are unsure about whether or not you want to commit to polygel nails there are multiple different trial sets that you can try such as the Gelish limited trial set. This set includes all the basics you need to get started, including a tube of clear polygel, slip solution, a spatula, and a brush. In addition to these products, you will also need to purchase a UV or LED nail lamp, a nail file, rubbing alcohol, and a gel top coat if you don't have them already.
If you are pretty certain you'll like using polygel, there are many full polygel sets that you can order from Amazon or other sites that include multiple polygel colors, brushes, nail files, forms, and more. One highly rated full set on Amazon is the Beetles Poly Extension Gel Nail Kit. For about half the price of the Gelish trial set, you receive six polygel tubes, a pack of dual forms, a slip solution, a gel top coat, a gel foundation coat, a spatula, a brush, a nail file, and a mini nail lamp. Other polygel kits can also be found with items such as jewels, nail glue, pairs of tweezers, and other types of nail forms.
How much do polygel nails usually cost?

The cost of polygel nails varies greatly depending on whether or not you do them yourself, what brand you purchase the polygel from, and how many tubes, colors, and accessories you buy. If you get your polygel nails done at a salon, they can cost anywhere between $55 and $150 per set, as explained by Valentino Beauty Pure. The salon you go to and the quality of products they use is most often the cause of this price difference; however, extra long nails, intricate designs, and multiple colors can also drive the cost up.
The price of polygel is much different if you do it at home yourself. You can choose from a wide range of brands like trusted nail companies such as Gelish and Modelones, who provide artists with quality products at a slightly higher price. Or, you can take a peek at lesser-known brands that offer everything you need at a lower price. However, this can mean that the polygel isn't of the same caliber quality-wise. Most kits from unfamiliar brands are priced between $20 and $80.
How do you remove polygel?
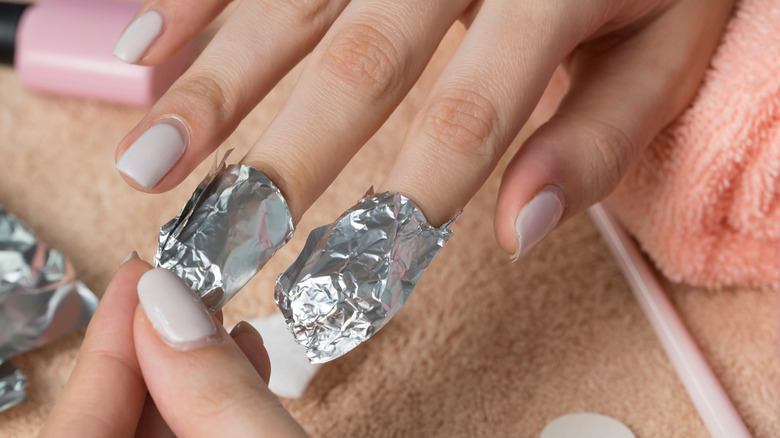
Removing polygel nails is said to be easier than removing any other kind of nail extensions. Like gel polish, they are normally removed with acetone, nail files, or a combination of both. Vettsy suggests starting any method by trimming the tips of the false nails short with a nail cutter. Then, file off at least the top layer of the gel top coat with a handheld nail file. This will allow any acetone you use to quickly start eating up the polygel underneath. If you plan to use the acetone method, the best way to start is by soaking cotton balls or pads with acetone and wrapping them to your nail surface with aluminum foil or nail clips. After about 10 minutes, you can take the pads off, and the polygel will be much softer. Then, you can gently scrape away the remaining gel with a cuticle pusher.
If you prefer not to use acetone on your nails, you can also file the polygel off. To do this, you can use an E-file or a handheld file. E-files can make the process go more quickly, but they are also more dangerous to use. Those who are unfamiliar with E-files should get some practice with a plastic hand before using it on themselves. No matter which you use, you will need to file until you make it to your natural nail, wipe away the dust, and massage some cuticle oil into your nail beds for good measure.
Now that you know how to achieve gorgeous polygel nails, why not give them a go? You never know; they could become your new go-to nail routine!