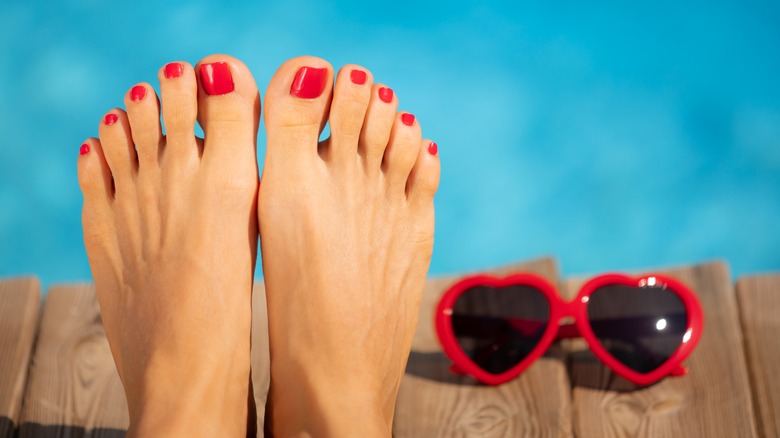
How To Get A Salon-Worthy Pedicure At Home
We may receive a commission on purchases made from links.
It may sound silly, but having beautiful feet can instantly improve your mood and boost your self-esteem. And beautiful feet, with soft skin and shaped nails, are only ever a pedicure away.
While many people incorporate professional pedicures into their monthly routines, and may even enjoy kicking back at their local salon, not everyone can get regular pedicures. Costing around $30 to $60 a pop, and taking anywhere from half an hour to an hour and a half to complete, frequent pedicures at the salon are simply not realistic for those with financial or time constraints.
That said, it is possible to get a salon-worthy pedicure from the comfort of your own home. While you may have to initially invest in the right tools, you'll be able to use these over and over again, which makes this DIY option more affordable in the long run. And for those who are pressed for time, the beauty of an at-home pedicure is the opportunity to multitask. Who says you can't respond to those pesky emails while your feet soak in an Epsom salt blend?
Follow these steps for a heavenly pedicure that will make you feel like you just returned from the salon.
Remove leftover nail polish

Removing leftover nail polish is a must when you're trying to get a professional-level pedicure at home. Acetone-based removers are generally harsher on the nails and the skin, but they tend to be more efficient at removing the last traces of color from your toes. If you are using an acetone remover, apply the product sparingly to a cotton ball, and rub the damp cotton ball thoroughly into the leftover nail polish.
If you get nail polish remover on the area surrounding your toes, your skin is likely to feel pretty dry. But you can tend to this later in the pedicure process with a trusty moisturizer. As a rule of thumb, try to avoid getting remover anywhere that's not necessary. While it's safe to use, it can cause damage to the skin and nails with over exposure and frequent use.
Even if you don't have an entire layer of color on your nails, it can be a good idea to brush over the nails with remover to eliminate any residue and start with a totally clean base.
Soak and exfoliate your feet
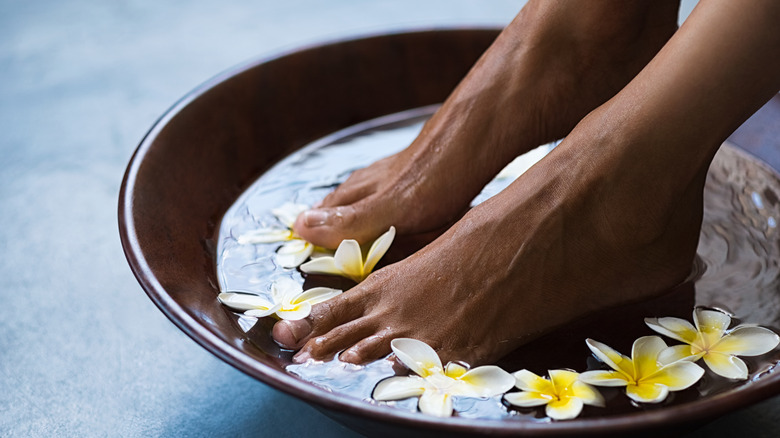
There is no pedicure without the soaking process. Add lukewarm water to a basin and stir in around half a cup of Epsom salt, then allow your feet to soak in the water for about 10 minutes (via Silkn.com). While hot water may feel nice, this can be drying for your feet, so stick with warm water. This step of the process is great for relaxation, but its primary purpose is to soften your feet.
An at-home foot bath with spa features can make your pedicure feel fancier, but it's not actually necessary. A simple basin or bucket will work just fine!
Once you've soaked your feet, move on to exfoliating, which will remove the dead skin cells and make your skin feel even softer. You can use a store-bought scrub for this or make your own with natural ingredients, including coffee grounds, brown sugar, and coconut oil. Gently massage the scrub into your skin, paying special attention to the areas that tend to be rougher, like the heels. Take your time with this and then rinse off all the scrub and dry off your feet.
Trim and shape your nails
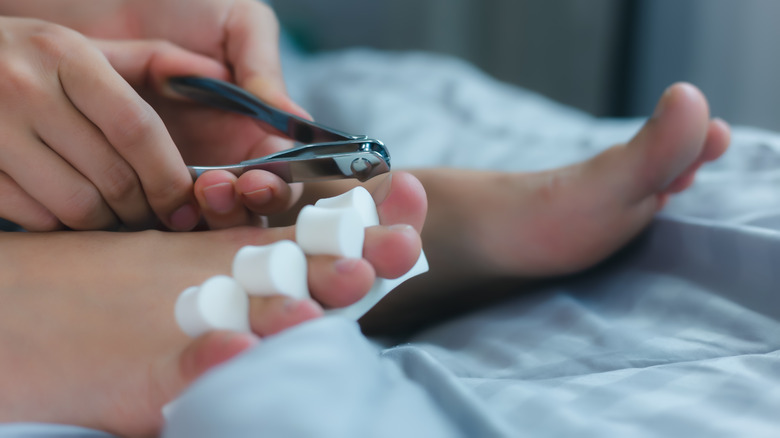
Now that you've treated the skin, it's time to pay attention to your nails. Trim them and file them according to the shape you want. You can choose any length and shape that you like, but the most common toenail shapes are round and square.
When it comes to cutting your toenails, Healthline advises using proper nail clippers or manicure scissors, rather than regular scissors. Also ensure your nails are completely dry before you cut them as this will reduce the chance of breakage. It's best to cut straight across the nail in two motions and then file them into your desired shape.
To elevate your at-home pedicure to a salon-quality pedicure, don't forget to buff your toenails. By rubbing your nails with a buffing board, you'll boost blood circulation in the area and smooth out the surface of the nail so that any nail polish you apply later on will look more professional.
Tend to your cuticles
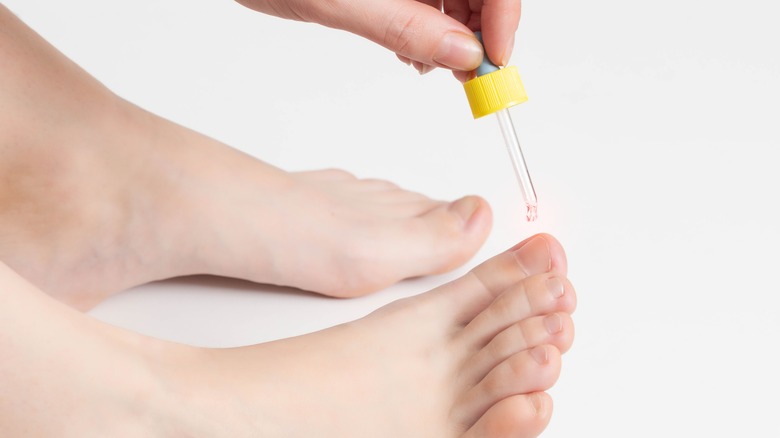
One of the most obvious differences between a professional pedicure and an at-home treatment is the presence of unruly cuticles. But you can simulate a salon experience by tending to your cuticles.
This layer of skin at the bottom of your nail bed should never be cut, as you can risk infection, per Salon Rates. However, it is safe to push the cuticles back using a cuticle stick. It's important to do this after your feet have been soaking, as the soaking process will soften them and make the skin more malleable. You can also add a drop of cuticle oil or cuticle cream to each nail bed to help soften them. Leave the oil or cream on for around five minutes to let it work its magic before pushing back the cuticles.
Once you have pushed back the cuticles, rub a moisturizer over your feet to add a dose of hydration and nourishment. Then wipe off your nails with a dry paper towel to prepare them for the next step.
Apply your nail polish
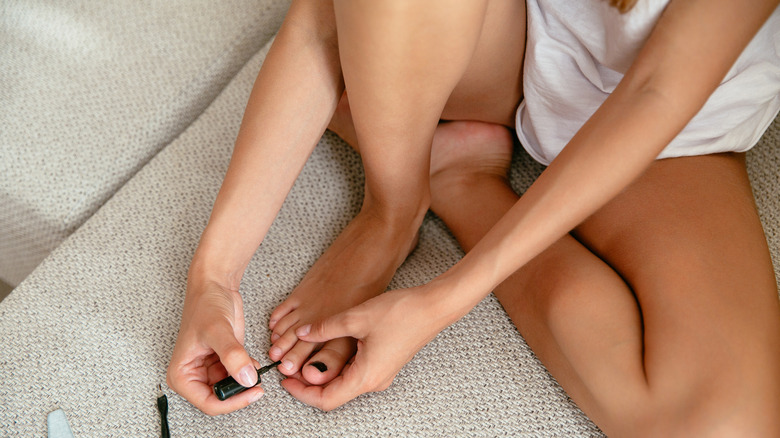
Technically speaking, a pedicure is a foot treatment, and nail polish is not a vital part of that. Whether you want to color your nails or not is up to you. But nail polish definitely helps to finish off the pedicure and make it feel like you've just come back from the salon.
If you are applying nail polish, start with a base coat. This will help your nail polish to stick properly to your nails (via Orly Beauty). Then apply a color of your choice, painting on the polish in short, straight strokes. Rather than applying too much color and having it spill onto the skin, use only a small amount to begin with and slowly build up the color. You might need to do two or three coats to get the desired effect.
Finish off with a top coat. Not only does your top coat add shine, but it seals in the color and will prevent the nail polish from chipping prematurely. In general, nail polish tends to last a few days before it starts to chip, but you can opt for longer-wear solutions that can last for much longer, such as the Essie Gel Couture Longwear Nail Polish.