Spring Cleaning Is Here For Your Makeup Bag (& It Can Help You Start Anew)
We may receive a commission on purchases made from links.
When most first think about spring cleaning, their messy garage or bedroom closet may come to mind. However, these aren't the only areas you should frequently be decluttering and organizing. In fact, it may be worthwhile to go through everything in your home, and your makeup bag is an area that probably needs some attention.
While it can be tedious, frequently cleaning out your makeup products is extremely important. If you neglect this task, you may begin to forget which products you own, which could lead you to purchase more than you need. Not only that, but you may also be holding onto products that you no longer use, which may be wasting space in your bag. Finally, not cleaning out your makeup bag may be causing you to use expired products on your face, which could spread bacteria and cause you to break out or get sick. This is why it's so important to follow the below five steps at least once a year.
Place everything in piles

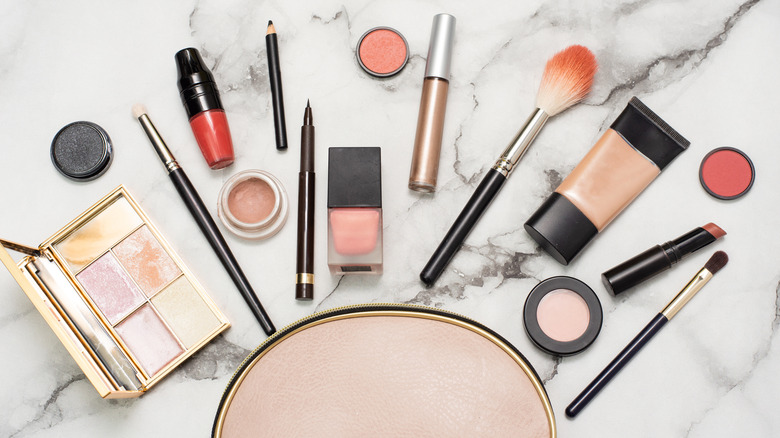
To begin cleaning out your makeup bag, remove everything and categorize it. The main benefit of this is that it will give you a full picture of how much makeup you have and which items you can part with. Placing everything on a white surface can also be helpful, as it will be easier to spot your items (as opposed to a multicolored counter, like one made of granite). If you don't have a white surface, you could lay down a towel.
There are multiple ways you could categorize your items. If you have a small collection, you could separate them into general piles: For instance, you could separate your lip, eye, and face products. On the other hand, those that have larger collections may need to be more specific. They may need to have a pile of lip pencils that's separate from their lipsticks, or have foundations separate from concealers.
Collect damaged or expired products
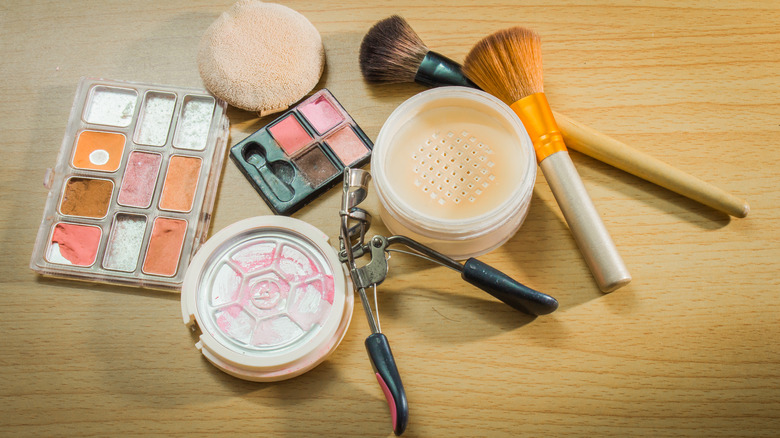
Next, purge your collection of anything that's damaged, expired, or that you're simply not using. Items that are damaged may be cracked, separated, or have broken packaging. To determine if something is expired, you'll need to look for the expiration or period after opening (POA) date, which could look something like this: "12M." This would mean that 12 months after the product has been opened is when it will expire. Therefore, for some products, you may need to think back to when you purchased them. If you can't remember, chances are that it's expired. Another way you could test your products is by inspecting them thoroughly — If they apply differently, aren't as pigmented, or are discolored, then there's a good chance that they need to be tossed.
Red Apple Lipstick also says that certain products have basic guidelines for how long they will generally last. Eye products like mascara and eyeliner will only last a few months to half a year, while liquid or cream products will last about a year, and powder products will last up to two years. Powder eyeshadows could last even longer — up to three years.
Donate or recycle what you can

While you may be tempted to throw all your damaged or expired items into the trash, this means that they'll most likely end up in a landfill. To avoid this, there are ways to recycle empties. For example, there's a website called TerraCycle, which allows you to send your emptied makeup and beauty products through the mail to a recycling depot. You'd need to purchase the Zero Waste Box that's specifically made for beauty products, which can also include empty skincare or hair care containers.
Further, if you want to get rid of products that you've never used or just barely tried that haven't expired, you could donate them. One organization you could mail your items to is called Project Beauty Share, which is located in Washington State. They accept any and all makeup brushes, unused lip products, mascaras, eyeliners, foundations, concealers, and lashes, and barely used eyeshadows, primers, pump foundations, powder blushes, powder bronzers, and powder highlighters.
Choose the right container

The next step is to choose the right container to keep your makeup products in. While this may not seem all that important, it is extremely crucial, especially if you store your products in the bathroom. If you often leave your makeup products out on the counter, bacteria and moisture in the air could be on your makeup products, which could spread them onto your face and make you sick. Therefore, if you want to store them in the bathroom, keep them inside a closed container, and there are plenty of options to choose from. Amazon sells a waterproof case with multiple sections that would keep everything nice and neat. If you want something a bit more structured, Ulta has a makeup case that opens from two latches. Those with a small collection may prefer a smaller container, which could be purchased from Target.
If you keep your products in another area of the home such as the bedroom or closet, you could keep them out in the open. For instance, Ulta sells clear containers that house lipsticks, or you could keep all your makeup brushes in an acrylic holder from Amazon.
Clean and organize your products
Once you've chosen the right container, you'll need to organize all your products. If possible, try to keep similar items together, like all the brushes separate from the eye products. However, some bags may not allow for this, so keep that in mind when choosing the right container. There are also other ways you could separate out your collection, such as by what you use every day versus only on special occasions.
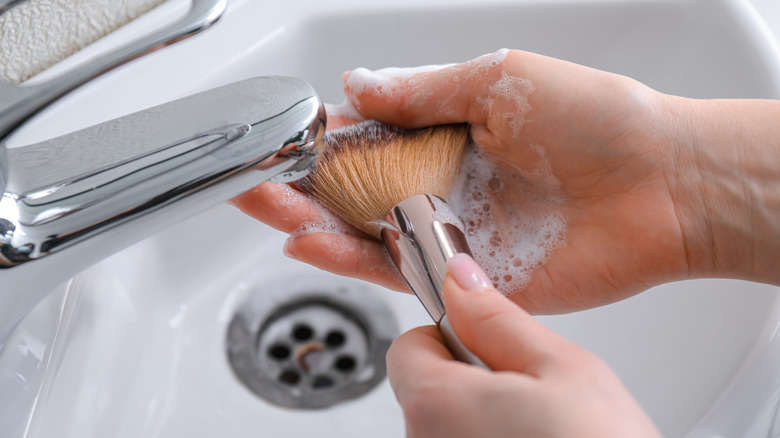
Before you start putting everything away, now is the perfect time to clean your makeup brushes, tools, and containers. To clean your brushes, you may need to purchase a kit, sold from Amazon. There are also many cleaners to choose from, and the Makeup Brush Cleaner by Cinema Secrets, sold from Sephora, is well-liked. Allow your brushes to completely dry before placing them inside your container. You could also wipe down the outside of your makeup's packaging with a damp cloth to remove any smudges or fingerprints.