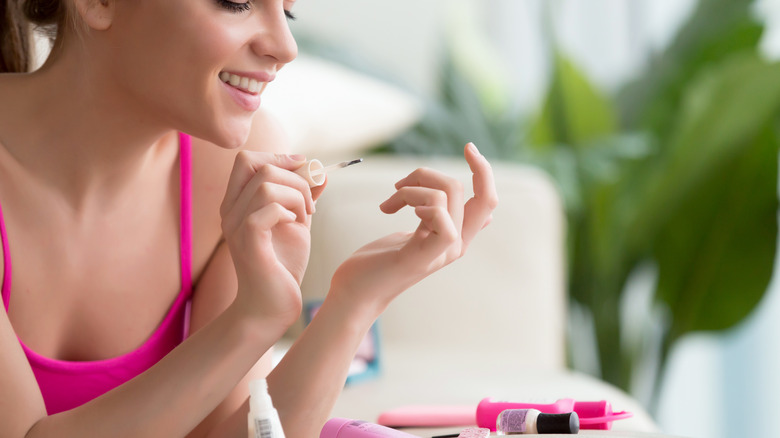
Our Guide To At-Home Nail Tool Cleaning (Because, Yes, We Should Be Doing It Regularly)
Nail salons of course clean their tools between clients, but did you know you should be cleaning your nail clippers at home too? Sure, you're the only one who uses your personal nail tools, but just because the germs on them are yours doesn't mean they're not harmful. Blanc Bridal Salon explains that using dirty nail tools puts you at risk of bacterial, viral, and fungal infections. However, you would need to accidentally break the skin for this to happen. You should also be careful if you have diabetes, a low immune system, or circulation issues because you are at a higher risk of a possible infection from dirty tools.
Professional salons must follow the state's board of cosmetology and hairstyling to continue operating, requiring them to clean and sanitize their nail tools. They scrub them with soap and water, soak them in sanitizer, and run them through an autoclave. While this isn't mandatory for you to do at home, you should do it to stay clean.
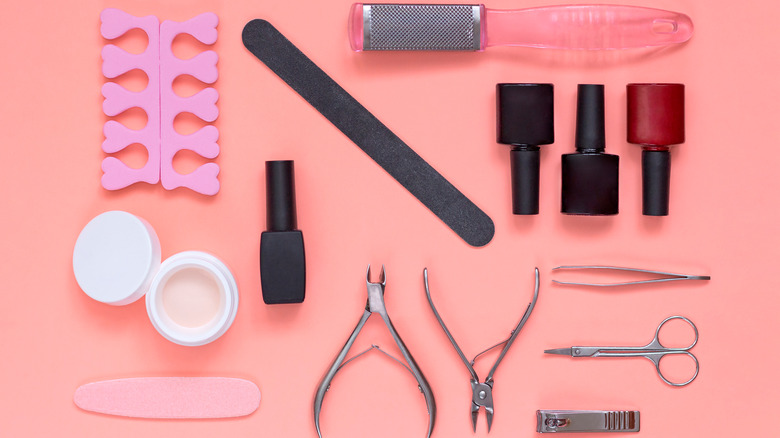
Nail clippers and scissors
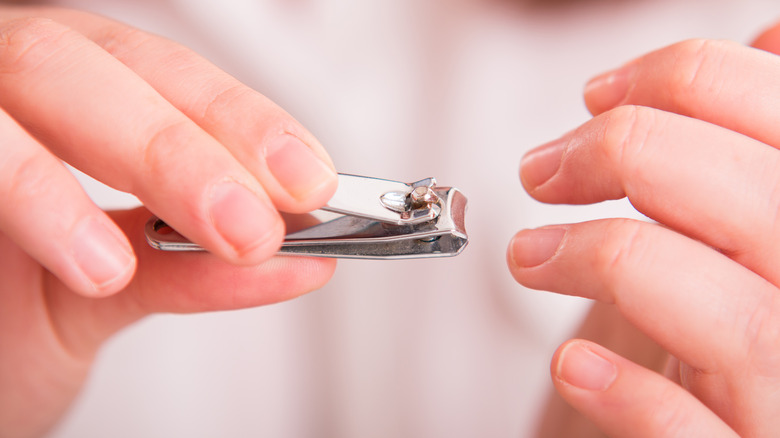
Nail clippers and scissors are some of the most straightforward tools to clean at home. The first step in this process is to wash your hands with soap and water. Then you're going to inspect your tools and brush off any dirt, nail clippings, or polish. You can use a toothbrush if you're having trouble removing the crud. It's essential to remove as much debris as possible before you get to the disinfecting step, because the more lingering germs, the harder it is for the cleaning solution to do its job.
When washing manicure instruments, you want to clean and disinfect them. Take your tools to a sink and scrub them with antibacterial soap and your brush. Then, you'll need hydrogen peroxide to ensure that they're sanitized from any lingering bacteria. Fill a container big enough to submerge your nail clippers with the disinfectant completely. Let your instruments soak for three to five minutes before removing them and leaving them to dry on a paper towel.
Nail file
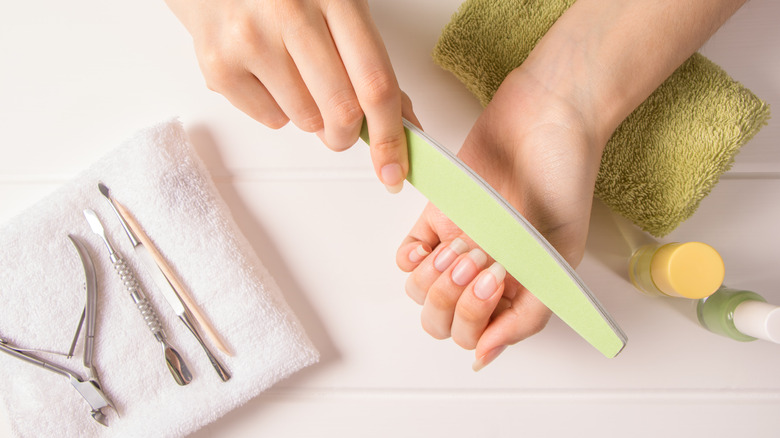
Nail files are more tricky to clean because they are porous. This means they're covered in little holes that absorb any liquid you would use to sanitize. If you were in a salon setting, emery boards are considered single-use tools that should be disposed of after every client's service. Since you're at home using the files on yourself, you don't have to throw them away as long as you clean them. Routinely washing them will prolong their life, according to Long Nails QnA.
You'll notice a build-up of white powder accumulating on them as you use your nail files. The longer you go without cleaning it off, the thicker a layer of debris you'll have to remove. If this is your first time cleaning your nail file, you'll need to do a deep clean. Soak them in lukewarm water and wipe the debris off with a sponge. It's best to clean your files after every use. When you're doing a quick wash, all you have to do is gently rub the dust off with a damp sponge.
Cuticle nippers
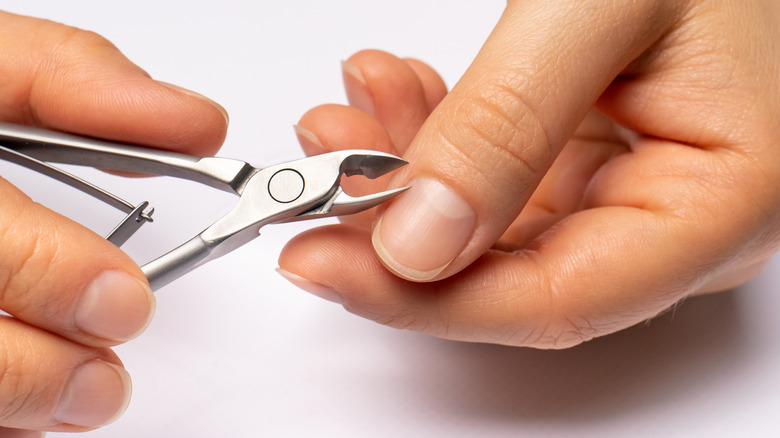
Cuticle nippers are cleaned similarly to nail clippers and scissors, because they are metal tools. With freshly washed hands, you should inspect for any debris and remove it with a brush. Then give the tool a good scrub with soapy hot water. If you want to really go above and beyond with the gunk and germ removal, Sugar Me Beauty recommends taking the extra step of soaking them in a bowl filled with warm water and a couple of drops of soap.
When it's time to disinfect, make sure your hands are rewashed before taking the cuticle nippers out of the water. Pat your tools dry with a paper towel before placing them into another container filled with 70% isopropyl alcohol. To be thoroughly clean, they need to be submerged in the liquid. After 30 minutes, you can remove them and let them air dry on a paper towel.
Nail brush
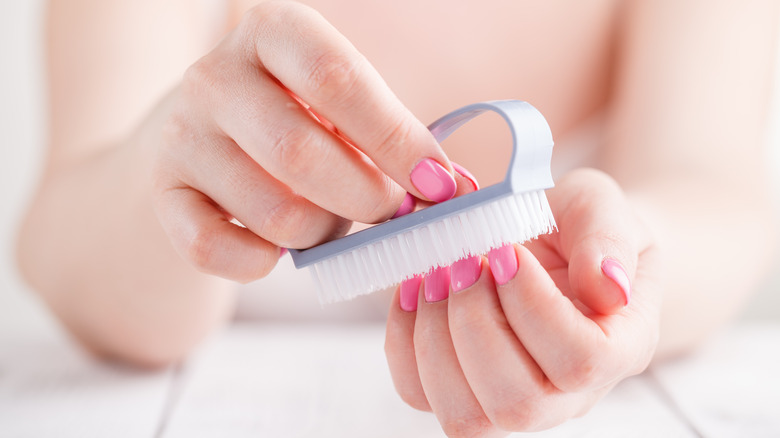
Nail brushes can be tricky to clean because you'll need another one to clean them. Make sure you're standing over a garbage can so all the dust and debris land in there and not all over your home. With the other clean brush, scrub the bristles of your nail brush until all the dirt falls out. Then take it over to your sink and wash it with hot water and antibacterial soap. Once you're done, dry it off with a cloth towel since the bristles will most likely tear apart a paper towel.
To disinfect your nail brush, you have a couple of options. Salons Direct Blog recommends using a commercial instrument and tool disinfectant that you would dilute according to the packaging. If you're using a product like this, make sure to listen to the manufacturer's soak time as well. Leaving your tools in too long can cause corrosion. However, you can also use at least 70% ethyl alcohol to kill any bacteria by letting them soak for 10 minutes. Of course, always allow them to dry before storing them.
Buffer
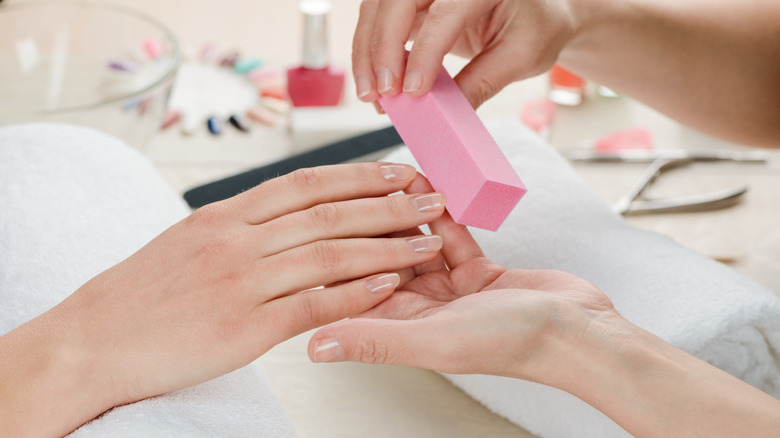
A nail buffer is another porous tool that shouldn't be submerged in liquid. This tool works similarly to files, but they smooth the surface of the nail bed rather than shaping the edge. The sandpaper is usually placed on a foam cushion, making them even harder to clean since it will absorb lots of liquid. That said, The Nail Superstore.com has a method to disinfect them.
First, use a brush to remove the white powder that your nails leave on the sandpaper. Then fill a spray bottle with 60% to 90% isopropyl alcohol. If you don't have any at home, you can substitute it with ethyl alcohol. Simply spray all over your buffer, ensuring it is completely covered. Wait five minutes for the alcohol to kill all of the bacteria. Then fold your buffer in a towel and press down on every side. Doing this should remove any moisture from the foam. Finally, leave it out to dry completely.
Cuticle pusher
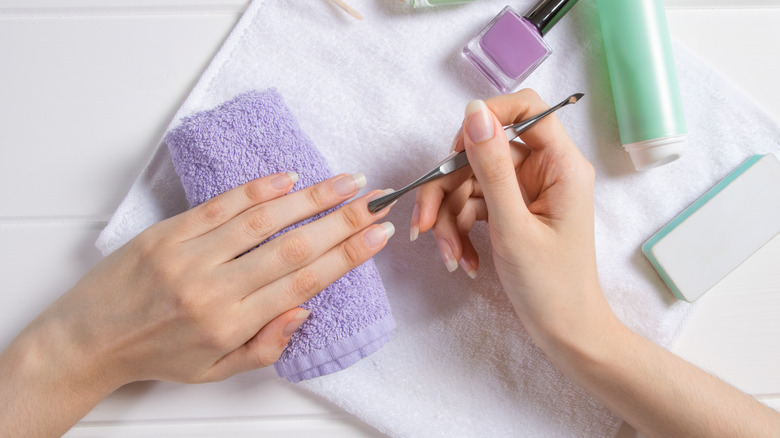
There are multiple ways to clean and disinfect nail tools like cuticle pushers. If you're using a wooden cuticle stick, you should dispose of it instead of trying to use sanitizers on it. Then there are metal pushers. These will last you the longest because they can be cleaned and used a multitude of times before they fall apart, if they even do. With clean hands, you'll do the same brushing with antibacterial soap as you would with your other metal tools.
Now that they're clean, you can adequately disinfect them. If you don't have any hydrogen peroxide, isopropyl alcohol, or ethyl alcohol available, you can still get rid of bacteria with water. Fill a pot with water and place your tools inside. Once the water is boiling on your stove, set a timer for 20 minutes to sanitize them. Then you can remove them with tongs and place them on a paper towel to dry.
Callus remover
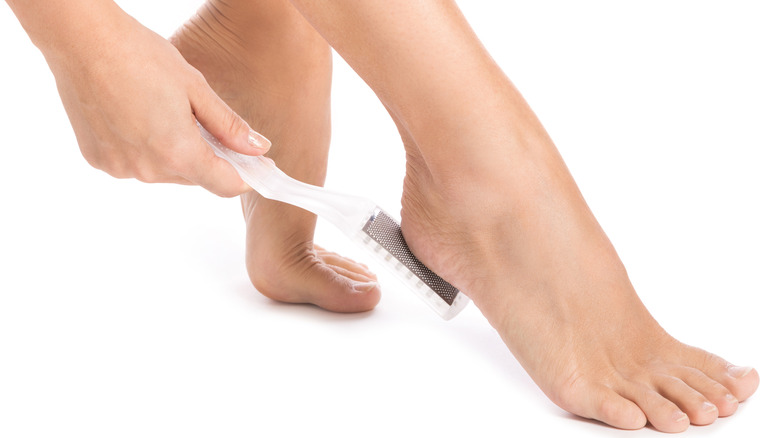
How to clean your callus remover depends on the type that you own. If you use a foot file on a paddle, it may be plastic or metal. For the plastic ones, you'll first need to peel off the file pad from the handle and dispose of it. With metal paddles, you won't have to place a new sheet for every use, but you will have to wash off the callus residue. You can do this by running it under hot water.
Once you've removed any debris, it's time to clean it. Antibacterial soap is best, but you can also use dish soap if that's all you have available. Ensure you're using hot water and scrubbing the whole paddle, including the handle. Nancy K. Brown recommends using a soft bristle brush when it's time to clean the callus remover. When you're done, place it on a paper towel to dry before you put it away.
Nail art brush
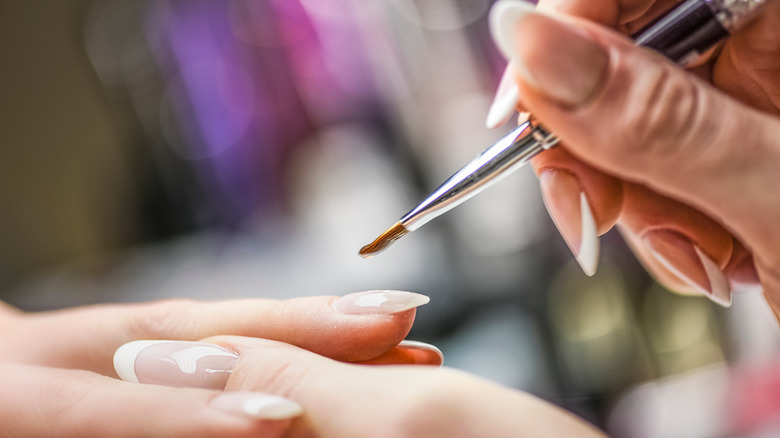
Cleaning nail art brushes as soon as possible is essential to prevent them from being ruined. Polish, gel, and acrylic can cause the bristles to stick together, and once they dry, removing them without losing parts of your brush is even more challenging. When painting art on your nail, keep paper towels and cleansers nearby to clean your brush right away or between colors. NAILS Magazine recommends using alcohol to remove gel and acetone for regular polish.
To clean your brushes, pour some cleanser on the paper towel and wipe the product off. Then use the wet towel to pinch the tip of the bristles to help maintain their shape. Another way is to roll your tool over the paper towel. However, you should never push the hairs straight down. With either method, continue to do it until your brush is clean. Then leave them out to dry on a fresh paper towel.
The right way to store clean tools
After you've cleaned all your nail tools at home, you need to store them properly. If not, you may be unknowingly getting them dirty again. John D. Hollander, DPM, warns against keeping instruments sealed up tightly in a plastic bag or container. If the tools can't breathe, it's only a matter of time before bacteria starts bubbling up. This is even more likely to happen if you don't let your tools dry before putting them away.
The best spot for your freshly cleaned nail instruments? Something along the lines of a designated tool-only makeup bag, drawer, or shelf. Otherwise, you may accidentally contaminate your disinfected nail clippers with a dirty buffer. To prevent this from happening, it's best to have two separate places for storing instruments. One should be labeled for ready-to-use items and the other for ones that need to be sanitized. It's also a good habit to keep your tools wrapped in a clean paper towel before you put them away.