How To Properly Clean Your Derma Roller Between Uses
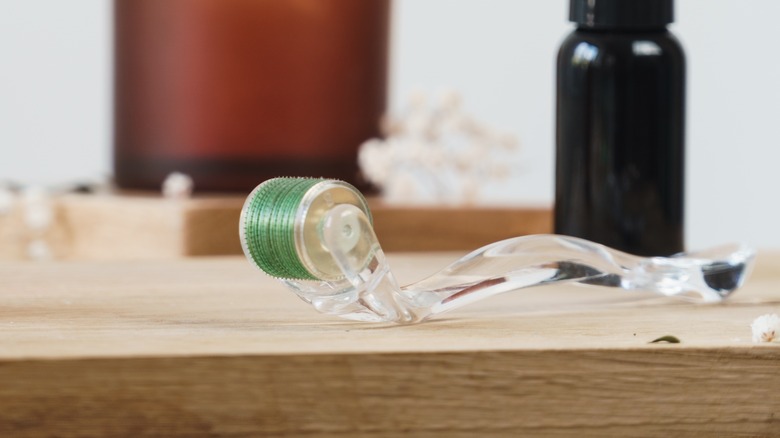
If you're up-to-date on the latest skincare trends, you've likely heard (or currently use!) a derma roller. "A dermaroller is a tiny handheld wheel with needles on it, meant to puncture the skin and induce collagen, improve texture, fade acne scars, and allow for better product penetration," celebrity facialist Candace Marino explains to Marie Claire. But it's not just helpful for the face; per the American Academy of Dermatology, when used on the scalp, derma rollers can "help stimulate hair growth."
This miraculous little tool has gradually found its way from dermatology clinics to social media to our homes. But as at-home microneedling has become the new norm, do we take the same care in cleaning and disinfecting our trusted derma rolling tools as dermatologists do? The short answer is yes — cleaning your derma roller is crucial. Dirt, residue, and oils accumulate with every use, and failing to clean your derma roller may allow bacteria and germs to grow that will find their way to your skin and scalp in the following application. Thankfully, properly cleaning your derma roller between uses is an easy four-step process.
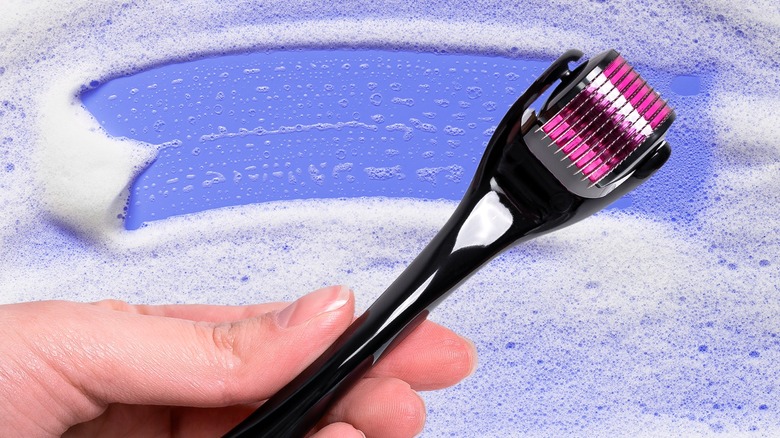
Use soap water to remove residue
You've followed the ultimate guide to dermarolling for excellent results, but you need to keep your tool in pristine condition too. So, following each use, remove dust and dirt by gently brushing your derma roller with a soft-bristle brush. You must be very careful during this step, as the needles of the derma roller are very thin and delicate, so any heavy brushing can result in breakage.
After the heavier layers of dust have been removed, immerse your trusted tool in a soap and water solution. Preferably use hot water if you can; as Havana Skin Clinic notes, boiling water will better clean the derma roller than cold water.
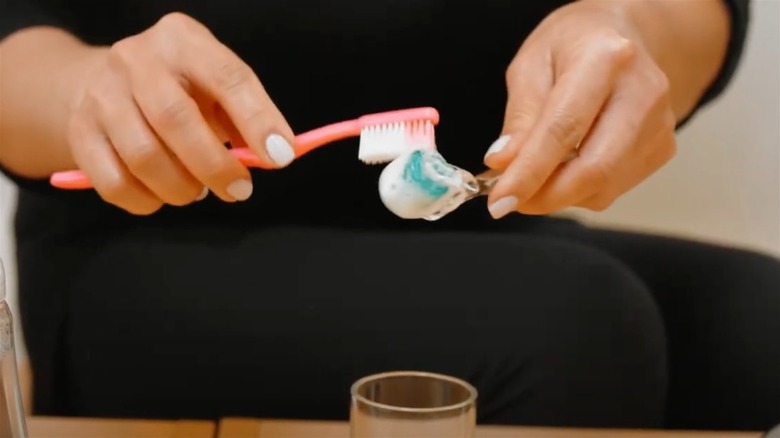
While the derma roller is in the soap water, and given that the water has cooled enough, you can use a sponge or toothbrush to clear the needles further and tackle debris that still lingers around. Remove the derma from the soap water and thoroughly rinse it before moving on to the next step.
Use alcohol to disinfect
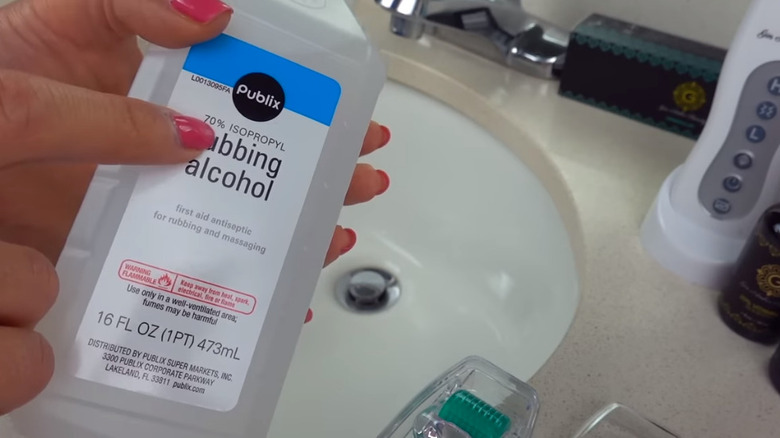
While cleaning your derma roller with hot soap and water will remove dirt and residue, it will not, unfortunately, disinfect it. Water does not kill bacteria and germs, so you run the risk of infecting yourself with the next use. In order to be absolutely safe, you must use alcohol to properly disinfect your derma roller. In a YouTube video, esthetician and founder of Stacked Skincare, Kerry Benjamin, advises using a 91% rubbing alcohol solution. Alternatively, you can choose a 70% isopropyl alcohol (via Healthline) to disinfect your derma roller.
Both of these solutions will kill bacteria and disinfect your derma roller. As Medical News Today explains, isopropyl alcohol is "pure" without any added ingredients, whereas rubbing alcohol has "other ingredients," including water, added to it. The former is more potent (since the alcohol is not diluted), and thus, a lower percentage consistency is required. However, you can use either one.
Immerse your derma roller in alcohol
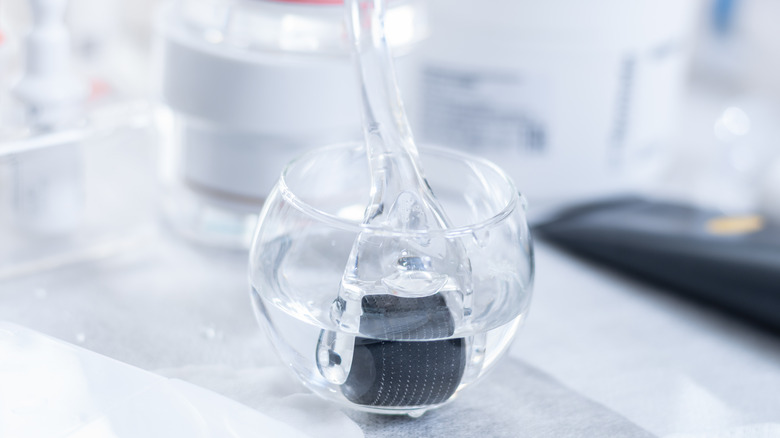
Fill a clean bowl or glass with the alcohol and place your derma roller in with the head of the roller facing down. Make sure the head with the needles is fully immersed in the liquid. There is no need to immerse the handle in the alcohol.
However, if you do want to disinfect that part of the derma roller, you can do so by gently rubbing the handle with a cotton pad infused with the alcohol solution. In her video, Kerry Benjamin advises keeping the derma roller in the alcohol for three to five minutes until it is thoroughly sanitized.
Let the derma roller dry on a clean surface
After disinfecting your derma roller in alcohol, carefully remove it and lay it on a clean surface or a clean towel to air dry. During the drying process, ensure that the roller is positioned upside down, with the needles facing upwards. If the needles are touching the surface, consider placing a small object under the handle to elevate the roller head.
This is a good time to inspect your derma roller's needles. Are any of the needles broken or bent? If so, then you need to replace your derma roller, as faulty needles can cause unnecessary skin irritation and will not give you the optimal results you are looking for.
After confirming that your reliable skincare (and haircare!) tool has passed the test, allow it to air dry completely before storing it in an airtight container. And there you have it! By keeping your derma roller in pristine and disinfected condition, you ensure that your skincare and haircare routines are safe and effective.