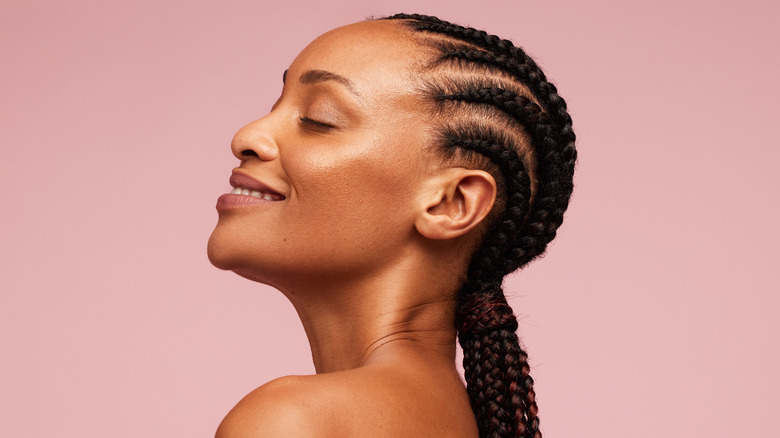
How To Cornrow Your Own Hair At Home
We may receive a commission on purchases made from links.
Doing your hair is a practice few people have the patience for or skill required. Your arms can cramp up, you might cut your hair a bit too far, and it could end up not looking like what you wanted. Yet, there's a good chance you haven't figured out the best technique for a DIY hair routine. It's the same with cornrows, or cane-rows, a hairstyle Curls and Cocoa describes as a technique of braiding the hair close or attached to the scalp.
Unlike traditional braiding techniques where the hair is plaited away from the scalp, cornrows are interwoven flat on the scalp. Our favorite thing about cornrows? Their versatility. From Fulani braids and Ghana weaving to thick bulky cornrows and even thin feed-in rows, cornrows form the basis for several hairstyles, like sew-ins and crochet twists, and can be incorporated into many more (via Ebena).
According to Genesis Career College, cornrows are a protective style that originated around 3000 B.C. by several African tribes who made their hair either by themselves or in groups with family members. They were also used to signify status in society. Cornrows and the perception around them have evolved in many ways, but the principle is still the same — and you can do it yourself, too. Here's everything you need to know to DIY your very own cornrows from the comfort of home.
Start with freshly cleaned and conditioned hair
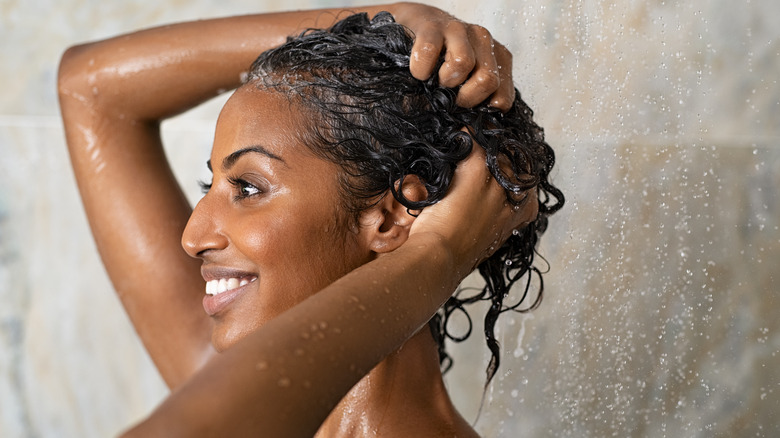
Believe it or not, dirt and build-up can weigh down your hair and be the reason why your hairstyles don't look the way you want them to. Always start by washing your hair with a clarifying shampoo, like the Kinky Curly Come Clean Natural Moisturizing Shampoo, to get rid of the build-up from any previous hairstyle. Follow this up with a hydrating rinse-out conditioner to add some much-needed hydration to your hair, per All Things Hair.
After prepping your hair with shampoo and conditioner, apply some leave-in conditioner for extra moisture and slip. You can get it around your hair by sectioning first and applying a generous amount, running it from root to tip. You can also use the LOC cocktail, a technique that Carol's Daughter explains helps you seal moisture into the hair shaft by going in with leave-in conditioner first (L); applying an oil suited to your hair's porosity next (O), like jojoba or coconut oil; and finishing up with a hair cream or butter (C).
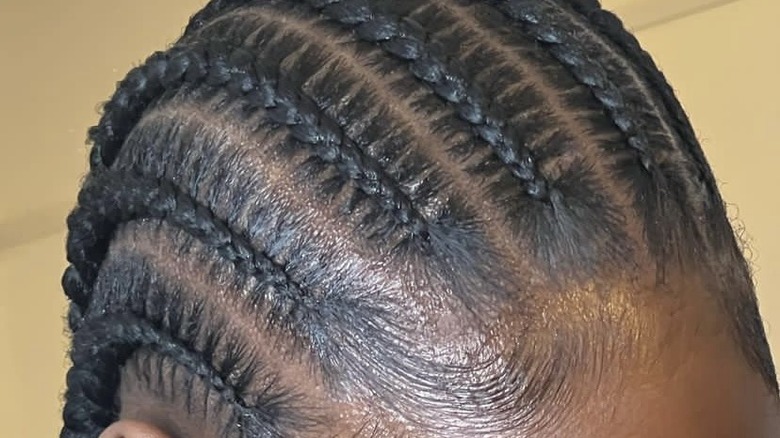
Create your partings
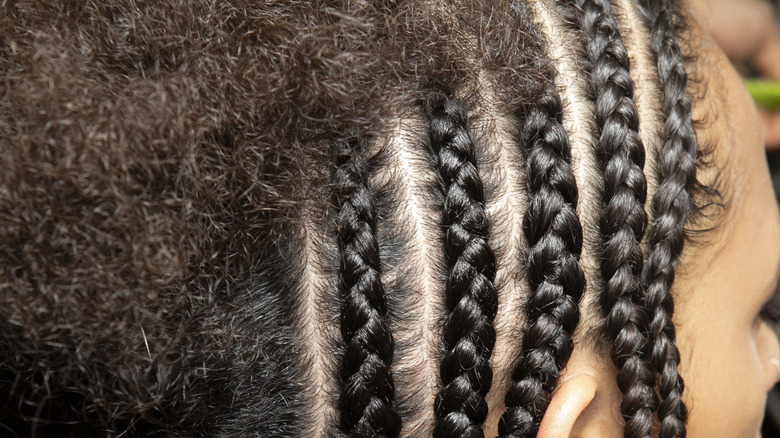
Cornrows follow the distinct pattern of rows of corn in a field — hence the name. With the same idea here, Afrocenchix says to begin by dividing your hair into sections that run from the hairline around your forehead to your nape. If you're a beginner and have no idea how large or small your partings should be, keep in mind that cornrows need your arms to be up for a while. It's best to start small, or in this case, with large partings or sections.
Using a rat tail comb, run it through the large sections you made a few moments ago and divide the sections into even smaller ones that run from your forehead to your nape, following the curve of your ear. Experienced braiders can make parts from the middle of their hair, but for a much easier time, we recommend doing them first from either side of your head. Use hair clips or butterfly clips to hold the rest of the larger sections after making your first part, according to Ipsy. Now that you have your first part, let's get to making the cornrow.
Then, make the cornrow
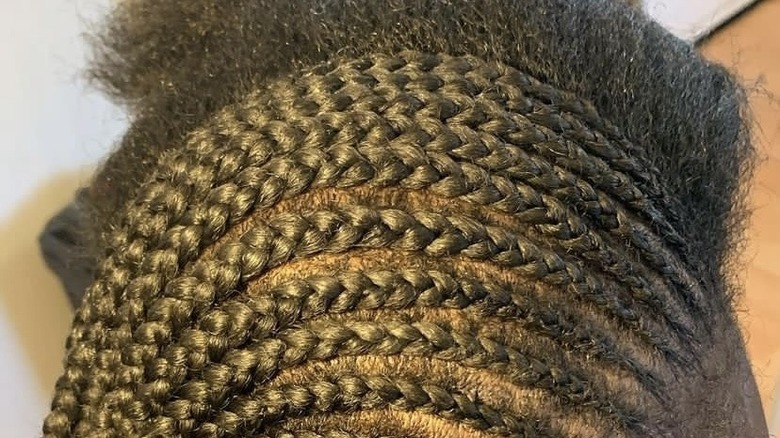
After creating your part, spritz your hair with some water and leave-in conditioner from a spray bottle and use a bit of braiding gel, such as the Shine N Jam Magic Fingers for Braiders, on your hairline area. In a braiding tutorial by Breanna Rutter on YouTube, she explains that you start by taking some hair from the hairline of your part and dividing it into three equal sections, which she dubs the "legs" of the braids. Using an interlocking method of sorts, take the right leg, or the section closest to your ear, and cross it to the middle position from behind. This shifts the previous middle section to the right side. Next, take the left leg or section and cross it to the middle by going under — not over.
Per Breanna's technique, take a bit of hair from behind your hairline as you cross, gradually taking up all the hair by holding the part closest to the scalp and crossing it under until you get to your nape. Then braid the rest of the hair using the traditional three-strand method (via Afrocenchix). Remember, only plait following the curve of your ear. Repeat the process by creating a smaller part from your section, spraying a light mist of your spray bottle mix, and plaiting from hairline to nape.
Learn more about cornrows
Cornrows are never supposed to hurt. If the process of plaiting feels uncomfortable or outright painful, reduce the tension of your hands, or how tightly you're holding each section. It's also crucial you don't braid dry, brittle hair. With cornrows, moisture is your hair's best friend. This is why Eya Naturals recommends having a spray bottle with only water or a mix of water and hair oil, like olive oil or rosemary oil, at hand and spritzing your hair between partings. You can also opt for a mix of water and a small amount of your favorite leave-in conditioner shaken together. Either way, don't be afraid to dampen it up.
And when done with all your parts or sections, get some edge control, including the highly rated Design Essentials Sleek MAX Edge Control, and make some swoops or smooth them back with the rest of your hair, notes All Things Hair. And there you have it — cornrows made by your very own hands.