How To Prevent Bubbles In Your Nail Polish

Everyone loves to have their nails painted. Whether you like gel manicures or classic nail polish, getting your nails done is a simple way to upgrade your look. However, getting a mani can become expensive if you plan to get gels or acrylics. Given the frequent visits that are necessary to remove and redo a nail polish design, these options aren't always affordable or convenient either. Regular nail polishes can give you more flexibility for a lower price tag. And while gels last longer, Orly Beauty notes that removing standard polish is easier on and healthier for your nails. Although regular nail polish is more affordable, it can still be daunting to do your manicure yourself. Besides the issue of covering your entire nail correctly, you might have to deal with the dreaded air bubbles when using regular nail polish.
While bubbles might not be a dealbreaker when choosing to use nail polish, they can still be bothersome. Bubbles can ruin your look, and if you plan to do nail art, they can ruin your nail design. But instead of getting frustrated by bubbling polish, take these few steps to ensure a perfect application.
Prepare your nails and your polish
If you are starting to see bubbles from your nail polish, consider grabbing a new bottle soon. ND Nail Supply explains that bubbles usually occur in thick or expired lacquer. If you haven't used it in a while, you want to roll it between your hands to ensure that the product is sufficiently mixed. Avoid shaking the bottle, as this will cause many more small bubbles to form. Before you start painting, you also want to ensure you are polishing clean nails. Oily or dirty nails can also cause bubbles by not allowing the product to dry quickly enough. Make sure to wash your hands before painting them, and allow them to dry before coating them with nail polish.
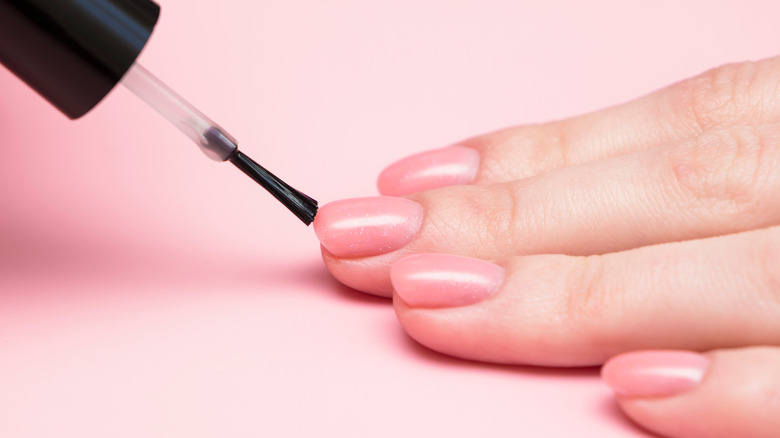
The Beauty Department adds that sometimes bubbles can form when we try to paint our nails using shorter swipes. Use longer strokes and avoid lifting your brush, as leaving it closer to the nails will lessen the probability of bubbles forming after it dries. Another bad habit that can cause bubbles is not waiting for your polish to dry. Whether you are waiting on a base or nail polish coat, if you attempt to paint over a wet surface, it will cause bubbles. If none of these tips help prevent bubbles, it might be due to expired nail polish.
How to apply nail polish effectively
If you've ever painted your nails before, you probably know that bubbles are only one issue that you can encounter when you use regular polish. Other problems that could occur include not getting the right thickness or a sloppy application. Salon Success Academy explains that if you don't buff or file your nails, you aren't creating a smooth surface for your lacquer. It will only force you to paint a bumpy nail, giving way to a splotchy application.
Even though regular polish chips much faster than gels, adding a top and base coat can extend the life of a manicure. They're often left out, but these two steps can keep your nail polish intact for a few more days.
Now that we know that an overly thick layer can cause bubbles, you can avoid this mishap by limiting the amount of nail polish you use. Celebrity nail artist Simcha Whitehill tells Cosmopolitan, "You want the polish to do the majority of the work and spread out as it's placed on the nail — the brush is just there to guide the dot of polish into place. Starting at the base of your nail, stroke the brush to the left, to the right, and then down the center, and voilà!" Try to use a long swipe of nail polish instead of constantly dipping back into the nail polish bottle.