Tips For Choosing The Right Concealer Shade For You
Choosing the right concealer shade can be tricky and a bit overwhelming if you don't know what to look for. There are so many styles to choose from, and the one that's right for you depends on your needs. Do you need to cover up dark circles? Or perhaps camouflaging redness or breakouts is your main concern? If that's the case, then you need to think about the right shade that will counteract specific colors.
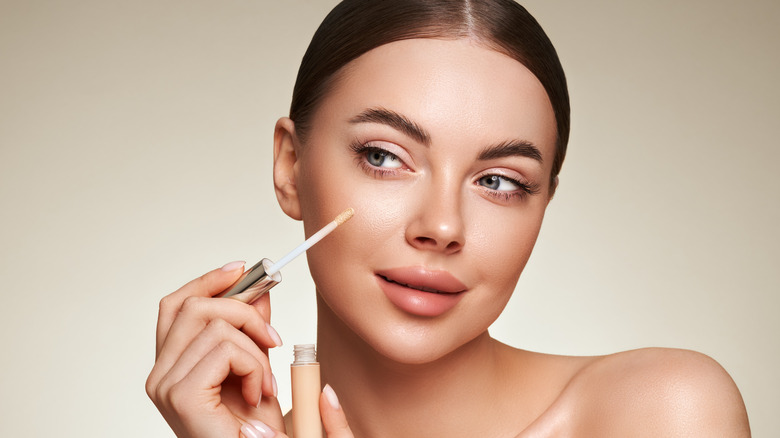
There is also a matter of texture. Concealers come in liquid, cream, or stick form. Liquid varieties come either in a tube or a wand, which makes for an easy application. Creams are great for travel, as they are in a solid form and you don't have to worry about spillage. Or maybe the easiest to use is the stick concealer. Often shaped like a lipstick, it offers precise applications and can get into tiny crevices such as the sides of your nose and inner corners of your eyes.
There are seemingly endless choices out there, so how do you know which one to use? And do you need more than one option to suit your varying needs?
When to use color-correcting concealers
If your biggest woes are your dark undereye circles, you will need a color-correcting concealer. According to NYX Cosmetics, peach or orange-based concealers counteract blue and gray undertones in your skin. But are your circles more purple? Then try a yellow-based concealer.
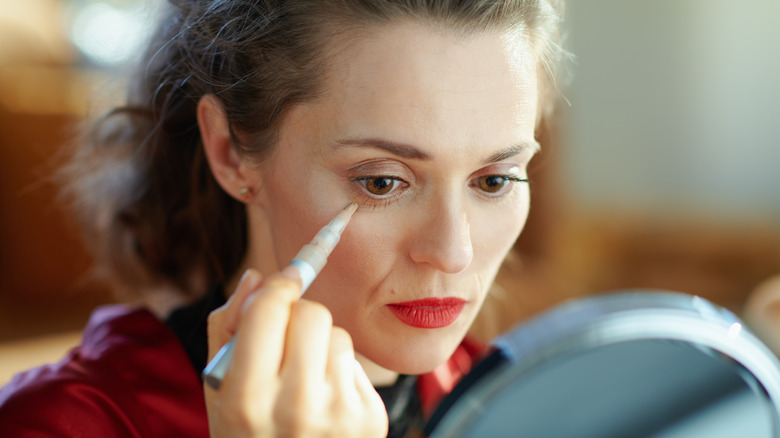
When applying, start out with clean, moisturized skin. Using a small brush or wand, dot the concealer under your eyes where you see discoloration. If you're using a stick, gently deposit the color onto your skin. Then blend it out with your ring finger or a concealer brush. You will then need to lightly go over the concealer with your foundation to make the colors blend seamlessly.
Color-correcting concealers are also great for masking redness caused by rosacea or blemishes. Varieties with a green tint will counterbalance red undertones, and the trick here is to dab the concealer gently onto the skin in order to cover as much redness as possible. Blemishes have texture, so it'll be hard to conceal them completely. However, getting rid of any redness will make them almost disappear. Makeup artist KJ Bennet advises dabbing foundation or concealer over the color-corrected area, making sure to blend the edges.
How to find the perfect concealer shade for your skin tone
You may have heard that choosing a concealer that's much lighter than your skin tone is good for covering undereye circles and blemishes. However, a shade that's too light will only highlight your imperfections. You will want to pick a color that closely matches your skin or is one shade lighter than your skin tone, Charlotte Tilbury suggests.
Start by assessing your skin tone, which is different than your undertone, as described by TikTok user @jaleesajaikaran. Your tone is your skin's surface color and can change over time or with sun exposure. The four main skin tones are light, fair, medium, and dark. Undertones refer to the color underneath the skin's surface and can be warm, cool, or neutral. If you're unsure what your undertone is, look at your veins. If they're blue or purple, you have a cool undertone. If they have a greener hue, then your undertone is warm. Are they somewhere in between? Then you're likely neutral.
Now that you've figured out your tone and undertone, choosing the right concealer shade will be easier, and you'll get the best match if you simply go into a retail store and try on colors. Using a disposable cotton swab or sponge, test a swatch on your jawline. If it blends in with your skin tone, you've found the perfect shade. That will be your main concealer, but if you want to create visual tricks, you'll need different colors. Luckily, having your perfect match as a baseline makes choosing other concealers for different needs much easier.
You can use concealers to highlight and contour
While you want your main concealer to match your skin tone, if you want to create highlights and shadows, you will need a product that is a few shades lighter and another that's a few shades darker than your skin, Beauty Blender advises.
After you do your initial concealer and foundation, take your lighter concealer and apply it on areas you want to draw forward, such as the middle of your forehead, cheekbones, and under the eyes. Blend by stippling with a makeup sponge or a makeup brush, as demonstrated by TikTok beauty guru @arshiamoorjani.
Contouring is for areas you want to define, such as the sides of your nose, around the temples, under your jawline, and beneath your cheekbones. Using the same stippling motion, make sure you blend just enough so that there are no visible lines.
Your highlight and contour should appear seamless while giving the illusion of a more enhanced bone structure. Once you've mastered basic highlighting and contouring, you can play around with the placement of concealer to magically transform your face.
Where you apply concealer can change your face
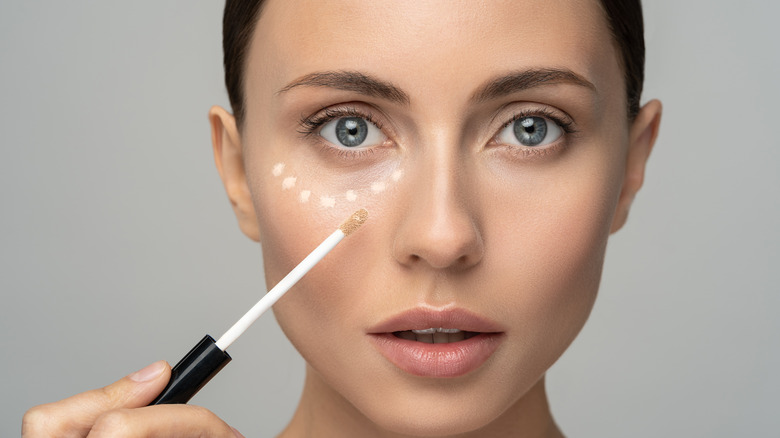
We know that highlighting and contouring can make your face more defined, but you can change your features according to where you apply concealer too. The traditional way of hiding undereye circles places three or four dots around the edges of the discoloration and blending the concealer with a brush or sponge (per Glamour).
However, the updated method is to draw an upside-down triangle that starts from the inner and outer corners of your eyes (via Good Housekeeping). Extend the V shape past your undereye circles and onto the tops of your cheeks. Gently blend with a small brush or sponge, making sure not to move the concealer past the lines. This technique brightens your face while highlighting the apples of your cheeks.
Another trend is using concealer to create a fox-like eye. Instead of covering the whole undereye with concealer, swipe a line upward on the outer corners of your eyes as if you're drawing a winged eyeliner. Next, place a line from the inner corners of your eyes down to the sides of your nose. Pat lightly with a sponge to blend. This technique lifts your eyes, creating the famous fox look that Bella Hadid made trendy.
Keep your concealer from creasing with these tricks
Of course, now that you know how to apply your concealer perfectly, you'll want to make sure it stays put. Prepping the skin is an essential step in making sure your concealer doesn't crease. While it's important to hydrate your skin, don't go overboard with eye cream, as too much will cause the concealer to slip and slide, per Style by Jean.
Primers are also a must-have for keeping your makeup fresh all day. According to Ipsy, primers are usually made of wax or silicone, and they help create a smooth canvas by filling in fine lines and pores. A smoother surface means less creasing.
Apply your concealer using any of the aforementioned tips, and then lightly dust with translucent powder. If you're going out on the town and need a heavy-duty protective barrier, you can set your makeup using a baking technique. After you've applied your concealer, take a damp sponge, dip it into loose translucent setting powder, and apply it liberally under your eyes, per Charlotte Tilbury. Wait about five to 10 minutes for the makeup to set, and brush off the excess powder with a medium-sized brush. Finally, spritz your face with a setting spray, and you're all ready to go!