Why The 'Rake & Shake' Hair Technique Should Be In Every Curly Babe's Arsenal

It seems there's a brush for every hair type, and if you want to create a particular style, say no more. With the right tools and technique, you can achieve any hairstyle without taking a trip to the salon. However, those with curly hair know how time-consuming it can be to get their look just right, even with a brush that can do it all. This is where the rake and shake technique comes into play.
Curly hair is beautiful but undoubtedly more challenging to style and maintain. In between tangles and frizz, curly tresses need an ample amount of care to ensure that it stays healthy over time. However, styling doesn't have to be an all-day process if you have curls when you know the rake and shake technique. No brush is needed when you go this route, and you get the benefit of ample definition and texture — all with minimal tools.
If you want to try rake and shake, all you need is your fingers. Regardless of your curl type, you can use this technique to shape and style your hair with ease. To begin, make sure your hair is wet or at least damp to see the best possible results. Then, grab your favorite styling cream or leave-in conditioner, and you're ready to start raking and shaking.
How to begin the rake and shake technique

To start, divide your hair into five sections beginning at the nape of your head. Work your way upward toward your scalp as you create the sections. Once you have them separated, you can begin using your styling cream or leave-in conditioner. Apply a dollop to each section, using your fingers to rake the product through your tresses. Keep in mind that the amount of cream or conditioner you use will depend on the thickness of your locks. For example, those with thinner tresses will likely only need a small amount — using too much product can weigh down your curls and make them tougher to style.
Once you've added your styling cream, you can start using your fingers to detangle any knots and smooth out your tresses. If you aren't satisfied with the look as you work through your curls, think about how you're using your hands. For example, keeping your fingers close together can give you more volume, hairstylist Michael Silva told PopSugar. Alternatively, spreading them apart can deliver more definition.
Additionally, be mindful of how much you're shaking as you're raking. If your curls are having trouble holding their shape, you might want to limit how much you shake while raking your fingers through your tresses — this can help you maintain the definition you add while styling. Once you've set your curls, you're ready to grab your hair dryer.
Mastering the rake and shake method
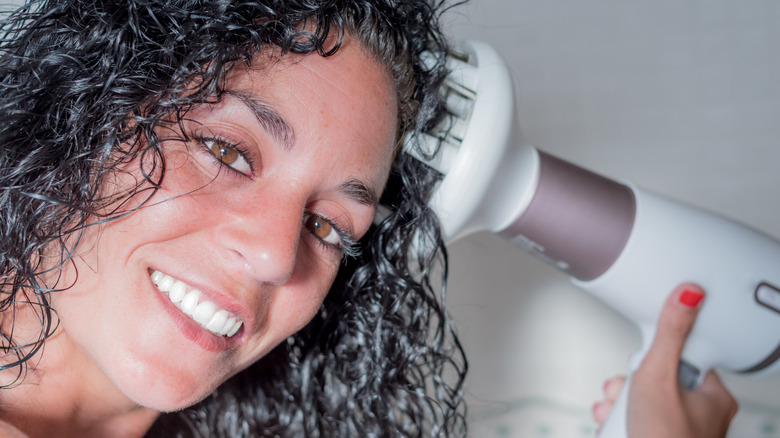
To finish, you'll want to have your hair dryer on standby. Once you're confident that all of the sections of your hair have been thoroughly raked, set your hair dryer to a low heat setting. The goal is to diffuse dry your tresses, but if you don't have time, you can also allow them to air dry. After your locks are completely free of moisture, you can use a finishing product to secure your look and give it more longevity.
The rake and shake technique has been around for longer than you might think. Many attribute the method to Ouidad, a curl-focused brand that was established in 1984, as per Southern Living. Many stylists who focus on curls have made it a point to learn the rake and shake technique for their clients. Whether you have kinky or classic curls, this method is a game changer if you're looking for a way to flaunt your tresses in all of their natural glory.
When it comes to the styling products you use, it may be worth playing with a few different options until you achieve the look you want. For instance, a cream may weigh down your tresses, in which case you might benefit more from a mousse. Your stylist can help you identify your curl type and hair texture to find products that are best suited for your locks.