If You're Not Blending Your Brow Products, You're Not Doing It Right - Here's Why
Your eyebrows are the key to framing your face. Over the decades, we have witnessed many ways to do our eyebrows, from the over-plucking trends of the '90s to the brow bleaching of the 2020s, and your choice of brow styling truly has the power to change how you look. This makes learning how to do your eyebrows just as important as the rest of your makeup routine. Finding what works for you can take time, but there are some things that need to be incorporated into every routine.
One thing that most people want to achieve is natural-looking eyebrows. However, no matter what product you use, it's null and void if you don't bother to blend it in with your hairs afterward. This is because when we use pencils or pomades, we make harsh marks that look odd by themselves. The moment you start blending your eyebrows after applying your product, your brows will complement and complete your makeup, rather than making a statement for all the wrong reasons.
How to blend in your eyebrows
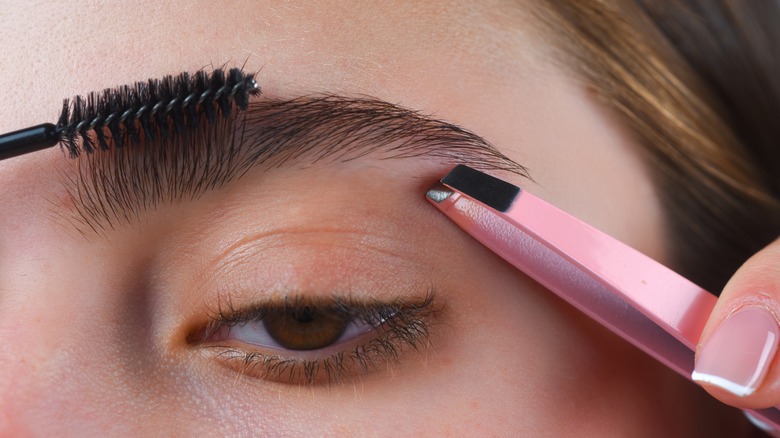
While doing your eyebrows is not a one-size-fits-all process, there are certain steps you can take to have the best-looking brows for your face. According to Maybelline, the first step is brushing the hair with a spoolie. Brushing your eyebrows allows you to manipulate the shape and gives you a guideline on where to put the product, whether that's pencil, powder, or gel.
Outlining your eyebrows is the usual next step, but if you only want a subtle look, you can simply draw a singular line just beneath both eyebrows, leaving the tops natural. Rather than piling on endless product to your eyebrows, take the spoolie you used in the first step to blend the brow product on your skin beneath your brows up into your hairs. This creates a seamless look that will eliminate harsh, stage-makeup-like lines. Maybelline advises blending "upwards and outwards," and finishing off by brushing a small amount of gel through your brows to hold them in place.
If you do want a more intense brow look, you can outline your entire brow and then fill those stencils with product, starting from the middle of your brow and working your way to the tail. The outer eyebrow does not need too much, if any, extra product, since that area is usually thinner.
How to prepare your brows
While we all love filling in our brows, it's important to keep them groomed. If they become too overgrown, you might not be able to achieve the brow look you want, even with product and blending.
Start by choosing your hair-removal tool. "Tweezing is the best kind of insurance policy because you are choosing hairs one by one," national brow artist for Benefit Cosmetics Canada Breigh Bellavance told Chatelaine. "Waxing removes several hairs at once and there are lots of variables, so it's more of a gamble — you don't want your brows to be an experiment."
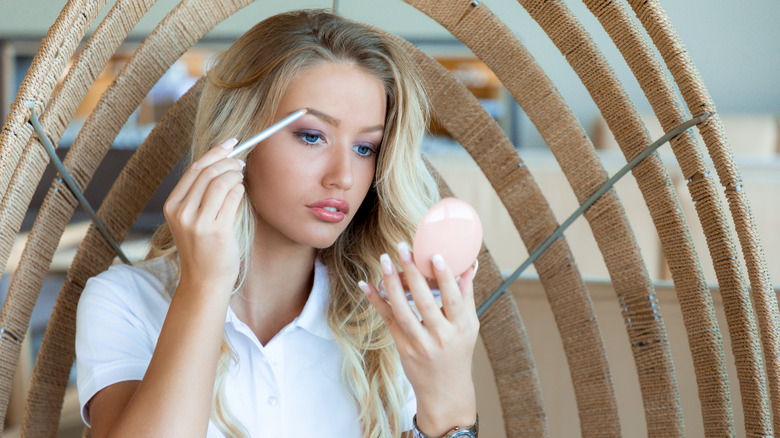
Once you decide what works best, map your eyebrows so you have a precise guide of what you want them to look like. This can be done with an eyebrow pencil. There are a few brow mapping strategies out there, so do a little digging to find one that works for you. Essentially, most of them involve marking points on your face after measuring them with a straight tool in relation to other points on your face. The three major marks of your brows should line up with different areas of your nostrils, as this will create the most complementary brow shape for your face. From there, hold your skin tight to remove the hair according to your map, whether you are planning to wax or tweeze the hairs. It's important to go slow, as you don't want to over-pluck or over-wax your eyebrows.