Angel Wing Eyeliner Is The New Cat-Eye - How To Rock The Trend
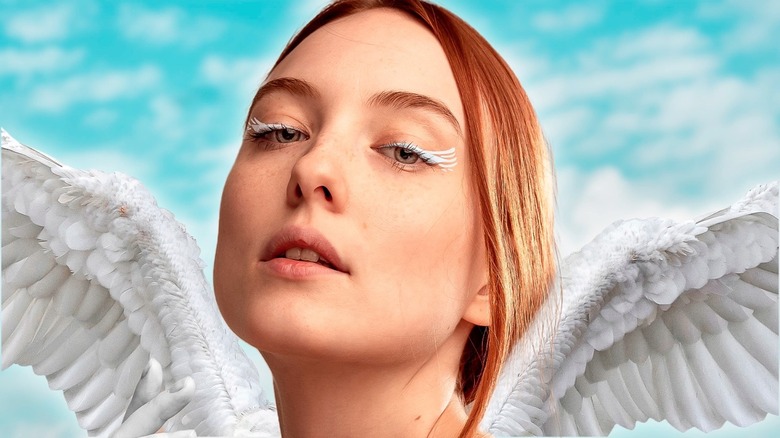
When it comes to makeup trends, there's little more exciting than a product that gives your favorite features extra emphasis. One of the most effective choices for this is eyeliner, which brings more definition to your eyes. While there are plenty of ways to achieve a classic eyeliner style, it's always good to refresh it. Enter angel wing eyeliner, the newest viral design that's perfect for making your look pop. Forget the outdated cat-eye, because this winged design might just be the perfect finishing touch for your makeup.
A popular option for those looking for a dramatic winged eyeliner, angel wing liner is a simple process that can deliver high-end results. Although eyeliner application is known for being challenging, this technique is relatively easy to master. Like classic liner shapes, angel wing eyeliner brings timeless techniques into modern beauty. Using your preferred liquid or gel eyeliner, you can pull off this trending look.
Prep and finish your lids
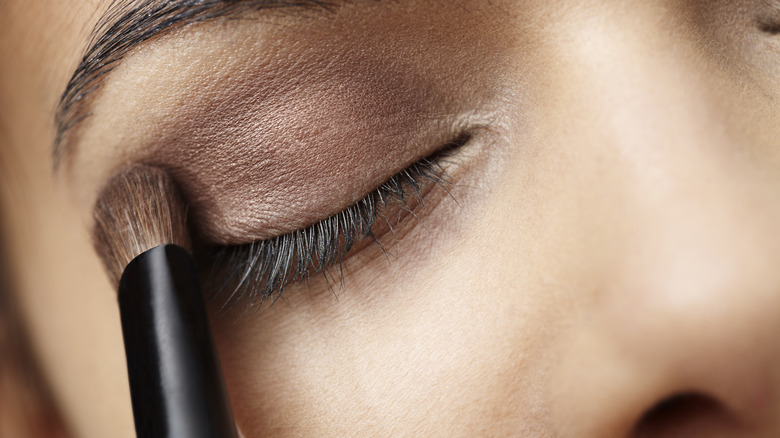
Before starting your eyeliner, it's important to prepare your eyes. Begin by prepping your eyelids with a primer, eyeshadow base, or skin-tone eyeshadow to neutralize them. A primer or base eyeshadow also helps your liner stick better. "The more you prep your eyelid with an eye base, primer, or eyeshadow, you'll find the product should stay on longer and smudge less," makeup artist Keeley Wilson explained to Refinery29. Just like with skincare, priming your lids ensures your liner pops the way it should.
Additionally, complete any eyeshadow looks before starting your liner. While some may prefer to apply eyeshadow after their liner, doing it first allows you to correct any mistakes and start again. Applying eyeshadow after your liner can also cause issues if you accidentally cover up your liner. It's best to finish blending before starting your eyeliner to prevent accidents that could ruin your liner and eyeshadow. Putting on eyeliner after your eyeshadow will create sharper and crisper lines for your design.
Start with your first line
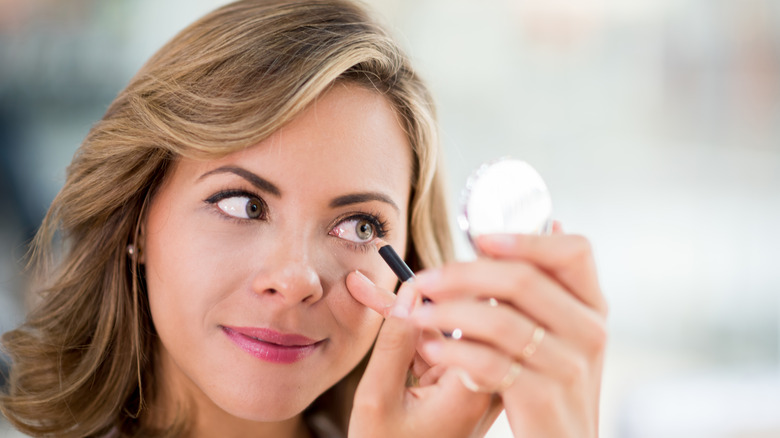
The first line of your angel wing eyeliner can set the tone for the entire look, making it the most challenging to perfect. To ensure the best line, look straight ahead into the mirror, rather than down. Looking down can distort your view of your eyes and affect the placement of your line. Before starting, choose the type of eyeliner product you want to use. While gel and liquid offer similar results, each has its benefits. Liquid eyeliner provides a more contrasting line, while gel gives a richer pigment and more control over the thickness and shape of your lines.
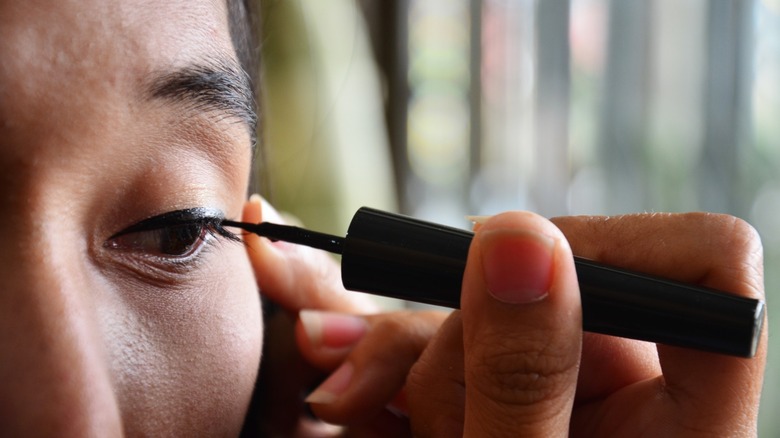
Using the side of your liquid eyeliner pen or an angled eyeliner brush, create a line outward from the corner of your eye, following the natural direction of your eye's corner. To simplify the process, create small straight lines until you have a complete line. If you struggle with creating a stable, straight line, you can also use the edge of a card or makeup tape for your eyeliner, though the latter should be used with caution. "Tape tugs on the skin when you remove it, which over time can lead to loose skin and even permanent lines and wrinkles," dermatologist Dr. Dendy Engelman advised Byrdie. "When you remove the tape, you also risk damaging or pulling off the uppermost layers of the skin." Repeat the process on both sides and don't worry if the lines aren't identical, as you can always touch up later.
Create the top line

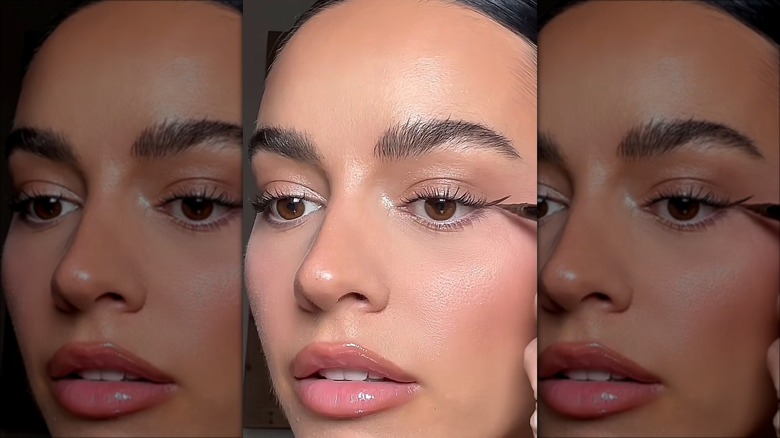
Now that you've created the first line, it's time to make the top line. This second line is more straightforward since you don't have any pressure to create a perfect line. Since you will create the angel wing shape, you can quickly go in and fix any faults in your line afterward. This step will determine the overall shape of your liner, so make sure it's to your liking before moving on to the next step.
Connect your line from the previous step to your lash line using the edge of your liner or brush. Create the second line as thick or thin as you want, or in your favorite angel wing shape. Use the same process as before to create this second line in parts if it makes it more manageable. There is no need to complete the sequence in one sweep.
Fill in the gap
Now that you have created the second line, it is time to check your work. If you need to fix or rearrange your angel wing, you should do it now before filling in the space between the two lines. If you need to recreate any of your lines, take a cotton swab with makeup remover and carefully remove the lines without messing up any of your other makeup.
Once you have both lines in the desired angel wing shape, it's time to fill in the space between them. This step should be simple, as you only need to fill in the product. As with the previous steps, take your time and carefully fill in without going over the lines.
Cover the lash line
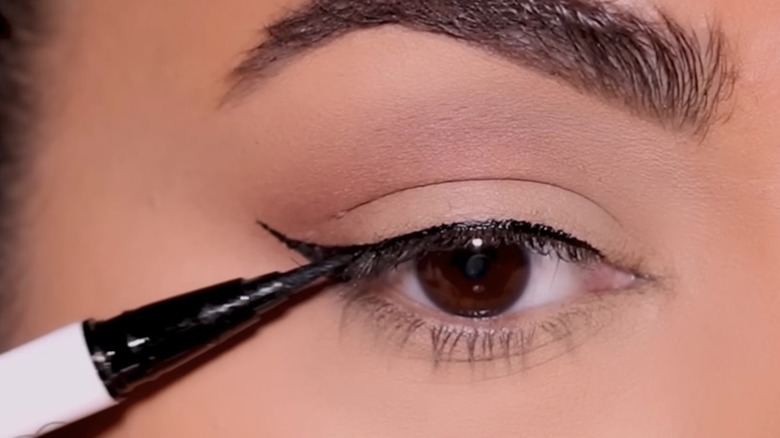
With the tail end of your angel wing liner done, it's time to connect all the dots. To make it blend seamlessly with your eyes, you want to continue your eyeliner by applying the product to your upper lash line. This connects the wing to your lid and helps add definition to your eyes. Like with the previous steps, create this lash line as slowly as you need to ensure it's straight. You can also make a series of short lines and go in to connect them afterward. This trick will help fix any shaky lines that would otherwise ruin your look.
While you could apply liner to your lash line before creating your angel wing, waiting until after will reduce any chances of smudges. When drawing the angel wing shape, you want to maneuver your hand in whatever way works best for you, something you can't do if you already have liner applied. Make this lash liner as thick or thin as you want.
Add any finishing touches
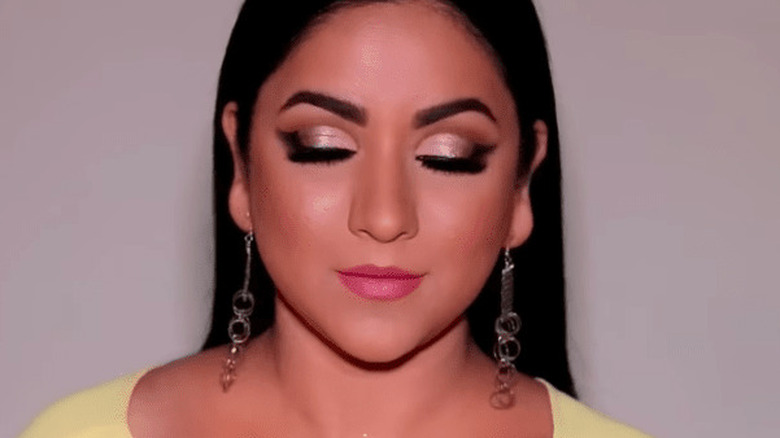
Now that your angel wing makeup looks magical and beautiful, it's time to finish off your eye area. The only remaining spot to work on is your eyelashes. Carefully apply mascara to emphasize the contrast with your eyes. While the liner is a statement makeup design, mascara is the finishing touch that brings it all together. "Mascara enhances the eyes in a number of ways," Claudia Soare, president and creative director of Anastasia Beverly Hills, told Today. "It not only darkens lashes but can lengthen and volumize for brighter, bigger-looking eyes. Fuller-looking lashes can help to give a more youthful appearance to the eye area."
Curl your lashes and add mascara to achieve any finish you wish, whether it's trendy stiletto lashes or a more understated look. You can then add any final touches you want. With significant beauty trends gravitating towards using stickers or pearls on the face, now is the perfect time to incorporate them into your overall look. 3D effects are always a fun way to add flair to your makeup and take it to a high-fashion level.
Creating an angel wing on hooded eyes
Although the angel wing eyeliner look is perfect for everyone, it may be more challenging to sustain throughout the day for those with specific eye shapes. Individuals with hooded eyes have extra skin from the brow bone that covers the eyelid, making it easy for any eyeliner design to get smudged or ruined throughout the day. To achieve the best angel wing eyeliner for this eye shape, you'll need to modify specific steps.
Before applying your liner, take note of where the excess skin lies on your lids. Make the wing far from this area to avoid smudging when creating your first line. Another option is to try a reverse eyeliner trick where the first line is connected to your bottom lash line instead of the top to avoid the creased skin. Start by using a gel or pencil to create the design and then go over it with a long-lasting liner to ensure that your look stays on all day.