How To Prep Your Nails For Press-Ons
Whether they're bold or quiet, the perfect nails are always the cherry on top of any put-together look. Given that consistent manicures can cause damage to our nails — and also require time and financial commitments — it makes sense that people are starting to seek out other options, including the accessible press-on style. Press-on nails are pretty self-explanatory; they don't require the help of a professional and are designed for temporary use rather than staying on for many weeks, as acrylic, gel, and dip powder manicures are. But in order to make them last as long as possible, look their very best, and not cause any unnecessary damage in the process, it's vital to prep your hands beforehand.
"Prepping your natural nails properly is essential for a long-lasting and seamless press-on manicure," explains celebrity nail artist Lisa Kon, founder of the Lisa Kon brand and owner of the Lisa Kon nail salon chain. In an exclusive chat with Glam, Kon reveals her fail-proof five-step process that ensures her clients' nails are ready for press-ons. "Start with clean, dry nails: Remove any old polish and thoroughly cleanse the nail plate to eliminate oils and residue," she says, adding that the second step is to "push back the cuticles" around the nails (gently!). "This helps the press-ons sit flush against the nail and prevents lifting," Kon explains.
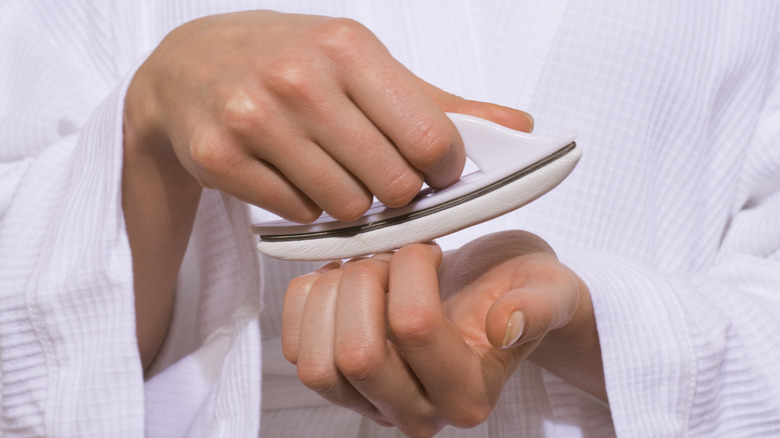
The third step is buffing the nails, which will help the adhesive stick well. Next, Kon recommends wiping each nail "with alcohol or acetone to ensure the nails are completely clean and oil-free before application." Finally, she advises, "Choose the correct size for each nail and gently file the sides of the press-on if needed for a perfect fit." Additionally, Kon assures us that it's just as important to learn how to remove your press-ons properly, or else you could end up back at square one on the damage front.
How to safely and effectively remove press-on nails
Lisa Kon's preparation method will help your press-on nails look like the real thing, but the attention to detail doesn't stop there. "After removing press-ons, it's important to treat your nails gently to restore strength and health," she shares exclusively with Glam. To begin, Kon suggests using warm water or acetone to "soak off" the nails rather than yanking them off, as "this protects the natural nail from peeling or breakage." Rough or forceful removal is definitely one of the press-on nail mistakes you'll want to avoid. If your nails are left feeling weak, which is common if you've been using press-ons for a while or you left them on for a long time, you can buff them and use a nail strengthener. Kon recommends holding off on your next press-on manicure until your nails have recovered, and in the meantime, she says to "hydrate your nails and cuticles daily with a nourishing oil or cream."
Press-on nails don't tend to damage the nails as much because they're easier to remove and apply than other manicure forms and aren't worn for as long, but that doesn't mean you're ensured a damage-free experience. Application and removal are the crucial times to take care, but damage can also be caused with low-quality products. "Also, investing in high-quality press-ons and adhesives can make a huge difference — not just in how long they last, but in how gentle they are on the natural nail," Kon notes, adding that you should always pay attention to how your nails feel during and after your press-on manicure. When in doubt, don't hesitate to switch brands, invest in some TLC to get your nails back to healthy, and delay your next manicure until your nails are ready.
Ready to try your own set of press-ons now? Here are the best press-on nail kits you can buy for an anywhere manicure.

