

How To Give Yourself The Perfect Gel Manicure At Home
We may receive a commission on purchases made from links.
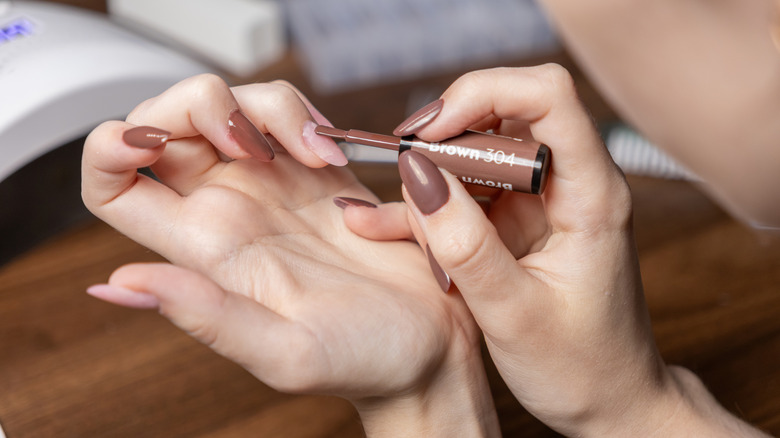
For anyone who's sick of normal nail polish chipping off stat, gel manicures are a godsend. The fact that they can last up to three weeks justifies the increased cost and time spent in the salon for many people, but those accessibility barriers are slowly being pulled down with the rise of at-home gel manicures. While the process of doing your own gel nails, which uses cured, durable gel polish, is a little more complicated than just swiping on your regular old nail polish, it's absolutely doable. And when you do it properly, it can look like you've just walked out of the salon.
According to Maryna Slynko, international judge, award-winning nail educator, and founder of Slynko Beauty Bloom Studio in Overland Park, Kansas, a picture-perfect gel manicure at home comes down to careful preparation, a few key products, and one or two simple techniques. Once you get the hang of it, you'll see there's nothing daunting about the process, and in the long run, it's actually easier than frequently going to the salon. "One of the biggest advantages of doing a gel manicure at home is convenience," Slynko tells Glam exclusively. "After the initial investment in a lamp and the necessary products, it can also be a more affordable option for someone who gets gel manicures regularly."
The most important thing to remember when DIYing your gel manicure is to move slowly, as Slynko warns that it can be easy to over-file your nails and apply too much product. These not only ruin the manicure, but can actually be a safety hazard. As long as you take the lead from the pros and are careful and precise during all parts of the process, you'll end up with a salon-worthy manicure that will only get easier the more you practice.
You'll need a few products for your at-home gel manicure
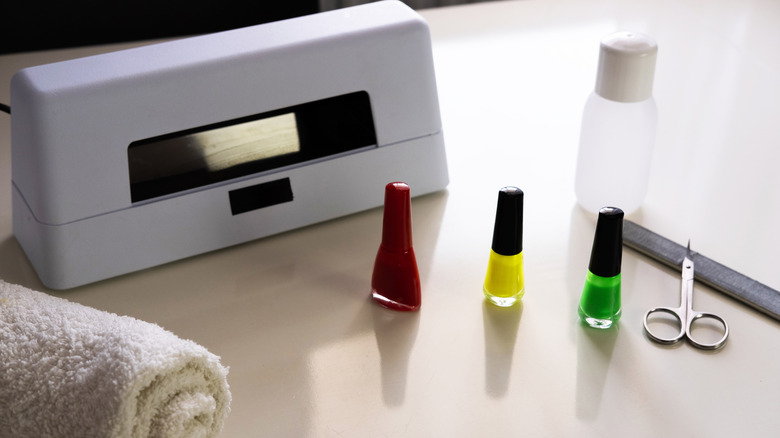
The first step in a DIY gel manicure is gathering your products. You'll need a good nail file and buffer to prep your nails with, along with a cuticle pusher. Professionals rely on electric nail files and drills, but Maryna Slynko doesn't recommend these advanced products for beginners. Then comes the actual gel system, and there's a wide variety of choices on the market these days. "When it comes to products, I would choose well-known soak-off gel systems with clear instructions for application, curing, and removal," Slynko advises. "OPI GelColor and Gelish are two options to consider. Whenever possible, I recommend using the base, color, and top coat from the same system and following the manufacturer's recommendations for the lamp and curing time."
Where gel manicures majorly differ from regular nail polish is the use of LED lamps for curing. "A lamp with different power settings, such as 24/48W, can be a convenient option," Slynko shares in an exclusive chat with Glam. "A lower setting may feel more comfortable if the base coat creates noticeable heat during curing. At the same time, always follow the specific gel system manufacturer's recommendations for the appropriate lamp and curing time. Every layer of product needs to be fully cured."
Cuticle oil and hand cream will also be important for your arsenal, but these come into the process once your manicure is complete. Applying them at the end will give your nails some relief and keep them healthy in the weeks between manicures. It's especially important to apply these after removal, which can be harsh on the nails thanks to acetone and filing.
The best DIY gel manicure starts with good prep
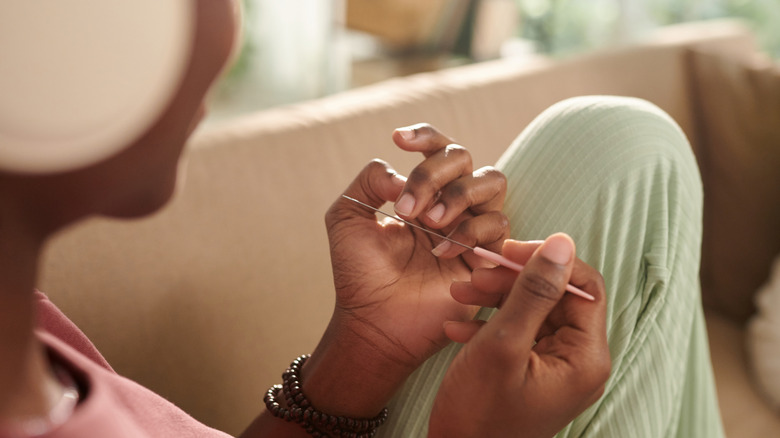
Once you've gathered the products you'll need, it's time for nail prep. Avoid cuticle oil and hand cream before your manicure, since oil can stop the gel products from properly adhering to the nails. "Start by shaping the natural nails, then gently push back the cuticles and prepare the surrounding cuticle area," Maryna Slynko instructs in our exclusive chat. "Next, very lightly buff the nail plate using a soft buffer or a file designed for natural nails, 150 grit or higher. The goal is simply to remove the natural shine from the surface, not to file away layers of the natural nail." As Slynko points out, you don't have to wait for gel manicures to dry the way you have to wait for normal nail polish. The rest of the process is actually quite swift, so you don't have to rush through this prep.
After you've filed, shaped, and buffed your nails, remove the dust and residue with a brush. To make sure your manicure properly adheres, you can wipe over your nails with an alcohol wipe or a small amount of acetone to dehydrate them and remove any oil. Then you can simply follow the instructions on the gel system you're using, which will start with your base coat.
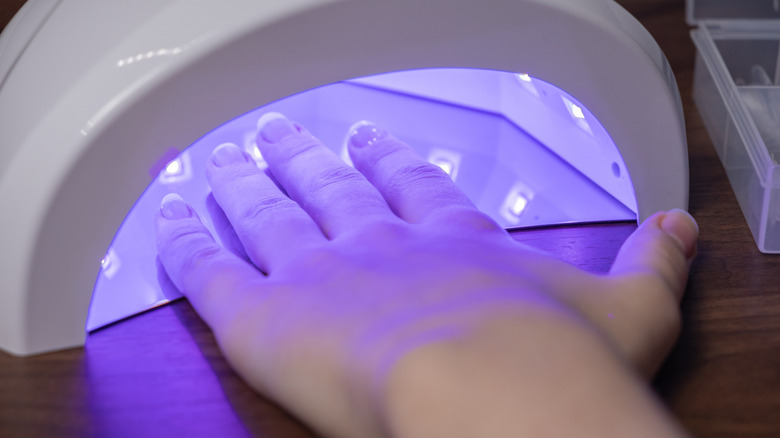
You'll cure your base under your LED lamp for 30 seconds (or however long the instructions indicate)before applying two coats of your gel color, curing between. If you accidentally get any product on your skin, Slynko advises removing this before curing. Then apply your top coat, and cure once more. You can go in with cuticle oil or hand cream for the finishing touch once everything is totally dry.
Tips for DIY gel manicure success
The gel process is pretty straightforward, but Maryna Slynko has a few tips for success. For starters, she recommends avoiding the temptation to do overly complicated nail designs and advanced techniques, at least while you're getting used to the process. This doesn't mean being boring, though; some of Pamela Anderson's best manicures can be recreated at home with gel polish. "I would not recommend doing complex nail leveling or building additional strength with thick layers of product at home," Slynko tells us exclusively. The nail pro also suggests opting for a gel system that is removed via soaking rather than electric filing, since it's easy to go too far and accidentally damage your nails this way.
When it comes to actually applying the gel, Slynko confirms that the thinner the coat, the better. Gel manicures are definitely an area where less is more, since the last thing you want is excessive product that slides off the nail and creates a clunky mess. "If the color is pigmented enough and looks even with one thin coat, a second coat may not even be necessary," she says, adding that applying less product also means there will be less to remove later.
"Another tip I recommend is to complete one hand from start to finish before moving on to the other," Slynko goes on. "This reduces the chance of accidentally touching or damaging an unfinished layer or getting dust on the nails while you're working." As for which hand to start with, she suggests your dominant hand, simply because your patience will run out as the process goes on, so it's better to get the annoying task of using your non-dominant hand out of the way early on.
You can make your gel manicure last longer
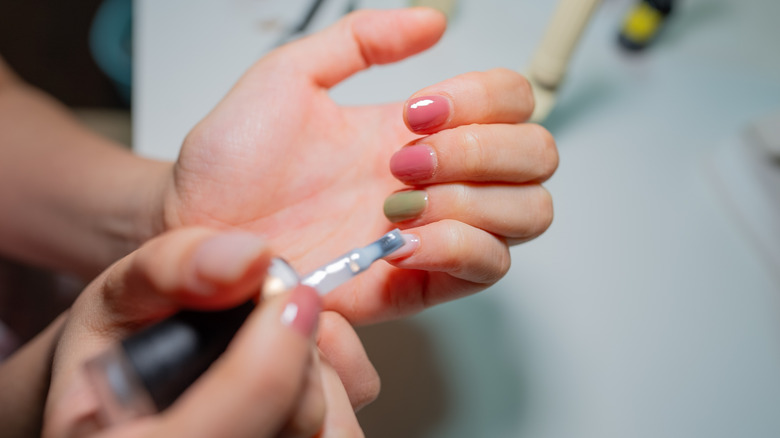
After all that work and investment, it's normal to want your mani (or pedi, if you're adding gel to your toes) to last longer. At-home gel manicures should generally last anywhere from 10 days to three weeks while salon gel manicures can last up to four weeks. However, Maryna Slynko explains exclusively to Glam that several factors can influence this, from the health of your natural nails to your lifestyle. Someone who is constantly washing dishes will probably have less luck than someone who never touches harsh cleaning products.
To increase the longevity of your manicure, Slynko reinforces the importance of applying thin and precise layers of product, rather than gel polish that splashes onto the skin unevenly and then cracks off. But the best way to maintain a gel manicure for the longest time possible is to look after them afterwards, which includes applying cuticle oil and hand cream after the product is already adhered. That goes for whether you're doing a gel manicure, or whether you've given yourself the perfect French manicure at home. "Avoid using your nails as tools to open cans, boxes, or other objects, and wear gloves when cleaning, working with household chemicals, or keeping your hands in water for extended periods," Slynko advises.
Interestingly, our expert confirms that it's best to cap a gel manicure's life at four weeks, even if there are no chips. This is because your nails will continue growing underneath, which means the stress point of each nail will move, leading to the likelihood of more breaks. If your manicure is still going strong after a month, it's time to remove it safely and start again from square one, prepping your nails once more for a solid at-home manicure.
Keep safety first while doing your gel manicure
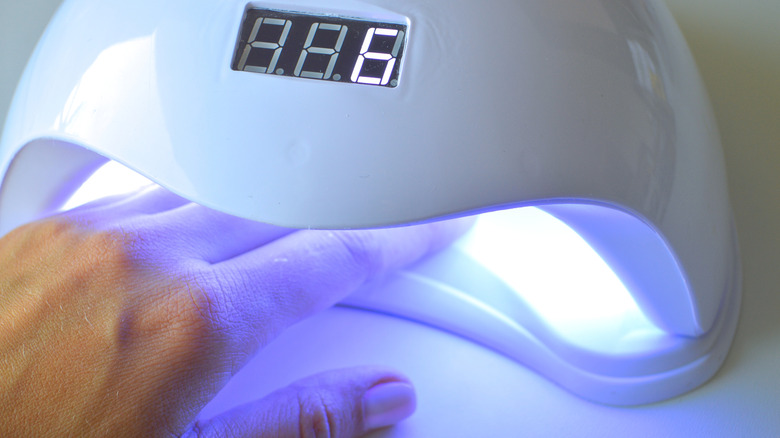
Doing a gel manicure at home is one of the simpler nail techniques out there, but there are a few safety notes to be mindful of. As Maryna Slynko mentioned, you don't want to cure your nails if there's any gel on your skin, since this is one of the biggest mistakes you can make with gel polish. While curing gel onto your skin isn't necessarily painful or harmful after one manicure, Slynko explains that doing this repeatedly can lead to allergic reactions.
Similarly, you'll want to take extra care when it comes to removing your gel polish. Choose gel systems that can be soaked off, and never peel or pick leftover gel off your nails — this will never get you stronger and healthier nails. It's tempting to use an electric file to remove stubborn sections, but Slynko warns that you can easily cause damage using an e-file without any training.
In terms of the safety of curing, the Skin Cancer Foundation points out that even LED lamps release UVA rays, which can increase the chance of skin cancer as well as the signs of aging on the hands. The overall risk of skin cancer and damage when using LED lamps is much lower than that of using traditional tanning beds, but it's still advisable to use broad spectrum SPF on your hands before curing, and this should be applied 20 minutes before your manicure. Any oiliness in the SPF can interfere with your gel, so be sure to wipe your nails (but not your skin!) with rubbing alcohol before your manicure. If you're new to the world of gel manicures in general, there are also a few things you need to know before getting gel nail extensions.