Finger Rolling Your Curls May Be Time-Consuming, But There's No Denying It Works
We may receive a commission on purchases made from links.
In the ever-evolving world of hair trends, one thing that remains constant is the abundance of tips and hacks available at our fingertips thanks to social media platforms. Between TikTok, Instagram, and YouTube, we are armed with hashtags featuring millions of life-changing hacks that show us exactly how to master a variety of trending hairstyles.
Because our hair is one of the easiest and best ways to express ourselves, it makes sense why we either opt to keep our hairstyles consistent or switch them up to keep people guessing. If you're in the latter group and have been looking for a more bold hairstyle that reflects your big personality or simply want to try something new, one of the latest hair trends that people on TikTok are obsessed with is "finger rolling." While this cute hairstyle may take a while to complete depending on a variety of factors including texture, length, volume, and your approach to the technique, the stunning results of long-lasting and voluminous curls are undoubtedly worth the effort.
What exactly is finger rolling?
Often confused with finger coiling (a similar method that consists of taking a small section of your hair and twisting the end of the hair around your finger until the top of your finger reaches the scalp), finger rolling involves taking the end of a small section of your hair and rolling the curl between both index fingers (or whichever fingers are comfortable to you) in an upwards motion towards your scalp. With both methods, once you reach the scalp, you'll remove the finger(s) to create the curl.
The reason the finger rolling method works so well at getting tight and smooth ringlets is the tension on the curl. Rolling between the fingers causes the curl to hold tightly, while also smoothing the curls and creating a polished and uniform look. While the finger rolling method may be a bit more complicated than finger coiling, the technique does get easier over time with more practice.
How to get the perfect curls using the finger rolling method
To get the big and highly coveted curls everyone is after on TikTok, you'll want to follow a simple tutorial, such as one from TikTok user Lera Avdysheva, which has amassed over 1 million likes on TikTok. Although this video is straightforward and details how the finger rolling method works, it may also be beneficial to practice the method a few times using a smaller section of your hair to try to get as comfortable as possible with the viral hair technique.
It's also important to note that finger rolling is versatile, so how big or small your curls are will determine how many fingers are necessary to use for each piece of hair. For example, if your hairline has smaller curls, you'll simply use your two index fingers; however, if you have bigger curls in the middle of your hair, you can use both of your index and middle fingers to create a bigger curl. It may seem difficult at first to attempt the technique, but with a helpful tutorial, you'll soon be on your way to achieving incredible results.
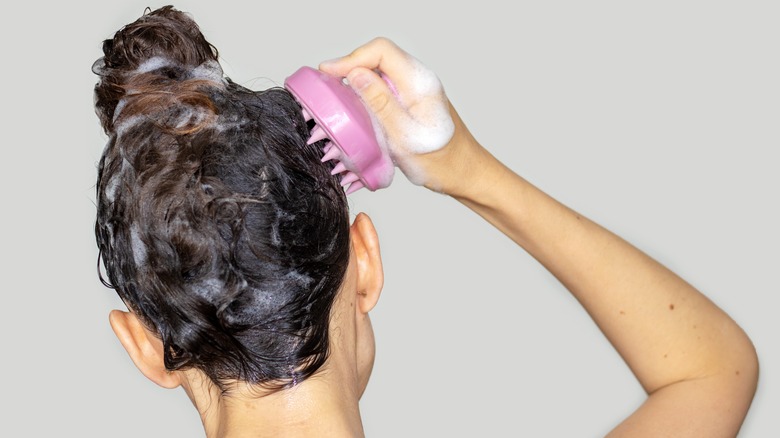
Step One: Start with clean hair
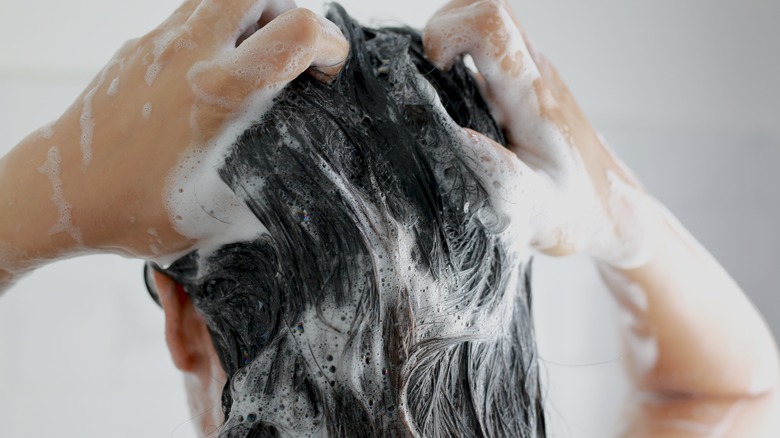
As with any new hairstyle you decide to try, it always helps to start with a clean and fresh scalp, so shampooing your hair before attempting the hairstyle is an absolute must. Emily Burns, a product development haircare specialist at Hask Beauty, explained to Byrdie that curly hair tends to be much drier than straight hair, so as a result, she highly recommends using a gentle, hydrating, and non-stripping shampoo.
A great overall shampoo to use is Ouidad Advanced Climate Control Defrizzing Shampoo. Whether your strands are wavy, curly, or coily, this shampoo has a hydrating formula that works to fight against frizz, locks out humidity, provides UV protection, and helps to retain your hair's natural moisture. Additionally, this shampoo is made with moisturizing ingredients including shea butter, ceramides, and murumuru butter, all of which work together to smooth out the hair cuticles and help to create a moisturized and long-lasting style. Be sure to give your scalp a good scrub before moving on to the next step.
Step Two: Condition your strands
After shampooing, you'll want to follow up with treating your strands with a conditioning treatment using your favorite moisturizing conditioner and following the directions on the bottle. For finger rolling, you'll want to use a conditioner that's great at moisturizing your textured strands to avoid frizz. Sharleen St. Surin-Lord, M.D., a board-certified dermatologist and hair specialist at Visage Dermatology in Maryland, recommends looking for all-natural and moisturizing ingredients such as avocado oil, jojoba oil, coconut oil, and Argan oil (via Well + Good).
Thankfully, there are tons of different moisturizing conditioners, but a top contender is definitely Moroccanoil's Smoothing Conditioner. The moisturizing conditioner features argan oil and amino acids, which both work at nourishing your strands and help strengthen your hair. Be sure to thoroughly coat your hair with enough conditioner to ensure you zapped enough moisture back into your strands after your shampoo session, ensuring next step in this process a lot easier.
Step Three: Detangle
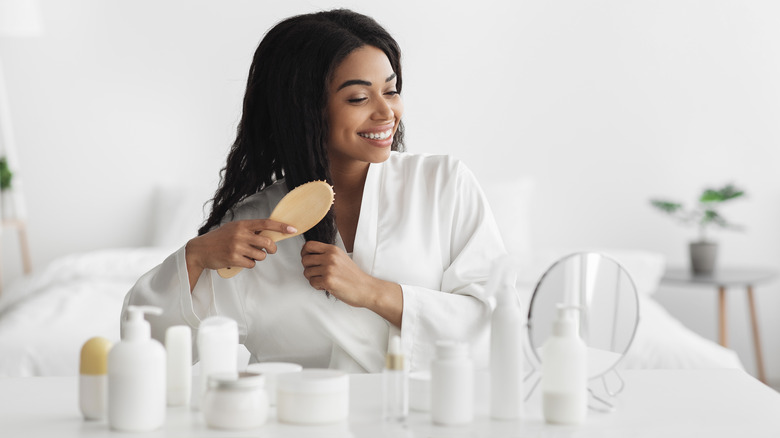
At this point in the process, your hair should be quite moisturized and, hopefully, easy to detangle. However, despite how great your conditioner may be at giving your hair some much-needed moisture, if you feel you need additional assistance with detangling your strands to ensure an entire head of smooth and flawless curls, it will be beneficial to detangle your strands using a good detangler and your preferred tool of choice — a wide-tooth comb, detangling brush, or your fingers — working from the ends to your scalp.
While there are plenty of detanglers on the market, look for detanglers that have moisturizing ingredients and can provide a good amount of slip on the strands to ensure the finger rolling method will not only be a lot easier to do but will also help ensure you get the look that you want. While it's up to you to decide how you choose to detangle your locs, brushing your strands with a good detangling brush is a more guaranteed option for smoother strands.
Step Four: Section and moisturize your hair
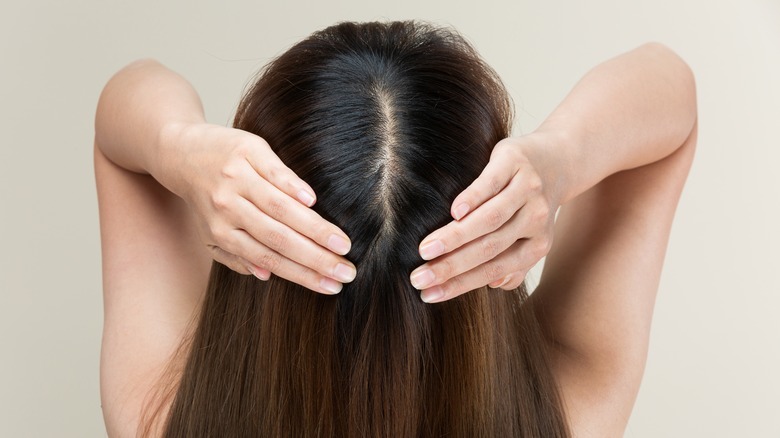
Once you've finished the last step, you'll want to make this entire method easier by simply sectioning your hair into multiple sections (at least two) and moisturizing each section with your preferred curl cream or moisturizer. It helps to have a few clips or claws nearby to pin each section and make sure the areas stay separated.
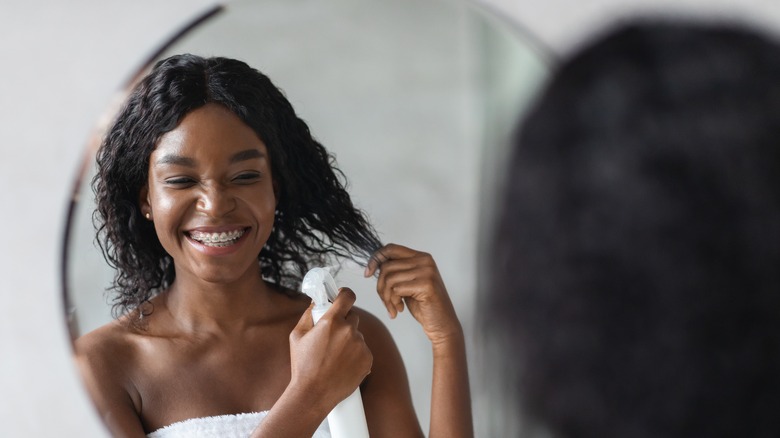
After moisturizing each section with your favorite styler, it helps to follow up with a light holding gel to your fingers before doing the finger rolling method, especially if you have a wavy or loose curl pattern. Applying a holding gel gives you the hold you need to ensure longer-lasting curls. Also, just as important as it is to keep your hair moisturized throughout this process, it's just as crucial to keep your hair wet, rather than damp, so your hair can be slippery enough to achieve smooth finger rolls. So, be sure to have a spray bottle with water on hand.
Step Five: Start finger rolling
Once you've completed all of the necessary steps that led you to the final stage of this technique, you'll want to follow the steps mentioned earlier and take the end of a small section of your hair and roll the curl in an upwards motion towards your scalp using your index fingers, working through any curl clumps you may have.
When you reach your scalp, you'll simply want to unravel the roll by gently removing one of your index fingers and using that finger to hold at the root of the roll, then using the other index finger to unroll the curl in the opposite direction. Continue repeating this process through each section you've created until you finish all of your hair. Afterward, you can either choose to air dry the hair or use a diffuser and follow up by picking the curls out at the roots to give the curls more volume or scrunch and lightly break up any curls where needed.
Are there any cons to the finger rolling method?
While finger rolling does result in a head full of beautiful curls, there are a couple of cons that can't go unmentioned. While this hairstyle can be seen as protective, it does involve quite a bit of manipulation while setting the style since you'll use your fingers to create the curl. So, if you're looking for a style that doesn't require too much "fingers in hair" action, you may want to avoid this style altogether.
Another con that might be rather obvious at this point is that finger rolling is pretty time-consuming, especially if you're doing your entire head. If you don't have the patience or energy to do your entire head or prefer to have a hairstyle that doesn't take up too much time and doesn't require using quite a bit of hand and arm muscles, the finger rolling method may be a style you'll want to pass up.
Why the finger rolling method is so great
The finger rolling method involves zero heat, only needs minimal tools to achieve stellar results, and can last for quite some time, depending on a variety of factors. So, regardless of the type of waves, curls, or coils you may have, this method can be a protective and healthier alternative to achieving beautiful curls that can be achieved from the comfort of your own home.
If that's not enough to convince you to try the cute hairstyle, it also is a great way to give your curls a more uniform look, especially if you suffer from heat-damaged hair and aren't too ready to chop off the damage just yet. (Speaking of which, if you have some heat-damaged strands, Manes by Mel on YouTube recommends pinning the curl at the scalp after finger rolling and removing the pin while it's still damp to allow the curl to set a bit more, as well as to be more in sync with the other strands.) Ultimately, the finger rolling method is a versatile and customizable technique that can yield stunning results that look different on everyone depending on the technique followed, as well as their hair texture.