A Step-By-Step Guide On How To Remove Your Tape-In Hair Extensions At Home
Super-long hair is officially back in style, and for many people with the goal of having mermaid-length locks, opting for extensions is a more realistic strategy than trying to grow your own. For those with hair that's too fine or thin, too damaged, or too thick and curly, growing long hair is often more stress than it's worth. Luckily, there are several varieties of hair extensions available to suit every girl with dreams of becoming Rapunzel, and tape-in extensions are among the most popular.
Relatively easy to install, long-lasting, and available to people with all kinds of hair textures (and lifestyles — you can even work out with tape-in extensions!), these extensions are a great choice. One of the most alluring factors is that you don't need a professional to remove them when the time comes, and doing it at home is simple and cost-effective. As long as you know what you're doing, you can easily take out your tape-in extensions — either to install new ones or go extension-free altogether — in a few easy steps with minimal damage or discomfort.
What are tape-in hair extensions?
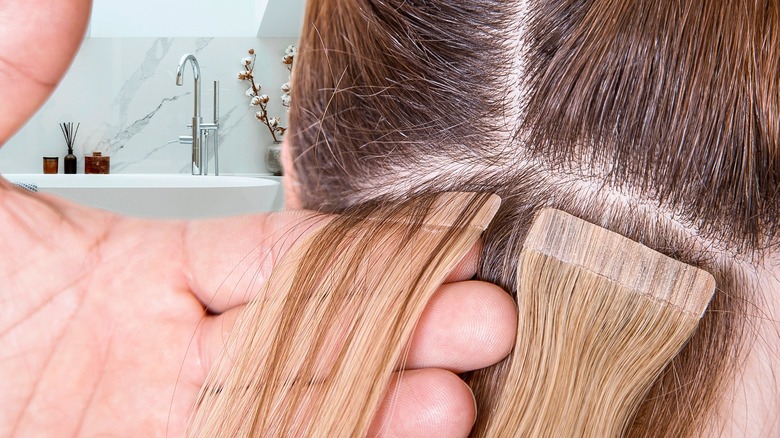
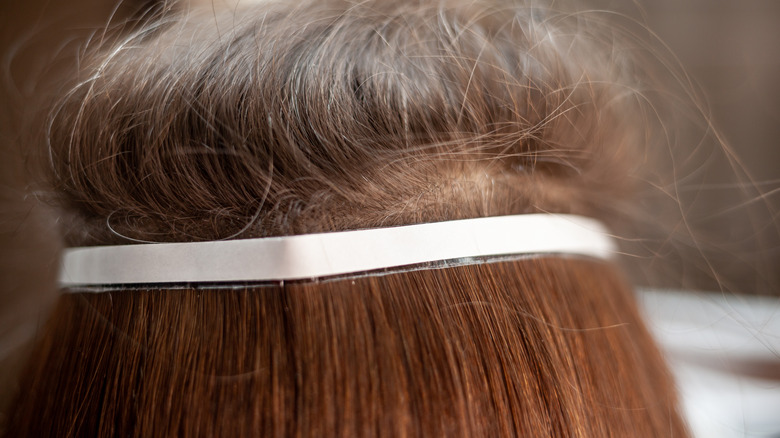
Quite simply, tape-in hair extensions are hair extensions that stick to the hair via a double-sided adhesive band, which is sandwiched between two small sections of your own hair. Most brands will use hypoallergenic adhesive, which isn't irritating to the skin. When they're installed properly by a professional hairdresser, tape-in extensions will lay flat for a natural look. While that's the basic premise of tape-in hair extensions, there are discrepancies between the different products on the market. You can get them in a range of colors and textures from multiple brands, and they can also be made from natural hair or synthetic hair.
Tape-in hair extensions vs. other kinds of hair extensions
Along with tape-in extensions, there are also clip-in, bonded, and halo extensions available. All hair extensions are designed to make your hair look longer or thicker (or both), but there are significant differences in the way that each variation adheres to your natural hair.
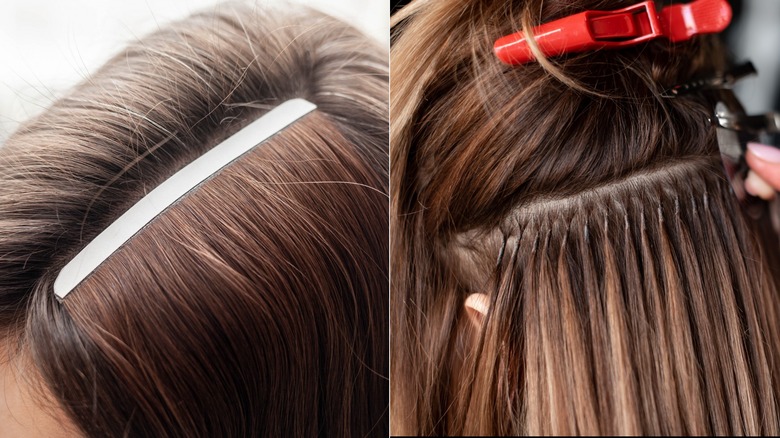
While tape-in extensions use a double-sided adhesive, or tape, clip-in hair extensions provide effortless length and volume by clipping into your hair via a metal clip. They are easier to apply than other kinds of extensions and can be installed at home, but they aren't intended for long-term use and should be removed before you sleep or wash your hair. Meanwhile, bonded extensions adhere to the hair via keratin, which is infused onto each extension strand and then bonded to the natural hair. These are more challenging to remove at home than tape-in extensions and usually require a pair of pliers to crush the bonds. Finally, halo extensions attach to the head via an undetectable wire that sits on the scalp like a headband. Removing them is just a matter of slipping the wire off, but these extensions are temporary, less secure, and less natural-looking than more permanent varieties. Tape-in extensions offer the best of both worlds: longevity and subtlety in addition to ease of removal.
Before you remove your tape-in hair extensions
Before you remove your tape-in hair extensions, it's important to keep track of how long they last and when you should be going to remove them. After paying up to $600 for your extensions, the last thing you want to do is take them out before you need to. And similarly, leaving them in too long can cause them to fall out and look terrible. As a general rule of thumb, tape-in extensions will need to be removed and reapplied every six to eight weeks, though this can vary depending on how quickly your hair grows.
Tape-in hair extensions work with all hair types, but if you have natural or 4C hair, you may need to move up your tape-in extensions more often if their texture doesn't match your natural hair texture, and you'd like a cohesive look. "... wavy and curly textures [need] to be mindful that as your new growth comes in your natural texture will be exposed," Atlanta-based hairstylist Kaleah Slay told Elle.
What products/tools you'll need for removing tape-in hair extensions
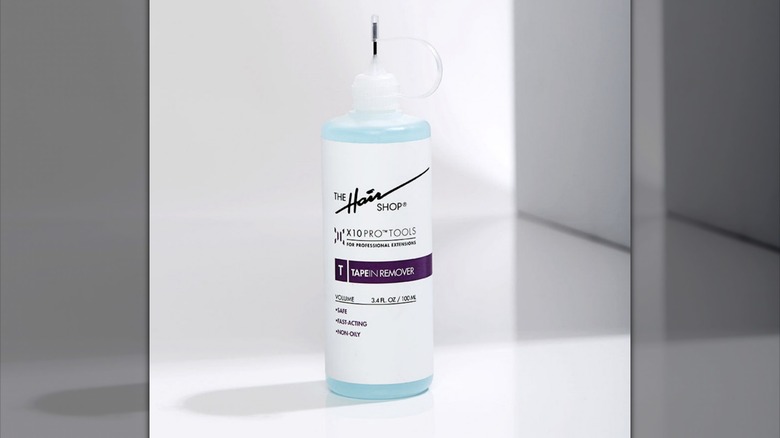
The most important product that you'll need to remove tape-in extensions at home is solvent to break down the adhesive. A highly rated example is the Tape-In Remover from The Hair Shop, which retails at $14 at the time of writing. You can purchase specially made tape-in adhesive remover or solvent, or else you can use a product that's at least 70% isopropyl alcohol, such as hand sanitizer. "Well, they [can] use hand sanitizer [to remove the tape-ins]," stylist and global creative director for Milbon Anh Co Tran told Allure. "It's like gold these days. Or rubbing alcohol." You may instead want to use an oil-based solvent for tape-in extensions that are particularly difficult to remove, or else layer your solvent with a hair oil of your choice to help break it down. Coconut oil or almond oil are good choices. You will also need a comb, clips to section off the hair and expose the extensions, and shampoo and conditioner.
Expose your hair extensions
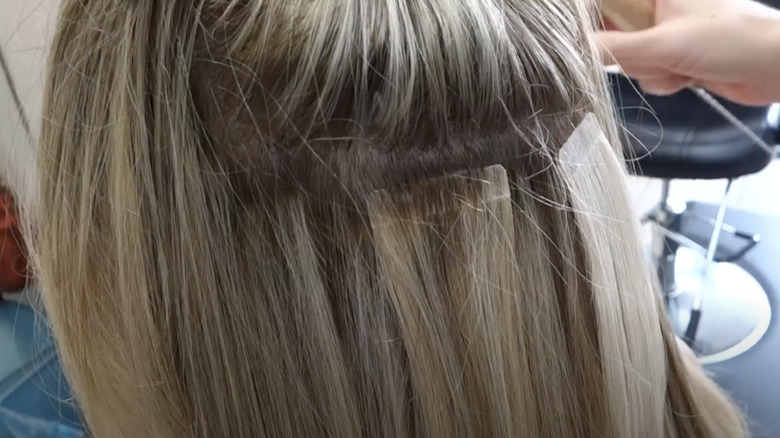
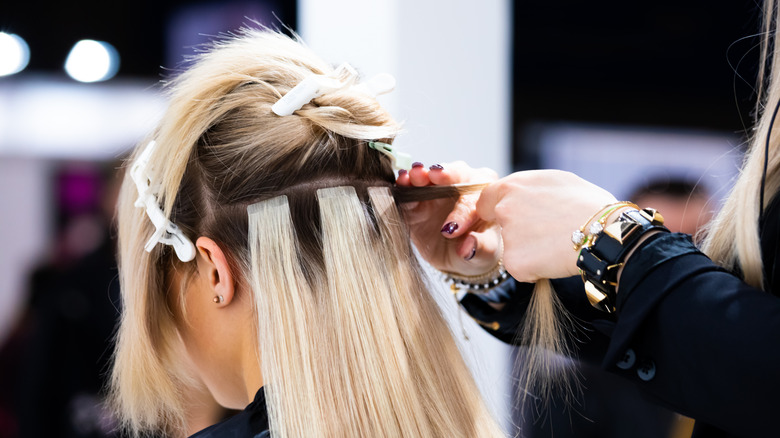
After you've gathered all your ingredients, you'll need to prepare your extensions to be removed. Use your comb to lift the hair above your extensions and fully expose the tape, so you know what you're working with. You can use a mirror to make sure that you've exposed extensions at the back of your head, or get someone else to check for you. Use the clips to secure your top layer of hair and keep it free from the solvent.
Apply solvent to the adhesive
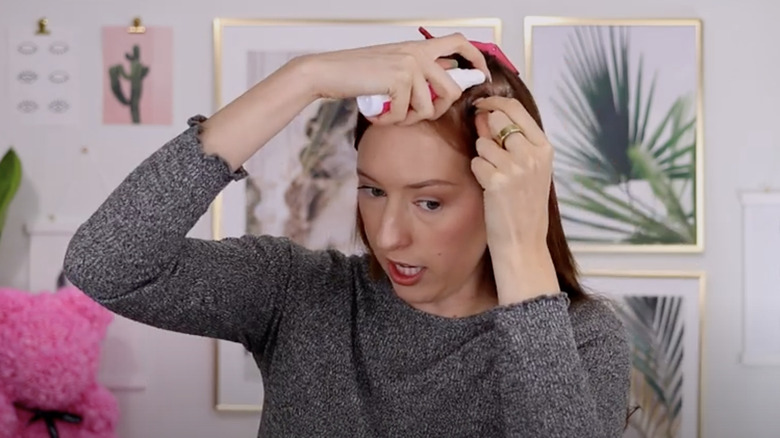
Depending on what solvent product you're using, you may apply it by spraying it on or by rubbing it on. Make sure to apply it directly to the adhesive tape part of the extension. Be generous with the amount you're using to completely break down the adhesive. If you try to remove the extension before properly breaking down the adhesive, you'll end up tugging your hair and possibly causing damage (and discomfort!). After applying the solvent, allow it to seep into the adhesive for a few minutes before moving on to the next step.
Use oil to help things along
If your tape-in extensions are still tight and sticky, you can move things along with a hair oil. Massage it into the tape to allow it to break down the adhesive. You can also try blowdrying the oil once you've applied it to the tape to activate it and get it working more quickly.
Additionally, you can try adding a few drops of essential oil to the adhesive after applying the solvent. Just be sure to do a test-patch first to rule out irritations or allergies, as essential oils can be harsh on the skin.
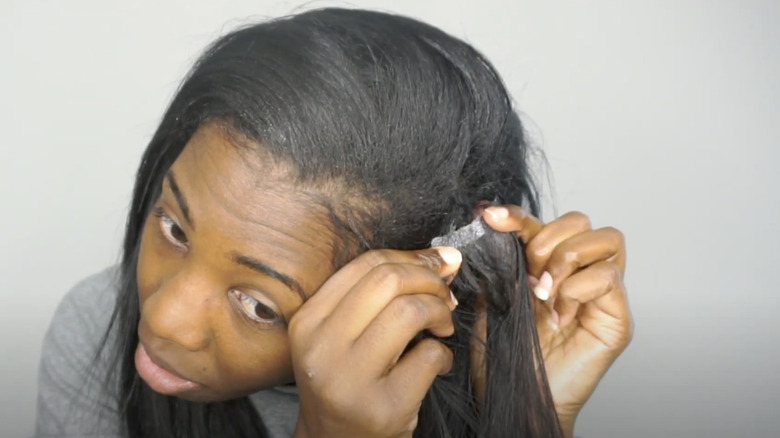
Gently slide the tape-in extensions out of your hair
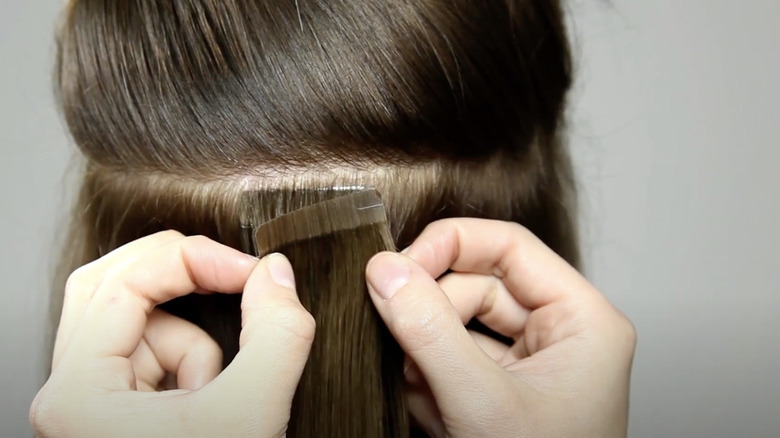
Once you've used enough solvent to break down the adhesive, start to slide the tape-in extension down your hair shaft. Even if you're confident that the adhesive is no longer sticky, don't pull or tug with force. Slowly wiggle the extensions and move them from side to side until they slide out on their own.
Comb your hair
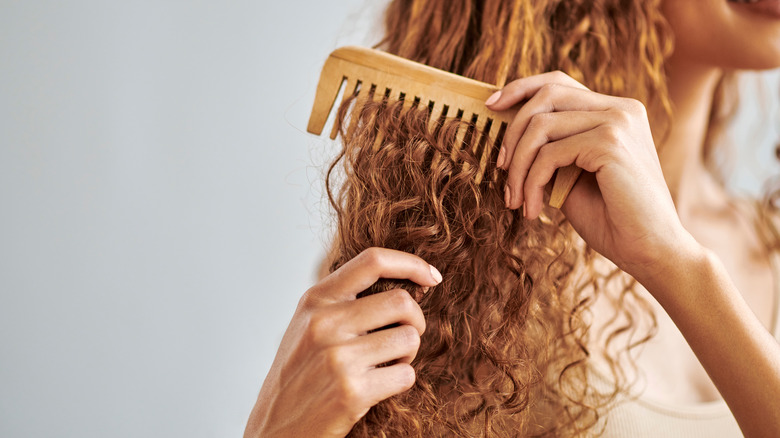
Moving the adhesive around your hair can create tangles, but you can avoid your locks turning into one giant knot by gently combing your hair. Zala recommends doing this in between each extension so the hair doesn't have the opportunity to clump into serious tangles as you go. "Start from the bottom [of the hair] and work your way up," advises Ahn Co Tran (via Allure). "Don't start from the top and run it through. There will be some tangles, so work those tangles out first and work it all the way through to the top
Wash and condition your hair
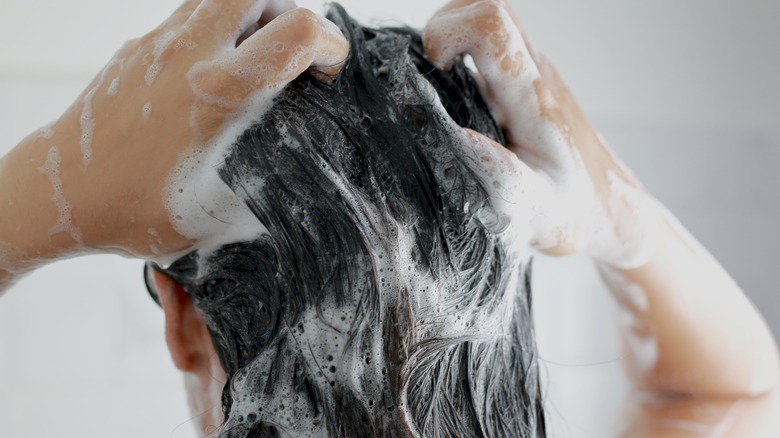
After the hair extensions have been removed and the knots have been gently combed out, you might notice there's still a lingering sticky residue in your hair. This is normal, so the next step is to wash and condition your hair. While the shampoo will help to remove any remaining oil, adhesive, or solvent, the conditioner will return a dose of hydration to your locks — don't skip this step! You might be tempted to leave combing your hair until you wash it, but wet hair is more fragile than dry hair, so you'll want to eliminate most of the knots while your hair is still dry to avoid the possibility of damage. And as, certain shampoos can dry out the hair and lead to even more tangles, it's good to nip the knot problem in the bud before you wet your hair. Use your fingers to detangle it again after you've washed and conditioned it, and you'll be left with clean and smooth extension-free hair.