How To Tie In Your Trendy Hair Tinsel To Ensure It Stays Put

We may receive a commission on purchases made from links.
Kate Middleton is forever in our hearts as the dashing Princess Catherine of Wales, whose fashion choices always manage to woo even the most jaded of fashion critics. But Middleton was once a college student who had a brief run-in with the fashion runway, sporting her hair in tight curls tangled with what seemed to be shiny tresses. Little did she know that 20-something years down the line, shiny tresses would be en vogue. Enter hair tinsel, a fun and easy way to style your hair for holiday events, special occasions, and hot dates.
Aptly dubbed "fairy hair," hair tinsel is the latest trend taking the internet by storm. Social media feeds burst with photos, reels, and "how-to" shorts, borrowing from the Y2K resurgence and the '90s era glory.
But what exactly is hair tinsel? Founder of hair tinsel distributor Goddess Glitter and hairstylist Kelsea Jensen says that hair tinsel is basically "shimmering strands that are attached to the hair," (via Allure). In essence, this product consists of thin (long or short) strands of iridescent tinsel that are attached to the hair, resembling hair extensions, which add a little bit of glam and sparkle to your locks. While you can get this new shimmering trend at a hair salon, there are at some simple and easy ways to achieve the look at home: using microbeads, using a slip knot, and using a single-sided hair tape.
Before you tie in your hair tinsel

Hair tinsel is a fun and shiny hair trend that is continuing to skyrocket in 2024, with the hashtag #hairtinsel counting over 429 million views on TikTok. The increasing popularity means that manufacturers have been able to invest in this product, which you can now find in several different materials. Tinsel can be made from synthetic or metallic fibers and even real hair! And, of course, you can find it in a variety of different metallic shades to add a splash of color to your locks. If you're not too keen on the metallic allure, you can opt for natural-toned tinsels. Additionally, there are also different methods you can use to add the tinsel to your hair.
For example, you can opt for the microbeads technique, the slip knot technique, or the tape technique (all of which we will thoroughly discuss below, so you can pick the method that best suits you!). Hairstylist, hair educator, and salon owner Mirella Manelli describes in her YouTube video that the duration of your hair tinsel will depend on the method you choose. So, while the slip knot technique lasts only a couple of days, the microbeads and the tape technique last longer. Depending on how long you want the tinsel to stay put, the application method will vary, and so will the tools and materials needed.
What products/tools you'll need for tying in hair tinsel
Obviously, the first thing you will need is hair tinsel! There are several different tinsel brands you can choose from, and Amazon has a great selection to accommodate every taste and every budget. In fact, if you are just getting started, you can actually purchase complete packages that include both a variety of tinsel colors and the tools you will need to tie them in.
The specific application tools vary slightly depending on which technique you will be using. For the slip knot technique, you will need a hair comb or brush to detangle your hair. You will also need a narrow-toothed comb with a pointy handle that will allow you to separate the hair strands. To keep the hair strands in place — and out of the way while you attach the tinsel — you will need to have hair clippers. For the microbead technique, you will need these plus a few extra materials and tools: microbeads, a loop tool, and pliers. If you choose to move forward with the tape technique, you will need to buy special hair extension tape. For this last method, you will also need a pair of scissors.
Microbeading technique first step: Prep the bead
If you are looking for a method that will allow your fairy hair to last a little bit longer, then the microbead technique is advised. For this technique, it is preferable to use silicone beads, since silicone is very soft and will not damage the hair. Using silicone also reduces the chance that the bead will slip and fall off.
Be aware that while any silicone beads will work, it is best to get silicone beads in a color that closely matches your hair at the root. You don't want the bead to stand out but instead to seamlessly blend with your hair, so make sure you stay as close to your natural hair color as possible. Pick up one bead with your thumb and index finger, and gently pull as much tinsel as you want through it. Mirella Manelli suggests using three pieces of tinsel per bead.
No matter how much tinsel you ultimately decide to use, you have to make sure to leave room for your hair strands to pass through as well. Model and beauty content creator Ash Walker tells Byrdie, "The amount of hair you want to take into the bead is smaller than your pinky nail. You don't want a lot of hair — just enough to be sturdy." Once you have passed the tinsel through the bead, tie two knots using the two tinsel ends. This step ensures that those glittery strands are tightly secured on the bead and won't fall off.
Microbeading technique second step: Use the loop tool
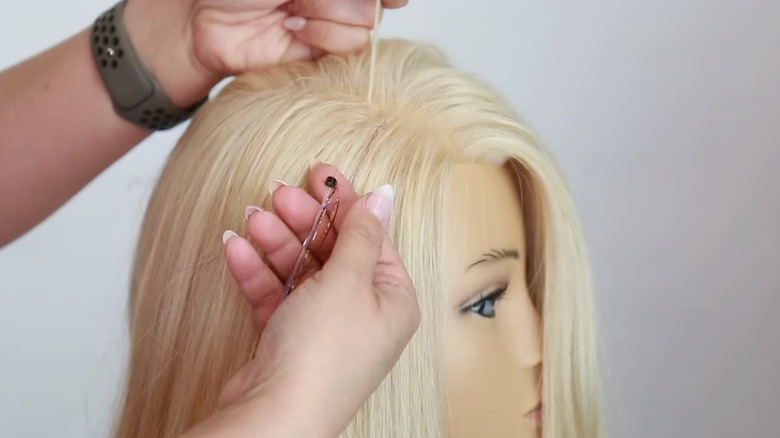
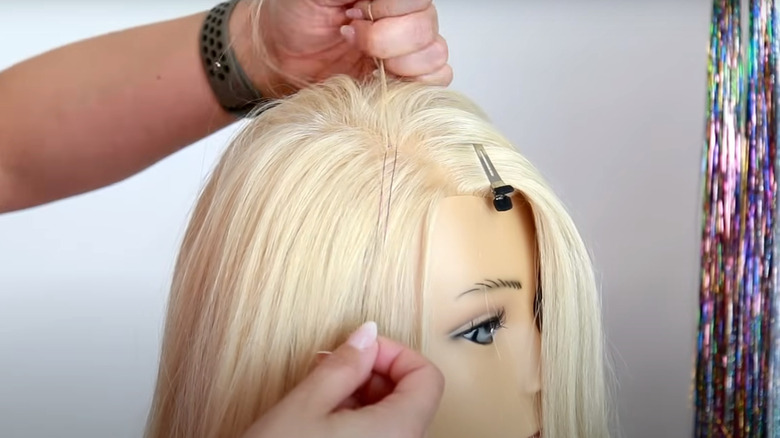
At this point, you will need to use your loop tool. Comb and detangle your hair and section it into thin strands. Use sectioning clips to keep the strands in place and keep the rest of your hair out of the way. This will make the process easier as you won't have to maneuver both the loop tool and your hair strands at the same time. Plus, it frees both hands if the clips hold the hair sections you plan to use.
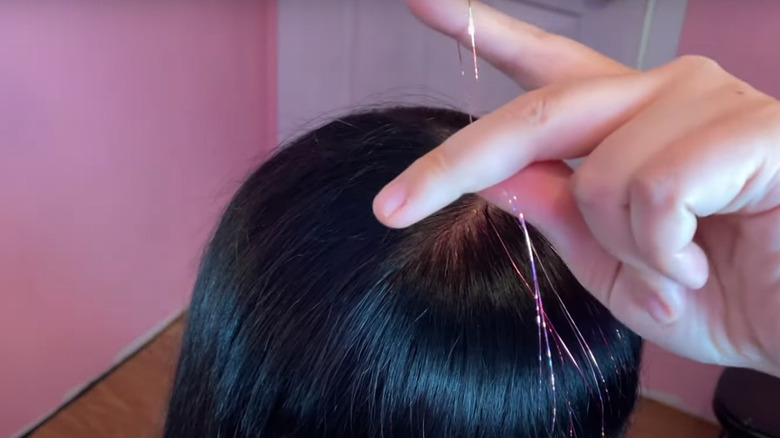
Grasp a strand of your hair with one hand, and with your other hand, guide the loop tool through the strands near the roots. As you do this, smoothly move the bead upward along the hair shaft, effectively threading both your locks and the shimmering tinsel towards the roots. Remove the nifty tool and ensure that the result is optimal before moving on to the application of the next tinsel. Check that the bead is not visible and that it is as close as possible to the roots of your hair. Repeat as many times as necessary to add the desired amount of tinsel to your tresses.
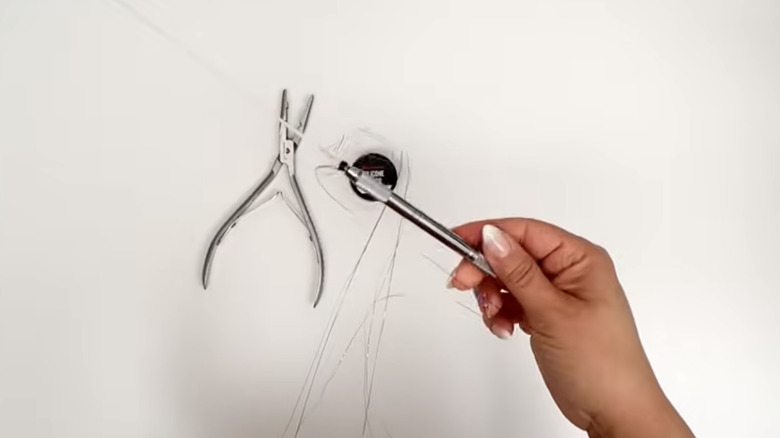
Microbeading technique third step: Secure with the pliers
Utilizing a pair of microbead pliers, carefully flatten the microbead to ensure a secure clamp that holds the tinsel and hair firmly in place. This step guarantees a durable and hold that can last up to two months, seamlessly blending the vibrant tinsel with your hair for a stylish and enduring look.
While a little bit more complicated than the slip knot technique, the microbead technique will provide a longer-lasting result. Plus, since each bead can hold more than one tinsel strand, the effect is a denser and thicker look as opposed to tying one tinsel on each hair strand. If you prefer the tinsel to be more visible than the subtle allure of single metallic strands here and there, then this is a better (and more durable option). However, if you only want the tinsel to stay put for just a couple of days, then consider the super easy slip knot method.
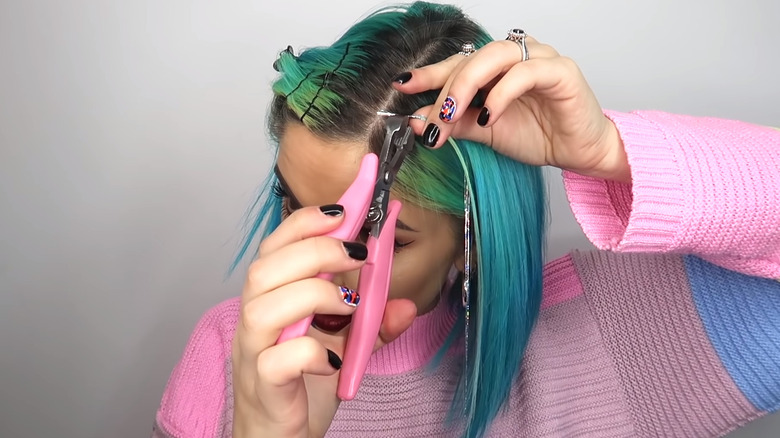
Slip knot technique first step: Separate your hair into thin strands
If you are looking to add a little bit of spark to your hair for one special night out, then you can follow the slip knot technique, where you tie one tinsel strand to a thin strand of your hair. While super easy to achieve, this technique won't last more than a few days. New Orleans-based hairstylist Ashley Armour tells Allure that "on fine or medium hair, the tie technique will usually slip out fairly quickly."
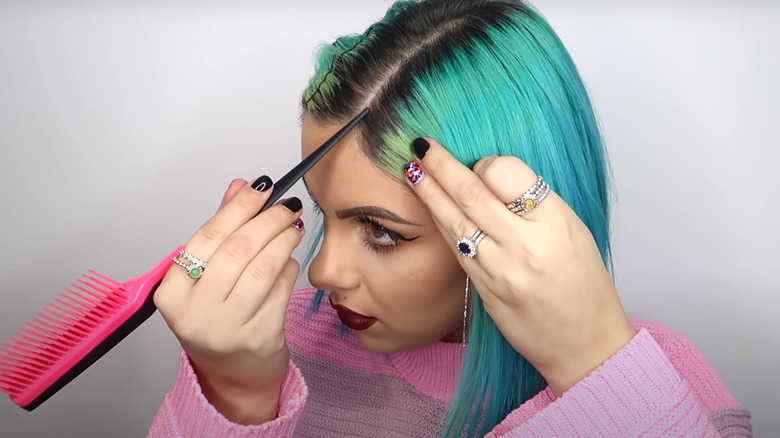
The first step in the slip knot method is to comb your hair — if it's straight — to untangle it and remove any knots. If your hair is curly, try to untangle it as much as possible without using a comb (this would diffuse your curls), and choose a few clean locks to separate. Always choose the brush or comb that is right for your hair to avoid breakage.
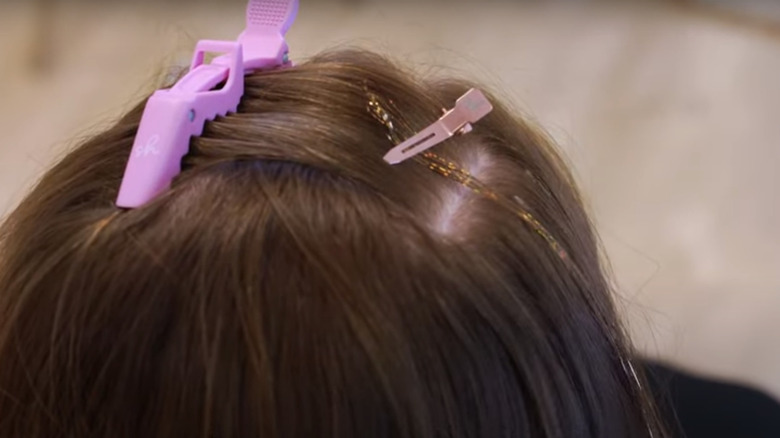
Grab a few strands of your hair and secure them with a clip. Since you want your tinsel to blend seamlessly with your hair, be cautious not to pick up the top strands of your hair at your part line. Staying clear from the top strands and instead picking from the second layer of strands will also ensure that the knot is not visible — something that would effectively ruin the subtle aesthetic you are trying to achieve.
Slip knot technique second step: Create the slip knot
In order to create a slip knot, take the tinsel and fold it in half. Place the tinsel on an even surface to make it easier for you to manipulate it, and bring one side of the tinsel over the other to create a loop. Create a pinch grab with your thumb and finger and pass them through your loop, thus creating a slip knot. Slip knots work great in this situation because you can tighten them to secure the tinsel in place.
Slip knot technique third step: Tie the tinsel with the hair
Remove the clip from your selected hair strands and pull the hair through the loop of the tinsel. Use the clip again to secure the surrounding strands in place. This will free up your hands so you can easily use both hands to manipulate the slip knot. Adjust the tinsel and bring it as close to your roots as you can. Grab one end of the tinsel and pull it to tighten the slip knot.
Once you have that done, tie another knot using the two ends of the tinsel. To ensure that it stays put, incorporate the hair at this stage and tie a second knot using the hair strands and one side of the tinsel. Repeat with the other side of the tinsel and the same hair strands. For added security, give an extra round of two more knots using the tinsel alone. And there you have it! Tinsel is secured and will stay put for two to three days.
Using this method, you can add as much tinsel as you like to achieve the aesthetic you want. If you are looking to stay on par with the Y2K fashion that is back for 2024, add the metallic, shiny strips right around your head, seamlessly blending them with your natural hair locks. If you only want a subtle sparkle in your front tresses, just add a few tinsel pieces on the left and right of your parting line, staying close to your face.
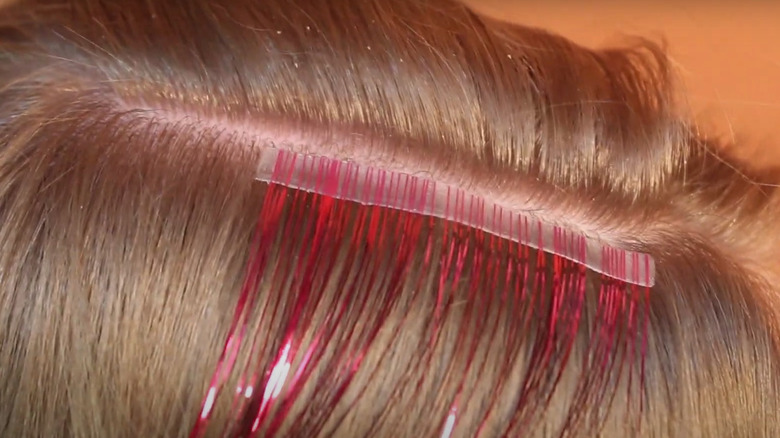
Tape technique first step: Prep the tape
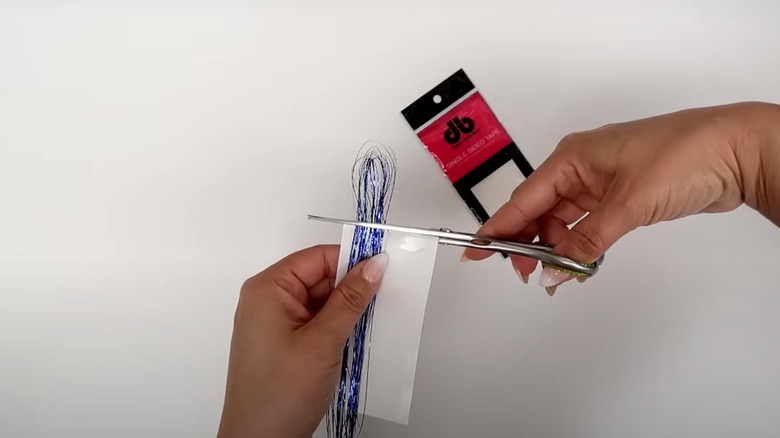
Another way to add multiple hair tinsel pieces to your strands is by using a single-sided tape. While not a tie method per se, using tape is also an easy — and sturdy — technique to attach tinsel to your tresses at home. Take out the tape and place it on a clean surface, the sticky side facing up, and carefully peel off the protective layer. Take your tinsel (as many or as little as you want) and fold it in half. Stick the tinsel to the tape with the looped end slightly outside the edge of the tape. Cut the excess loop right where it meets the tape's end. Then, press this tape to another piece of single-sided tape.
Tape technique second step: Attach and secure the tape to the hair
Using a comb, separate your hair strands to create a clean section where you can place the tape. You don't want the tape to be visible, so leave the top strands intact, and choose instead a few strands that are not sitting right at your parting line.
Carefully place the tape on the hair and press it firmly with your fingers to stay put. To ensure that the tape does not fall off, allow a few hair strands to fall on top of the tinsel and secure it once more with an additional piece of one-sided tape.
Speaking to The Guardian, hairstyle historian Rachael Gibson confirms that "there's not much more fun than glitter hair," and by following these simple steps, you can join in on this sparkly, party-ready trend.