Easy Tips For Rocking The Beachy S-Wave Look
Over time, different styles of curls have risen and fallen as a complement to our makeup and fashion trends. A bit of texture in the hair brings some interest and volume to a look, making it a go-to style for just about anyone. The past few years have seen a flurry of different blowout and curling iron techniques that promise that sought-after, my-hair-but-better effect. This new trend, however, takes effortless to the next level — and it's not a curl at all.
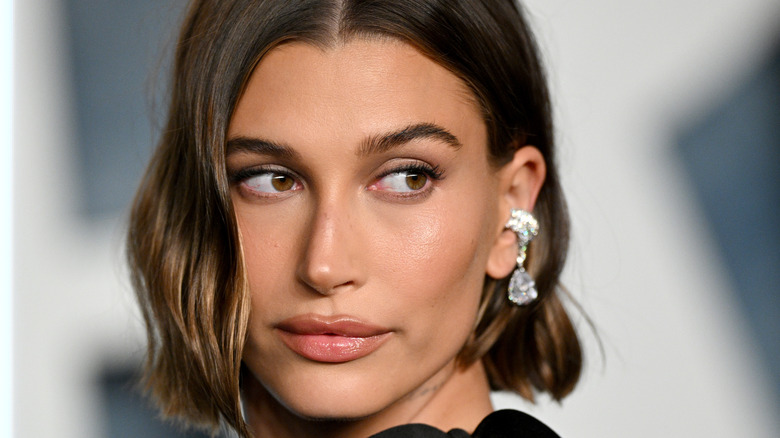
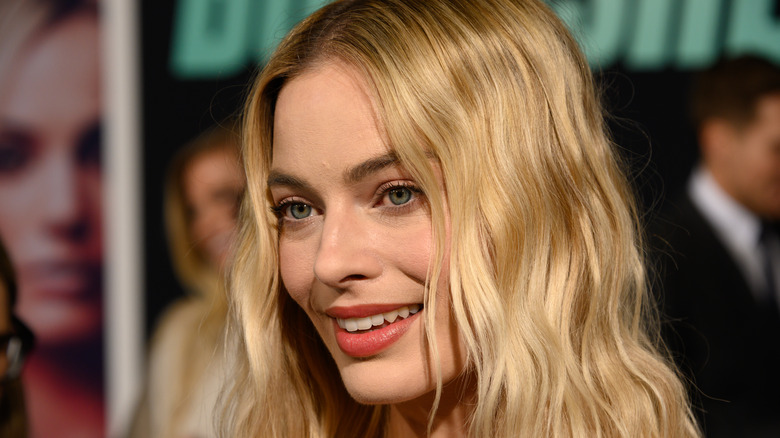
Instead of the spiral curls from a curling iron or rollers, many celebs like Hailey Bieber, Margot Robbie, and Kim Kardashian have been leaning into a more undone, wavy look. This style, referred to as the S-wave, is more reminiscent of classic Hollywood glam, brushed-out natural texture, or the aquatic locks of a mermaid. It's both ultra-casual and ultra-classy, making it the perfect contender to pair alongside just about any look, from the red carpet to a casual day lounging by the pool.
What is an S-wave?
With most styles of curl, from the ultra-tight permed look to a more relaxed wavy blowout, the hair is wrapped several times around a heated barrel or curler to set the shape in place. This creates a spiral look once it's released, but it can be shaken out to give a more natural-looking finish. The problem, however, is that this finish often looks more precise and uniform than someone with a natural texture. That's perfect if you're going for a polished look, but quite frustrating if the goal is I-woke-up-like-this waves.
The solution? S-waves. Instead of creating spirals and then brushing them out, this method keeps the hair flat and uses either wave formers or a heat tool to create bumps along the lengths of the tresses, mimicking the look of an actual wave instead producing a rounder curl. As a result, it's a bit more undone and more accurate to the look of someone blessed with this hair texture naturally.
Begin with straight or blown-out hair
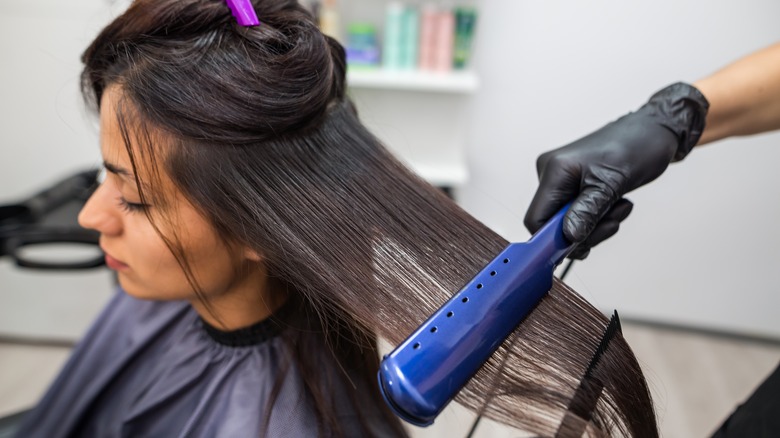
To begin this look, you'll want to start with a straight base. This is simple if you're hair is naturally, fairly texture-free, but if you're working with waves or curls, it's best to blow out your hair straight or do a once-over with a flat iron to get everything to lay flat. This process utilizes a lot of heat, so it's also a good idea to grab a heat protectant spray before reaching for your tools to keep everything looking and feeling healthy.
A straight base is necessary to properly section your hair and lay down your waves exactly where you want them to sit, especially if you're going for a more polished Hollywood look. With that being said, however, this method can also be used on top of naturally wavy hair to boost texture, reduce frizz, and revive any flat spots. Still, the final look will be much more similar to your hair on a good, air-dry day than the waves popping up on red carpets.
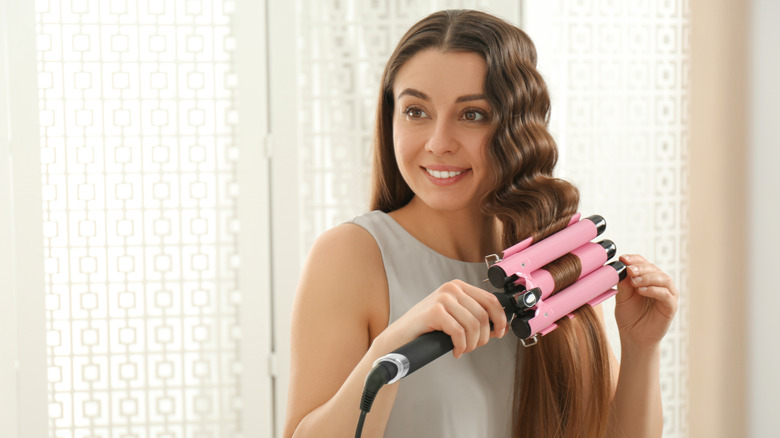
Pick your method

To create your waves, you have a couple of options. First, a triple barrel waver. This gargantuan heat tool is probably the easiest method if you're going for consistency, as it keeps the length of your wave uniform. Instead of a traditional curling iron, it functions more like a crimper; stamping waved texture along the length of your locks. By keeping the waves in each section the same length, you can easily accomplish the Old Hollywood-style S-wave reminiscent of the silver screen starlets of the '30s and '40s.
For a more undone look, however, you likely won't have to purchase any additional tools. All it takes is a flat iron. Instead of running it down the length of the hair or flipping your device as you pull for a traditional curl, you rotate slightly to create bumps. Finally, there's a heat-free option, though it might be a bit more of a time investment. Waveformers are long tubes of shaped mesh that you pull your hair through and then allow to set. Once your hair is dry, you should be left with a full head of beachy texture.
Split hair into thin sections and wave
Once you've nailed down your preferred method, it's time to get to work. Start by dividing your hair into one-inch layers, then splitting each into a half-inch wide section. If you're going for a more precise look, it's best to keep this sectioning ultra-consistent to give yourself more control, but for a beachy effect, you can alternate the size a bit to bring in some variety.
From here, it all depends on your method. With a three-barrel waver, you only need to travel down the hair shaft, pressing and pausing as you go along. Waveformers are similar in that they don't require any special technique — simply thread the hair through the waver with the hook and allow it to set. With a flat iron, however, there's a bit of a learning curve. To do this, take your flat iron and bend your hair slightly to each side as you move down the hair shaft. Don't worry if it doesn't look perfect — variation in the length and size of the wave will leave you with a more natural, beachy look anyway. After a few sections, muscle memory should kick in, and you'll feel like a pro in no time.
Apply oil for a smooth look
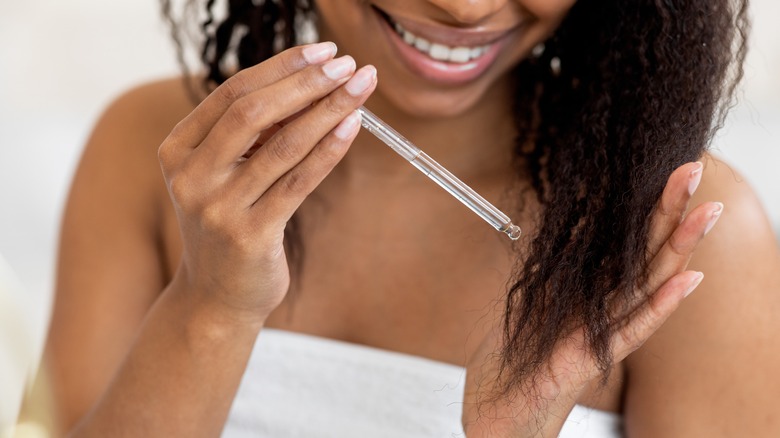
Once you've finished styling, shake out your hair a bit, but forgo brushing if your styles tend to fall throughout the day. If your ends are looking a bit frizzy or dry, now's the time for hair oil. This will help keep everything smooth and healthy, but it will also boost shine if you're going for that mermaid, fresh-out-of-the-water look. If you have thin, fine, or naturally straight hair, stick with an ultra-thin oil like argan or almond just at the ends to avoid a greasy look.
For those with thicker hair or a more coarse texture, you can go for whatever oil you typically use after styling. Carry it up from the ends to the mid-shaft to give your newly-formed waves a bit more definition and shine. By picking the right oil, you'll be able to stay frizz-free and sleek all day without any annoying greasy buildup.
Set with hairspray
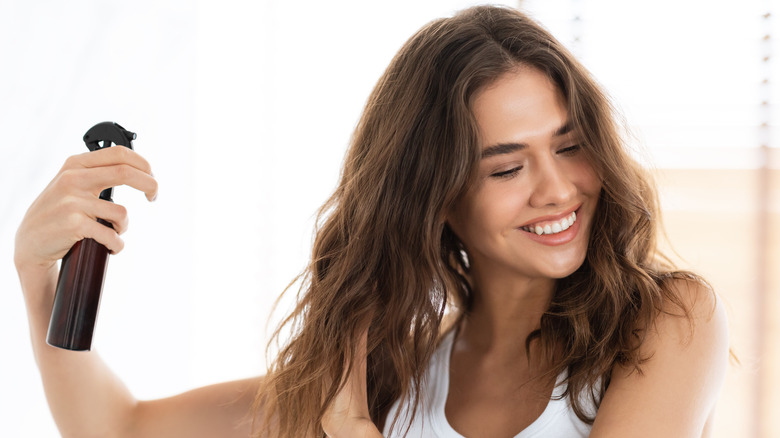
After you've finished styling, give your hair a once-over with hairspray to set your look and ensure your waves don't start to fall throughout the day. Unless you have naturally super-straight hair, a light-hold hairspray will usually do the job of locking everything in and leave you with a still-touchable texture. You can also use hairspray with a bit of shine if you like an all-over glossy look that won't weigh down the rest of your hair.
At this point, you can also opt for a bit of texturizing spray or dry shampoo at the roots to boost volume if your hair looks a bit flat. This style doesn't do much to give your roots volume, especially if you started with naturally straight or flat-ironed hair. Still, a spritz or two of your favorite texturizing or volume-boosting product can do wonders to temper an unflattering weighed-down look.
Finish with accessories, or keep it natural
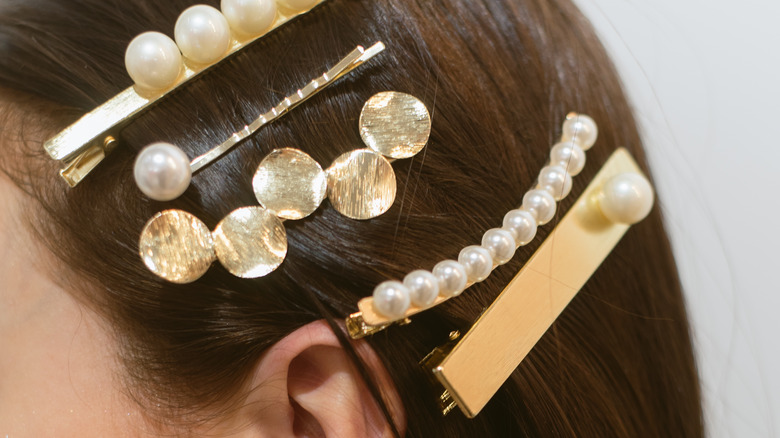
One of the best parts of this style is that it doesn't dominate the rest of your look, so there's still plenty of room to play with trendy hair accessories like bows, clips, and pins. Layer up a collection of silvery clips along your roots for a more edgy, industrial look, or keep it sweet with a few pearl accents to really play up the mermaid effect of this style. You could also go all in on the Y2K trend and bring in some butterfly clips, twists, and braids for a bit of a grown-up Lizzie McGuire look — the perfect accent to a low-rise mini skirt for a night out on the town.
Whether you choose to go for an accessorized finish or prefer to keep it simple, you can rest assured that this style will look great on pretty much anyone at just about any event. It toes the line between casual and polished, and once you nail down your preferred technique, it will become second nature in no time.